First off, take a beginning sewing class! It’s a lot of fun to sew with others that are at about the same skill level as you. I learned more from my class than I thought I would, since I don’t really plan on making a lot of clothes. It’s also helpful that the teacher knows tricks on how to do certain things and willingly shares them with you.
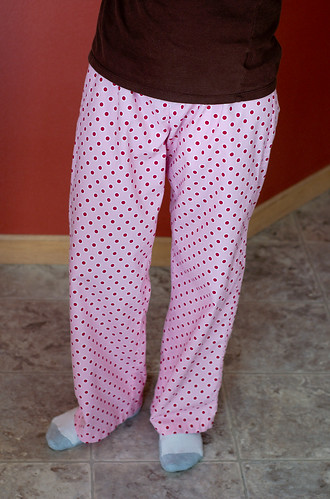
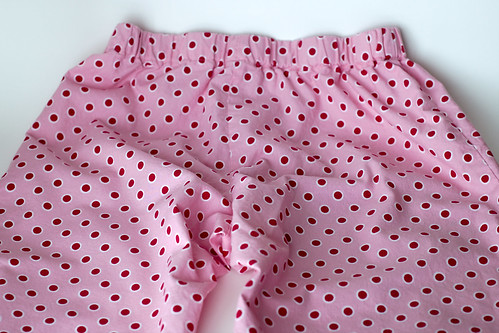
I took the “Learn to Sew” class at Royce Quilting (our local store). We made these pajama pants from Kwik Sew, which I hear is a great first project to make because you learn many different aspects of sewing.
There were only 6 of us in the class, which was really nice because it was comfortable asking questions. I felt like I learned more than if there would have been more people.
Everyone learns differently, but I suggest taking advantage of having someone around that knows what they are doing and ask questions any time you are not sure of what you are doing. It’s very likely that someone else in the class will have the same question.
Things I learned
Machine
When transporting your machine, put a piece of fabric under the foot and put the foot down. This helps to protect the feed dogs. For those of you that do not know what feed dogs are they are the small metal pieces under the foot and needle that help to pull the fabric through the machine.
Pattern
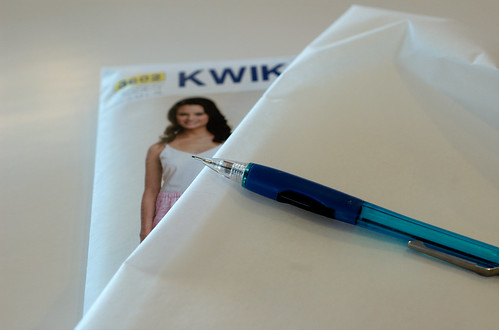
In order to reuse your pattern, buy tracing paper and trace the size that you are going to be using onto the paper and cut that out instead of the actual pattern. That way if you ever need to make a different size (say you lost weight!) you will still have your whole pattern.
Our pattern had general sizes with measurements, but if you don’t fit into one exactly you can just take measurements and adjust the pattern as needed. For example, if you have long legs just cut the material longer than what the pattern says, but still follow the same curves as the original pattern.
Sewing
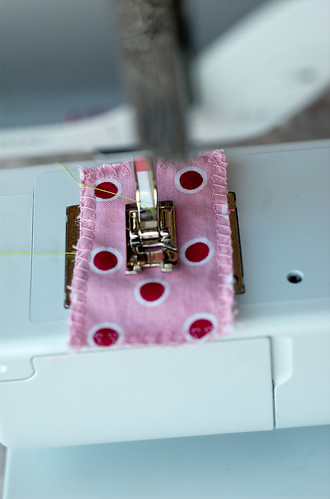
Try not to hold the fabric too tight…just let the machine guide it through. Also, don’t try to push or pull the fabric through the machine, it should take the fabric through the machine with little guidance.
Honestly, I think this is something most beginners tend to do but I also think the machine has some to do with it as well. The reason I say this is because I felt like I had to really pull the fabric through the Kenmore. It seemed to always pull the fabric in one direction. I felt like I was always moving the fabric in order to keep it straight. On the other hand, with my Bernina I have no problem with this.
Our teacher said that a lot of times that the faster you sew, the straighter you can sew. I know I tend to feel like if I slow down that I will get a straighter stitch, but I don’t think that is really the case.
Elastic
To get the right length for elastic pants, wrap the elastic around the part of the waist where you want the pants to lay. Then take off two inches and that is the length that should work the best; not too tight but tight enough for your pants to stay up.
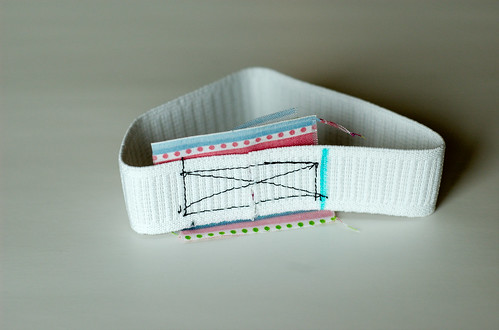
Instead of overlapping the elastic and sewing together, put a piece of preshrunk cotton fabric under the ends of the elastic and sew the elastic to it. Be sure to attach it securely, such as sewing a square around the edges and then an “X” in the middle. Then just trim the fabric so that the sides are even with the width of your elastic (not done in the picture).
This technique can also be done if you have multiple pieces of short elastic. That way you never have to waste elastic. I hate wasting things so I was very excited to hear this, especially when I only had less than ten inches of leftover elastic.
General
A serger is AMAZING!!!! Our instructor brought in her serger so that we could use it. Not only to get us hooked, but also to make the project quicker and just so we could have experience with the serger. Wow; it’s fast, it cuts the edges so that they are even, and is just in general a neat machine. If I were planning on making a lot of clothes I would probably start saving for one.
Really, a serger is not needed at all. You can easily finish the edges with a zigzag stitch or your overlock foot. It may take a little more time, but in the end you will basically get the same result.
I really enjoy seeing a project come together. It’s so exciting to start seeing what the finished project is going to look like, piece by piece. I think the most exciting part was when we finally stitched the two legs of the pajama pants together. That was the first sign that I was really making a pair of pants successfully.
I can not cut in a straight line, even when cutting along a pattern! Some of my pieces were so far off it was ridiculous. But thankfully a 5/8 seam allowance allows for this and the serger quickly made the pieces seem even. If we didn’t use a serger I would have had to cut everything after sewing them together but before doing an overlock stitch or after a zigzag stitch.


3 Responses