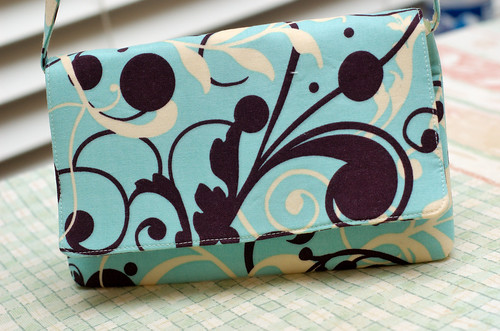
I made my first, what I would call, major project. It is the Simple Party Clutch by Elizabeth Hartman found on Sew, Mama, Sew.
Once again, I started out by reading the whole tutorial, this time making sure to read it multiple times so that it made sense. I followed the pattern exactly except I accidentally bought fusible Peltex instead of sew in. It worked out fine and I will explain later what I did with it.
Make the Strap
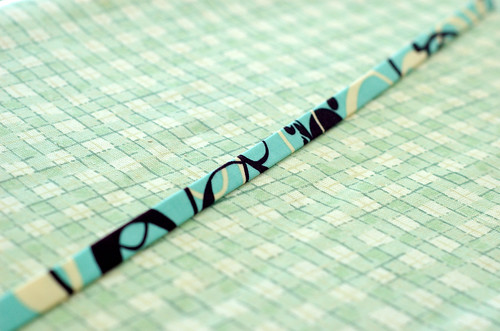
First was making the strap, which was very basic. I ironed down the strap as I went because it wasn’t really possible to fold the whole thing and then iron.

When stitching along both sides, I used my blind stitch foot. I did this because there is an edge to guide the material against. All I had to do was move the needle all the way to the left, and then use a normal straight stitch.
Make the Pocket
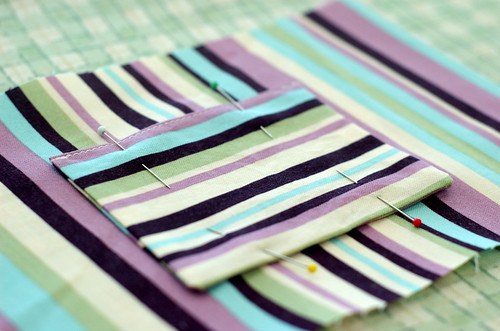
For the pocket, the directions say to match the wrong sides but really you need to match the right sides before sewing. When sewing the pocket onto the lining piece I did not sew close enough to the edges so I am guessing that they will eventually curl . So when it says to keep your stitches close to the edge, it means really close. I’m wondering if using the blind hem foot for this would work.
Make the Lining
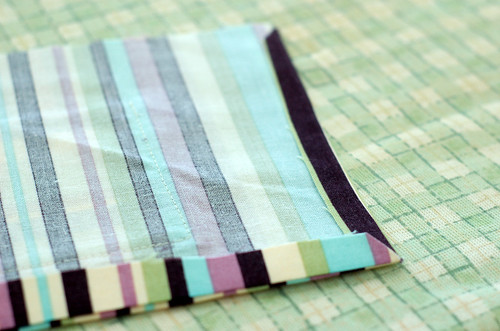
Don’t forget to clip your corners before pressing the seam allowances. It’s not exactly possible to get the square corner when you have corners that aren’t clipped. Other than that, making the lining is very basic.
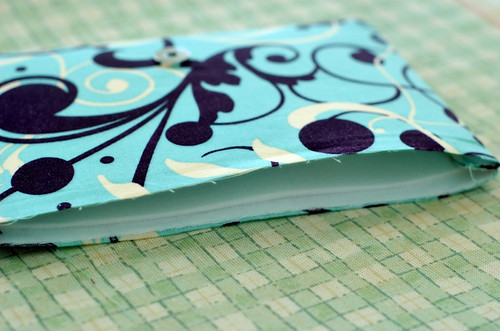
Make the Bag Body
Here is where I had to think about how I was going to use the fusible Peltex instead of sew in. It’s basically the same, except I faced the fusible side up instead of down. This in turn made the top layer of lightweight fusible interfacing face the fusible side of the Peltex.
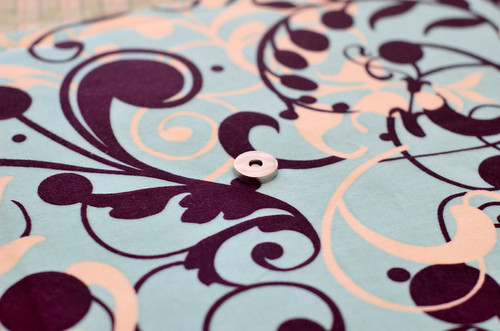
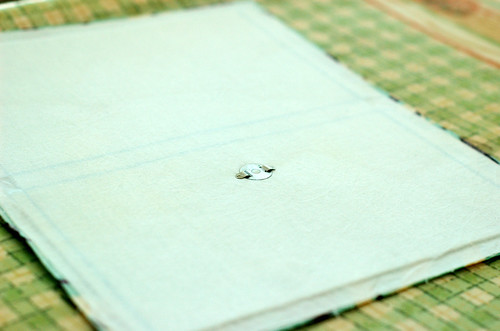
Inserting the magnetic snap was super easy since I have done it before.
My first boxed corner….much easier than I was anticipating. I love when that happens!! I wish I had more to say about this but the directions were easy to follow so I really have nothing.
The bag body from the outside. This is when I got that excited feeling that I was making a successful purse. Even if it didn’t turn out in the end it was still looking like a purse now!
I did all of the basting by hand because it was very difficult to get the bag into the machine. Even with attaching the lining to the bag body I was getting frustrated trying to sew it.
I think the problem was that the Peltex was a little thicker because it was fusible. Plus, I also used SF-101 as my lightweight fusible interfacing which is probably considered a medium weight interfacing. So overall, I think I had way too much interfacing. Lesson learned!
Finish the Purse
I would recommend trimming the interfacing from the seam before flipping everything right side out.
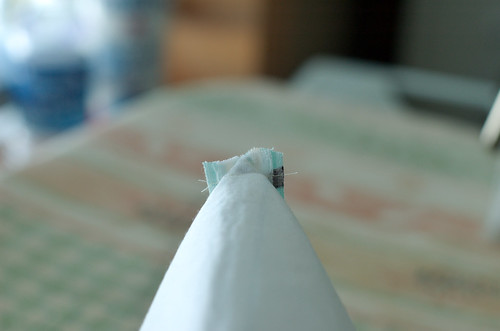
I did not end up doing the top stitching around the opening of the purse. I had all of the extra material there and would actually have to sew through the Peltex and do not have the proper needle. I may try to add the top stitching at a later date but for now I am considering it a finished purse.
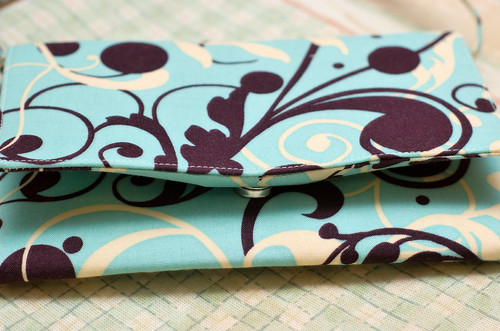
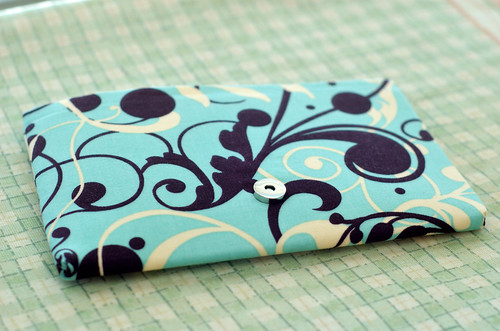
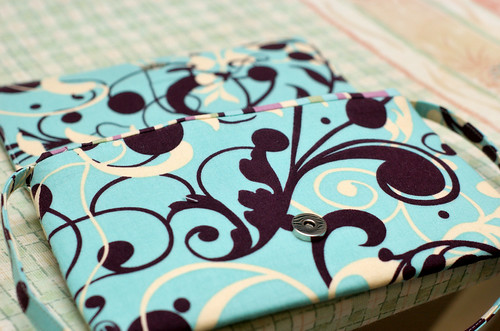
So here is my final project. Not the best, but it does look like a purse. I am actually pretty disappointed because it was going so well until I attached the lining and flap to the outside and flipped it the right way.
The purse kind of folds when snapped, the area where the flap connects has all of the extra fabric, and I don’t feel comfortable finishing the top stitch.
I think I should have probably inserted the snap on the body right before sewing the lining shut. Then I could have put it higher on the body, hence not forcing the flap to go so far over the opening of the purse.
I learned a lot from this project and hope that my next one turns out a little better.
My Little Helper
Here is my little helper, Lillian. She loves being in the “hobby room” which is where I have my sewing stuff and my husband has his computer and other hobby type stuff. Most of the time she wants to read books or play the games that cause the biggest mess to clean up.
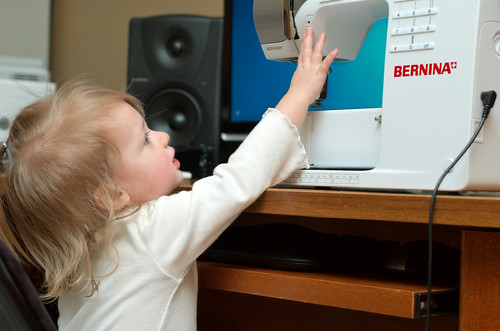
This particular day she decided that she was going to do some sewing first.

Then it was time to check out some neat blogs on the computer. I sure hope she was looking at mine.


4 Responses
She’s presh. Thanks for the walk thru. My daughter (25) has been admiring handmade clutches so I may try this one.
Nice blog there! This is gonna really help me. Can you also share a few tips on what other materials can be used to make these stunning clutch bags?