I wanted to share one way that you can make straps for a bag. For this method it’s best to use one pattern of fabric.
To start out, figure out what size you want your final strap to be. This of course will depend on what you are making and how the strap is being attached to the bag.
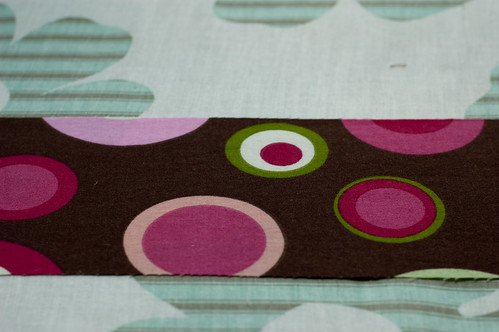
In this instance, my strap was 32 inches long by 1 in wide. You will want to cut your fabric the same length as you want your final strap but when deciding on a final length don’t forget about your seam allowance. Multiply your final width by 4.
So I cut out my fabric 32 x 4.
I suggest to always use interfacing in your straps because it will make them more substantial. I also suggest a fusible interfacing. I have used Pellon SF101 (used here), Pellon 911FF, and Pellon 809 Décor-Bond and all three work really well.
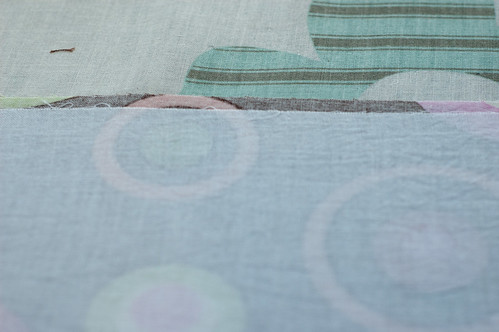
I cut the interfacing a little smaller (1/4 inch – 1/2 inch) than my fabric because it seems to always stretch a tad when ironing it on, especially the SF101.
Then iron it onto the wrong side of the fabric following the interfacing directions.
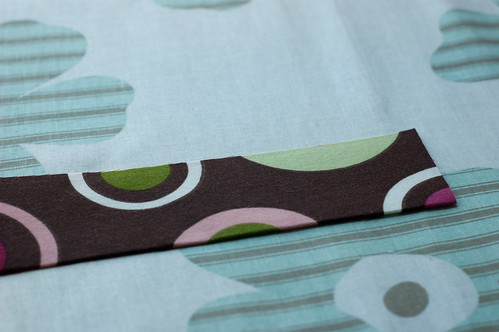
Next, fold and iron in half (width to width). I do small amounts at a time and just work my way down the strap.

Once you have the whole thing ironed in half, unfold it and take the edges toward the center line that you created.
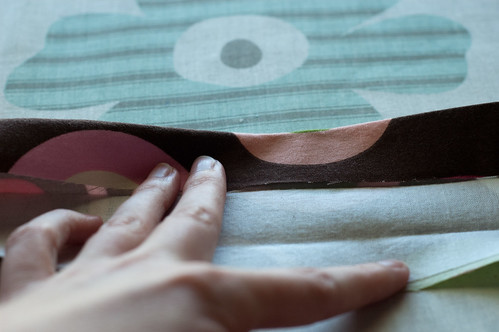
I fold and iron both sides (along with the next step) at the same time but you could easily just work on one side. It would take a little longer but if the outcome is better then who cares, right?
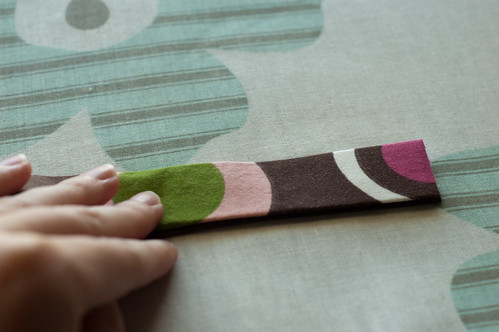
Once you have the two outside edges ironed to the middle line, fold again on the middle line and iron. It should now be the width of your final strap.
Again, I fold the edges into the middle and fold in half and iron all at once.
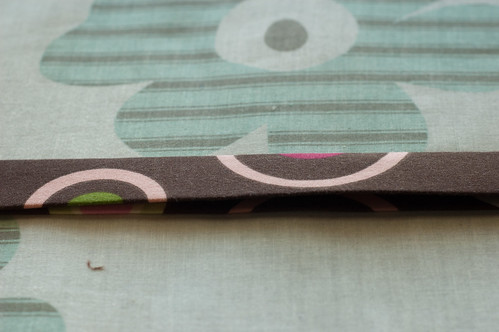
Here is what your strap should look like after it’s completely folded.
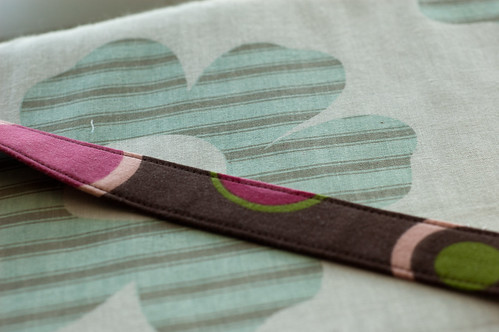
Now all that you have to do is top stitch along both edges. I stitch on the open side first and then on the other side.
Your strap is now complete.
To see a tutorial on how to make a strap using two pieces of fabric go here.
Linked to Weekend Bloggy Reading


15 Responses
This is definitely how I make 99% of my bag straps. They are thick, durable and EASY!
I’m gonna have to try this. I’ve been making a tube of fabric with fusible fleece on the inside, but this seems much easier.
Thanks for this quick tute! What’s the best way to join two pieces if my fabric isn’t long enough for the whole strap?
Thanks!
Sophie
My method: Face north. Lay one piece with the right side up, the end to be joined closest to you, and the rest trailing off to the north. Lay the other piece with the right side down, with the end to be joined atop the other, with the rest trailing off to the west (your left). Sew along the diagonal where they cross, from northeast to southwest. Trim off a triangle just outside your stitches. Straighten out the joined pieces, now both with right sides down. Iron the seam to one side. Now treat the joined pieces like one long strip and proceed as in the above photos.
You could have sewn straight across. This method makes the sewn seam 41% longer, so it’s that much stronger. In addition, when you top stitch the outside edge, you’ll be sewing the two pieces together where they overlap. It will wind up almost 2.4 times as strong as if you’d sewn straight across. This also spreads the lump out along the strap, so it’s less noticeable.
Jim, Do you mean similar to this? https://sewingnovice.com/2012/06/26/how-to-make-binding-bias-tape/
Thank you Baby! I used this method, it’s great, I appreciate you posting, xxx
Mu problem is turning the edges so they are neat Shame this wasn’t covered
Hi Loren! If you mean the end of the straps aren’t turned that is because most of the time they will be sewn into the bag so they don’t need to be turned to be neat. Otherwise, the long edges are folded into the middle creating a neat edge after you top stitch. I hope that helps!