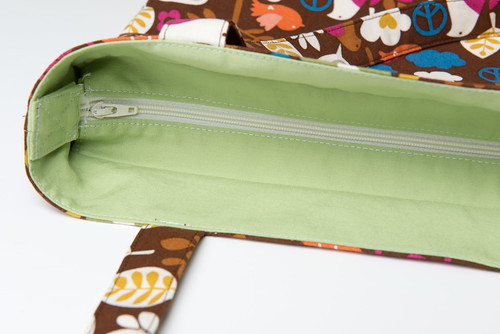
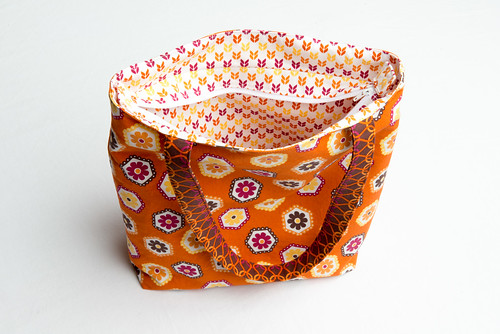
I’m pretty excited that I finally figured out the recessed zipper. I tried multiple ways and just wasn’t happy with them until this version. I took pictures for a tutorial so stay tuned for that in the next few weeks. I’m hoping that you are able to use the tutorial to help add a recessed zipper to any bag pattern.
A little about my version….the ends are open slightly, but there are two ways to finish it. You can either leave the zipper tabs loose, or you can sew them to the top of the bag. I have done both, and they work well.
With a little calculation, you can place the zipper as close to or as far away from the top of the bag as you would like. Since the zipper fits so snuggly (is that a word?) the bag still opens almost as wide as it would without the zipper. So that is a major plus in my opinion.
A few random thoughts….
I remembered the other day, that last Thanksgiving, I made aprons for my husband, daughter, and brother-in-law and never got pictures taken. So I have it in my mind to get the pictures done so I can show those to you.
Next month is Michelle Patterns’ annual DIY for the Holidays sale. In the past, this is when she offered all of her patterns at a price of $5. So if you are thinking about purchasing any of her patterns, I would suggest to wait until then.
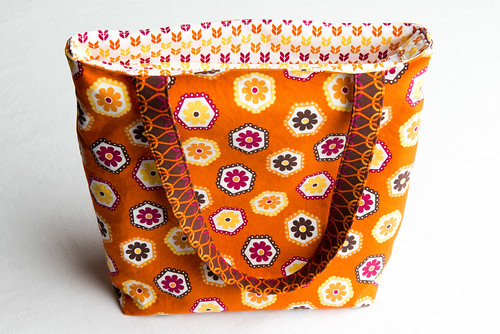
Oh, and if anyone is interested in purchasing the orange flower bag, let me know. It is about 13” tall, 10” wide, and 3.5” deep. It will be $35 plus shipping, depending on where it ships.




4 Responses
very nice, looks great!
I used your tutorial on the recessed zipper and made a bag. Now I also understand how to work a recessed zipper in a bag – and it is not that difficult. Thanks.
Hi from Iran👋
It’s been a long time since you published this post. Hope you’re safe and sound and live a happy life. Thank you for your guide through sewing zipper for bags, it was very helpful to me 🌷🙏