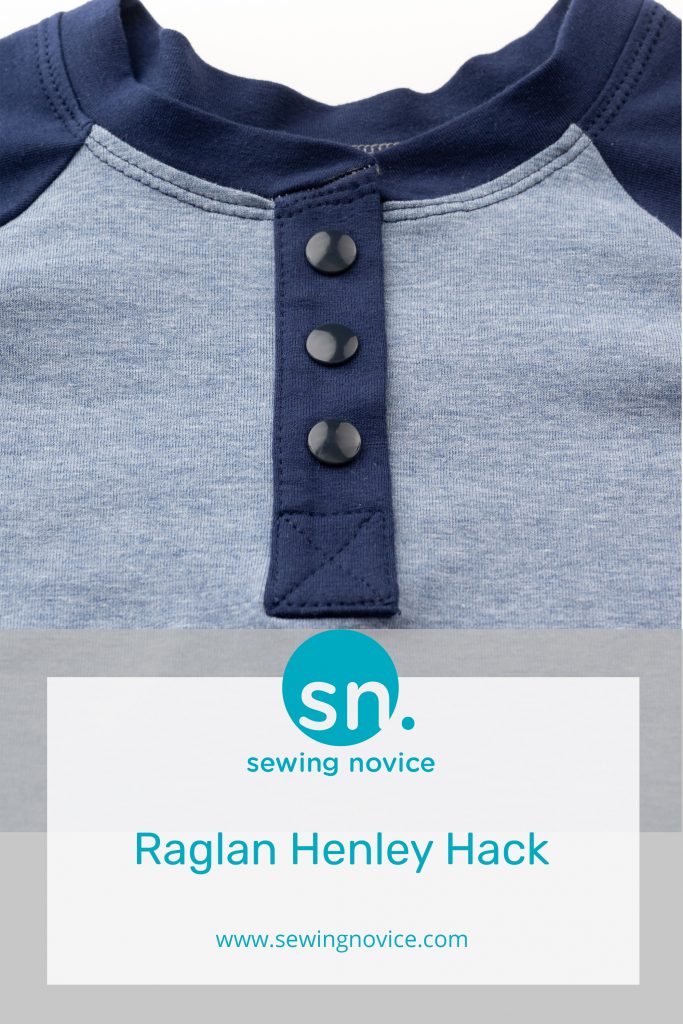
I wanted something different this year for Owen’s school picture shirt. He’s a pretty casual kid, so making something super dressy would be pointless, as it would never get worn. In the past, I made him a Henley shirt, so I didn’t really want to do the same. I love a good raglan, so I came up with making a raglan shirt with a Henley placket. I even decided to take pictures along the way, so check out the tutorial below for my raglan henley hack.

This post may contain affiliate links. Meaning, at no cost to you, I get a small percentage of the sale if you purchase after clicking. All proceeds will be used to help keep this site up and running and allow me to continue to create additional content. Thank you for your support!
I decided to use the Rocket Raglan and Hayden Henley patterns from 5 out of 4 Patterns. If you haven’t been following me for very long, the Rocket Raglan is one of my favorite patterns to make for my son. The fit is spot on and like I mentioned above, I just love a good raglan.
Raglan Henley Hack Tutorial
Cut Out the Pieces
Cut out the front and back bodice, as well as the sleeves, from the raglan pattern. Then you can cut out the placket for the same size from the Henley pattern. I did end up using the neckband from the Henley, but I would suggest waiting until you can measure the neckline to know how long the neckband will need to be.
Note: Since I used patterns from the same pattern company, the size chart is the same. If you are using patterns from different companies, be sure to use the appropriate size pattern pieces for each pattern.
Add the Placket
I followed the instructions on the henley pattern to add the placket. The only difference is that I was using a raglan style front bodice, but everything else is literally the same. 5 out of 4 has a wonderful placket video that may also help.

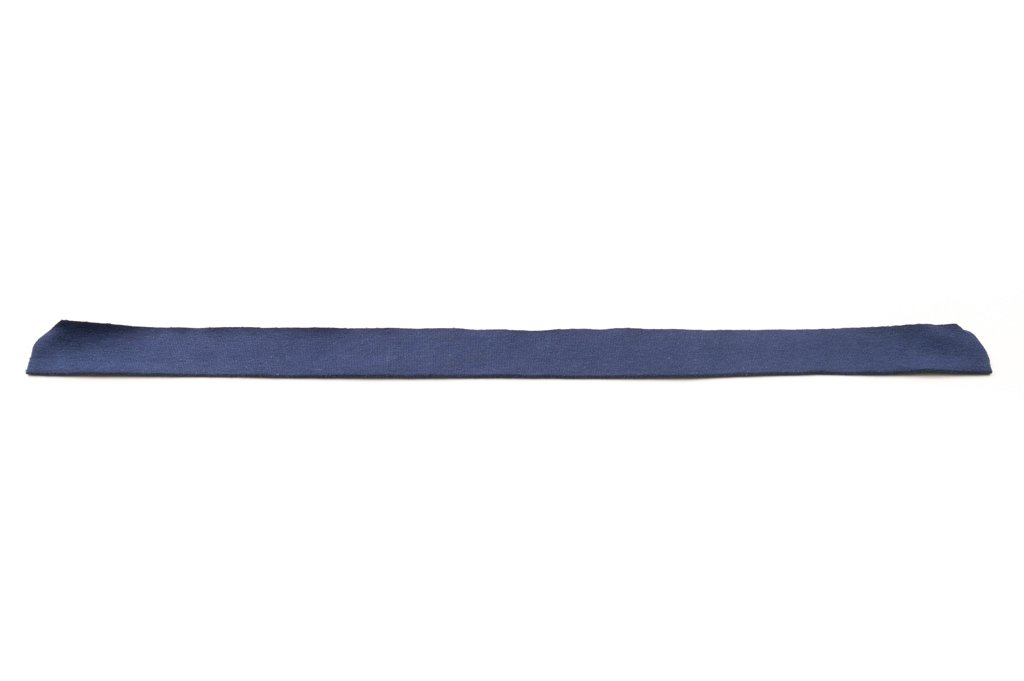
Attach the interfacing to the wrong side of the placket.
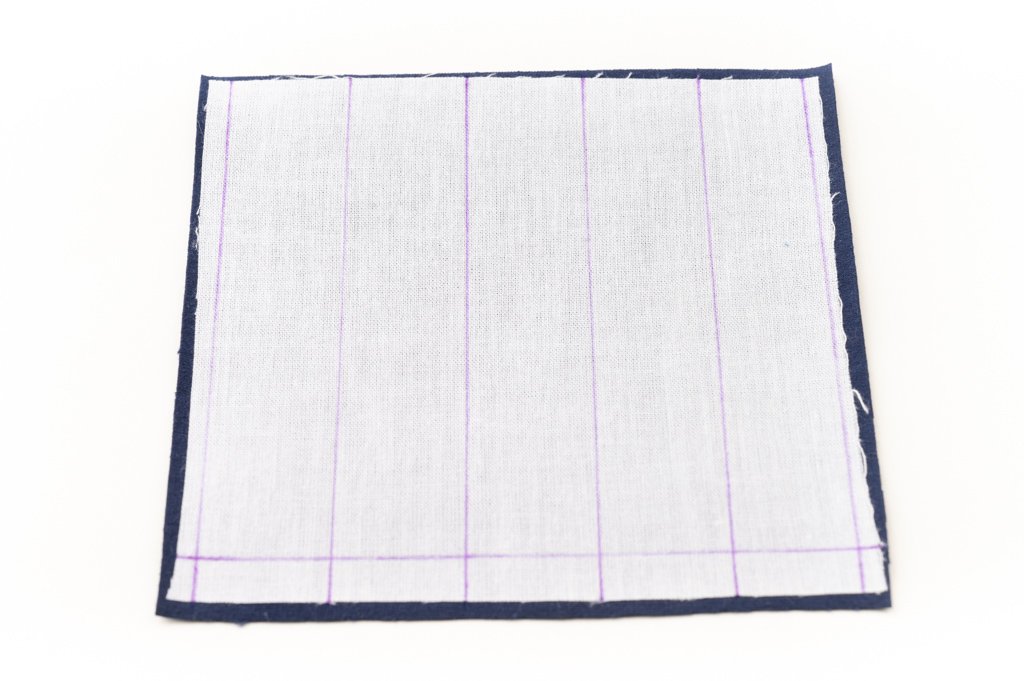
Using a fabric marker, make a vertical line 1/4″ from each edge, and then from each of those lines, mark another line 1″ toward the center. Then two more lines 1″ from the last one. You should then have five one inch sections and the 1/4″ sections from the edges.
Make a line 1/2″ from the bottom.
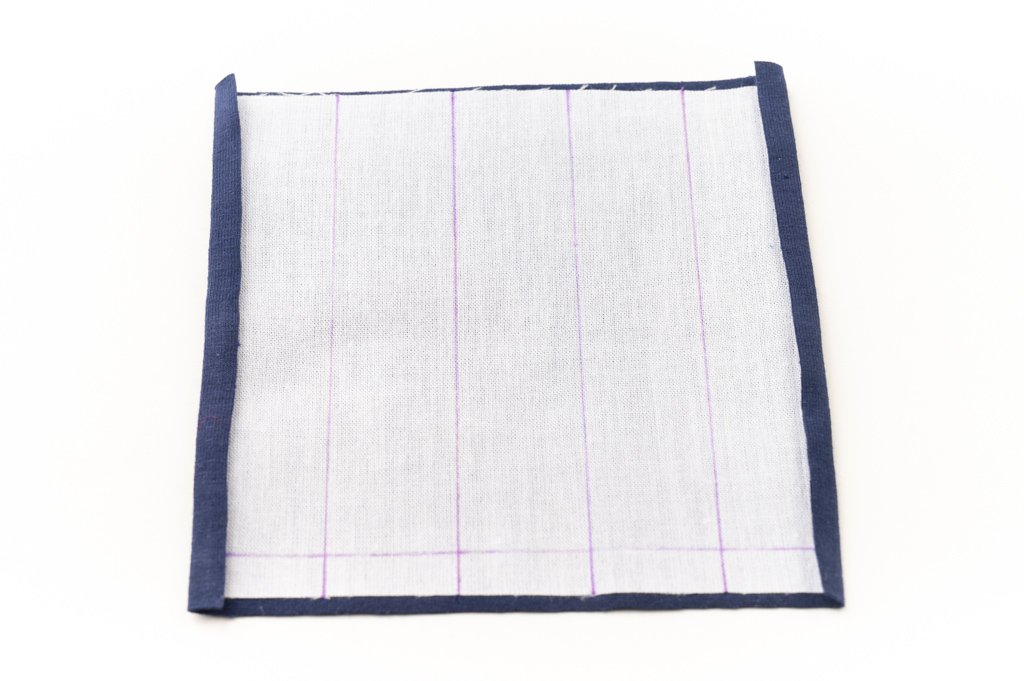
Fold and press toward the wrong side on each 1/4″ mark you made in the previous step.
Fold and press toward the wrong side on the 1/2″ line on the bottom of the placket.
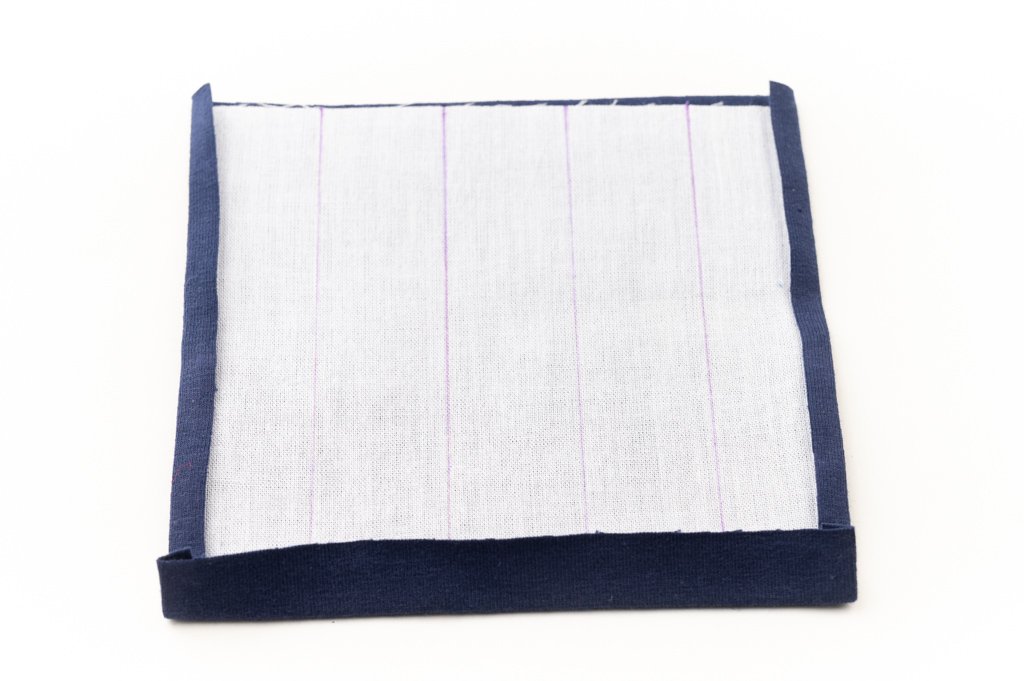
Fold and press toward the wrong side on the first 1″ lines, and then press in half to get a center point.
As you can see in the next image, I marked the center with my fabric marker so it was easier to see.

With right sides together, match the center of the bodice front and the center of the placket and pin in place.

Sew along the one-inch lines just outside of the center line, pivoting across the bottom 1/2″ line to form a rectangle around the center line.
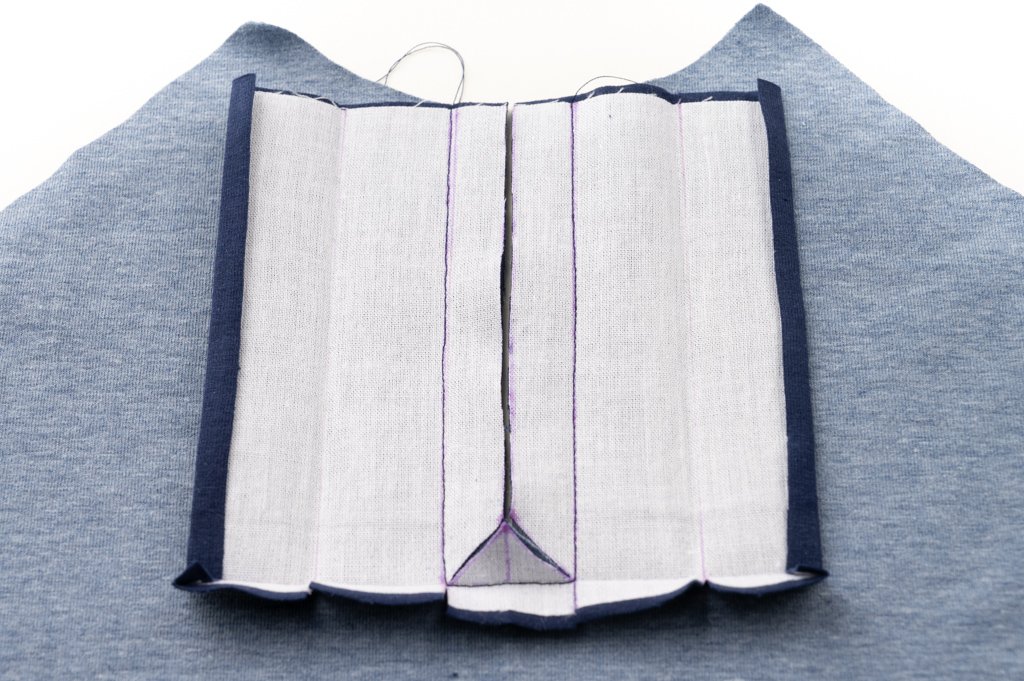
Measure 1/2″ from the bottom stitch line and on the center line. Angle from that 1/2″ mark to the corners of the sewn rectangle. Cut along the center line to the 1/2″ point, and then cut along the angles to the corner of the rectangle.
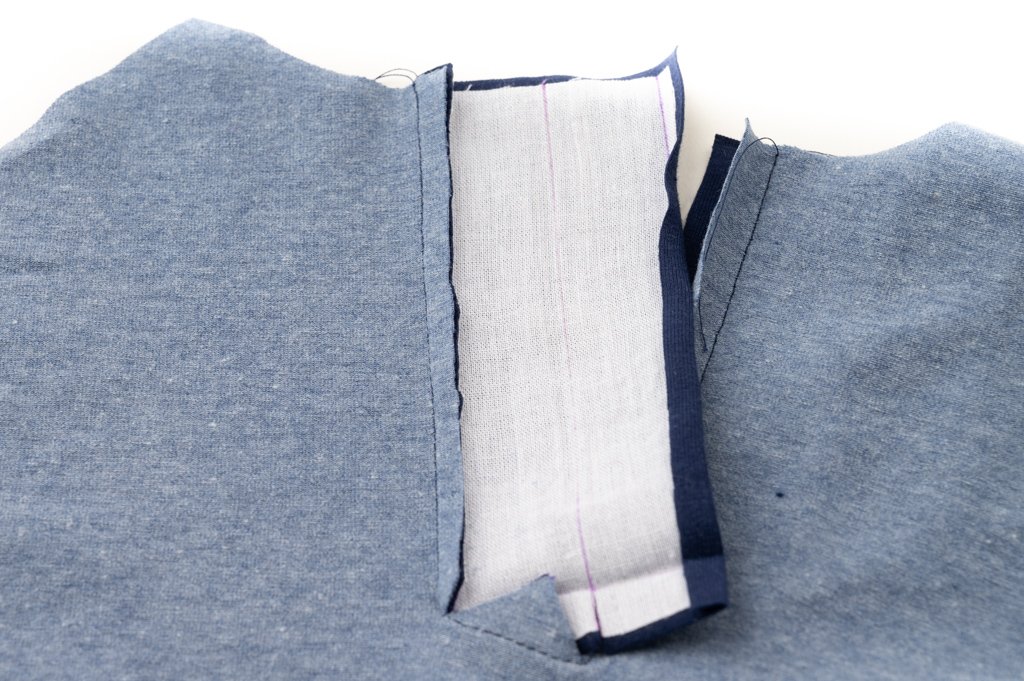
Pull the placket piece toward the wrong side of the bodice. Iron the sewn edge toward the placket and cut down to leave about a 1/4″ seam allowance.
Pull the triangle piece toward the placket, and fold along the ironed 1″ marks to enclose the triangle and the seam allowance. I like to use wash-away wonder tape so it stays in place.

Top stitch in place.
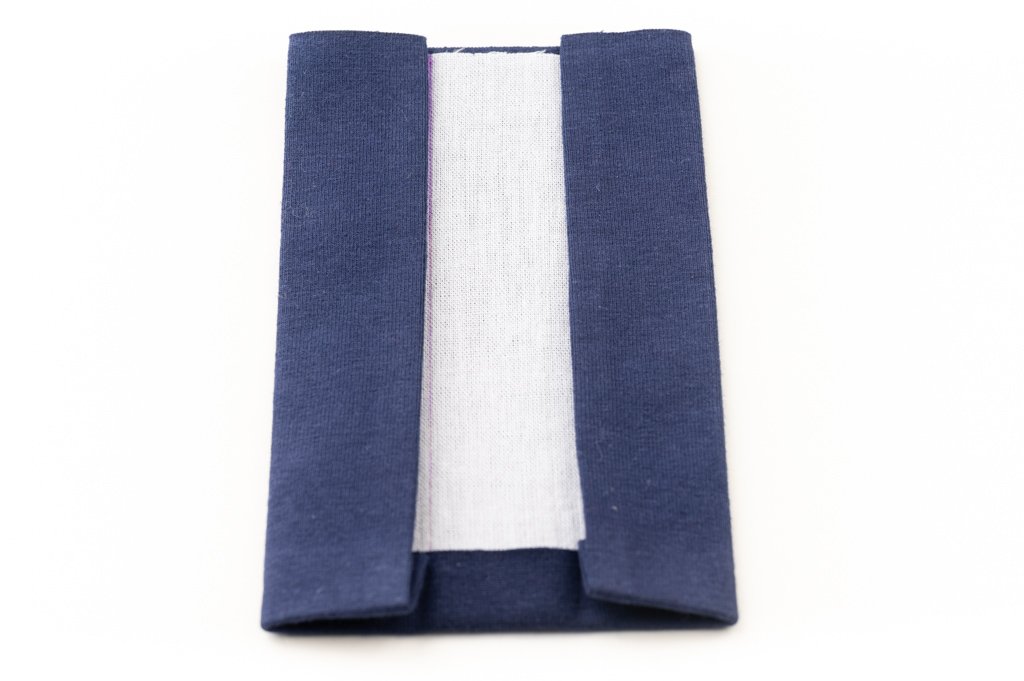
Repeat all steps for the other side of the placket.

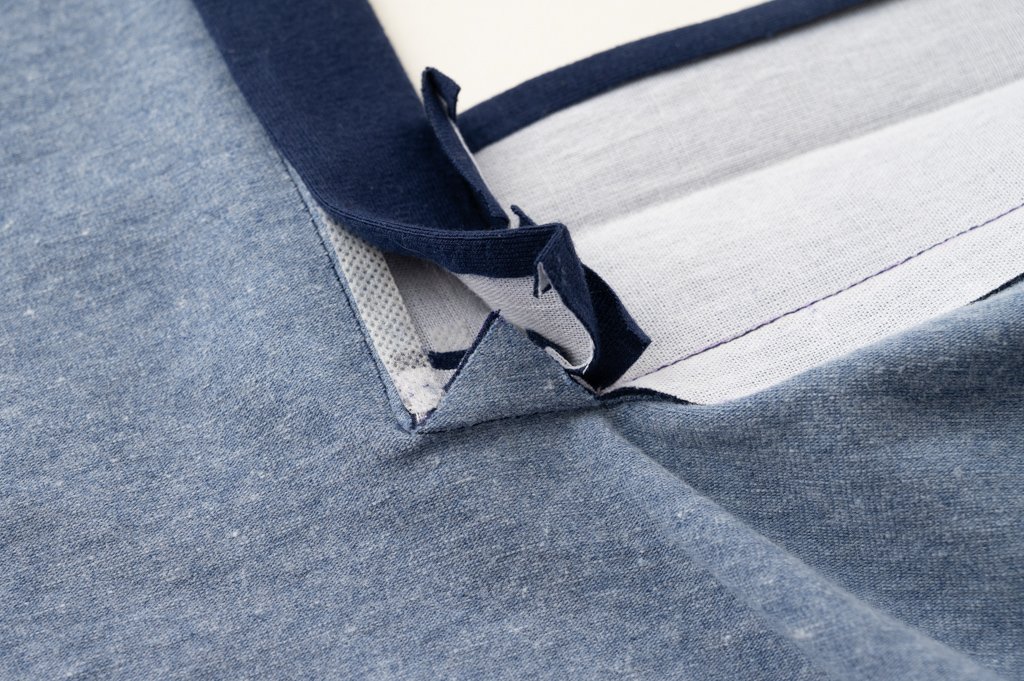
This picture shows the two sides of the placket.
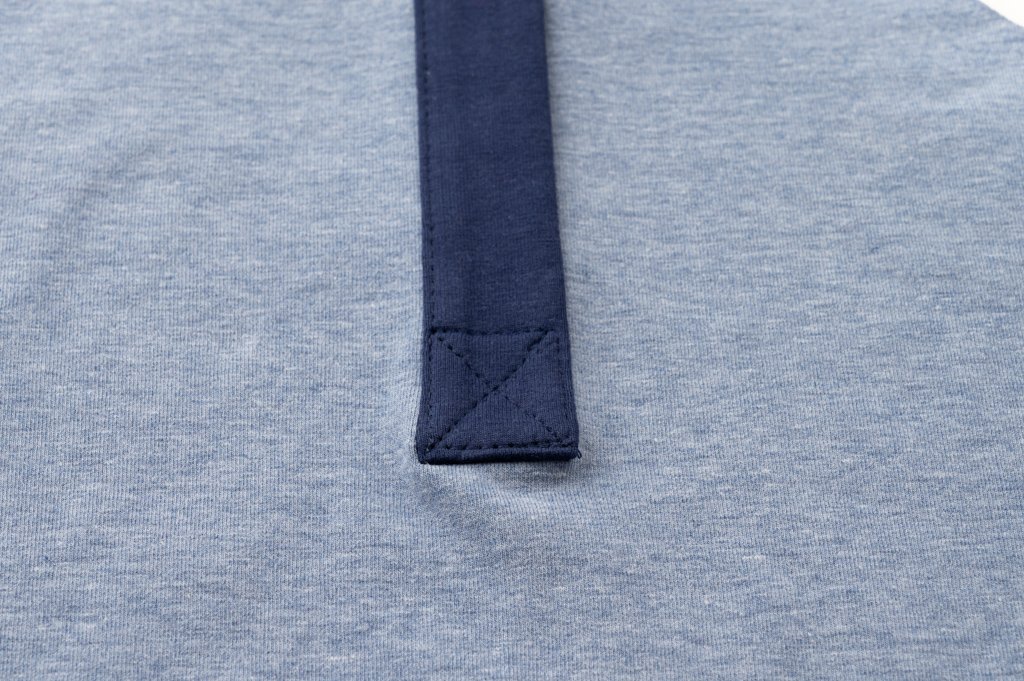
Overlap the placket pieces and stitch a 1″ square at the bottom. You can add the X in the square if you prefer.
Finish Sewing the Shirt
Now you will sew the shirt according to the raglan pattern, except for the neckband.

Attach the raglan sleeves the same as you would normally do. The only difference is that you will now have a placket on the front bodice piece. You can even go ahead and sew the side seams and hem the sleeves and shirt if you prefer. If you normally add the neckband before sewing the side seams, then proceed to the next steps before sewing the side seams.
Attach the Neckband
As I mentioned at the beginning, I used the neckband from the Henley pattern. I probably should have made it a little longer, though, as it got a little wavy after washing the shirt. In order to figure out the correct size, measure the length of the neck opening. Mine ended up being about 18″. Take that number and multiply by .90, which would be 16 for mine. Now you can use the Henley neckband piece and add or subtract length. I needed to add about 1/4″ since it’s a cut on the fold pattern piece. So that would be adding a 1/2″ total for the neckband.
Here is another video from 5 out of 4 on how to attach a Henley neckband.
A Henley neckband should have a curve in the end, and you won’t sew the short ends together like on most neckbands.
First, you will fold in half with the wrong sides together.
Then mark the center, fold in the ends toward the center to find the quarter points.
Mark the center back and quarter points of the neck opening.
This post on a raglan neckband will help guide you on finding the quarter points on a raglan.
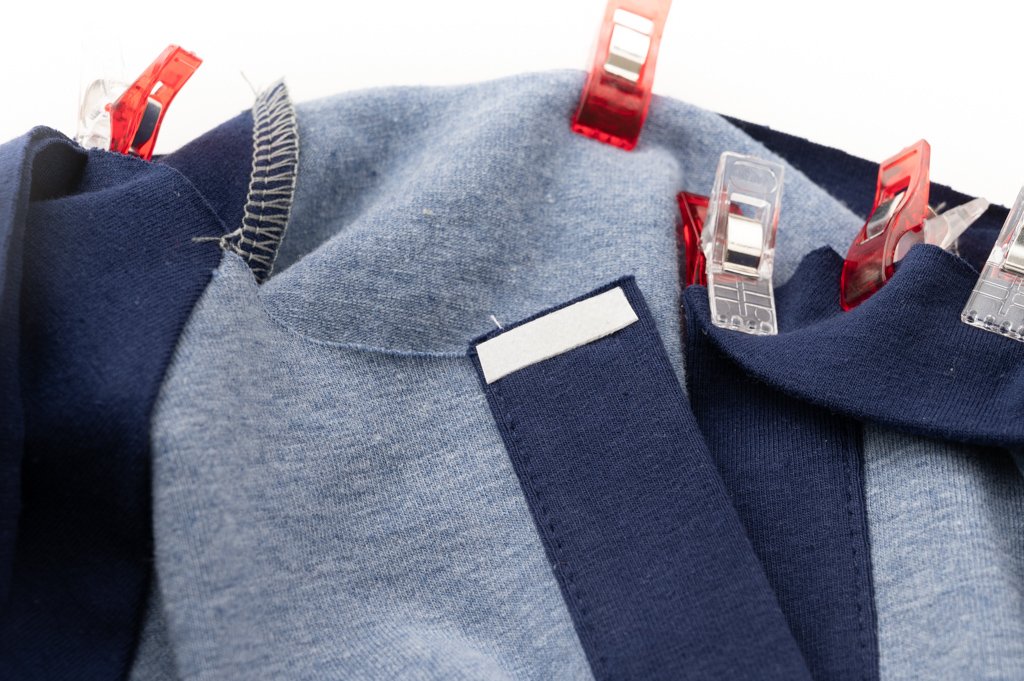
With right sides together and raw edges together, pin/clip the center back and center of the neckband together. Then pin/clip the quarter points.
Using wash-away wonder tape, pin/clip the raw edge of the neckband to the top edge of the placket. This step is going to be awkward since the neckband curves. But the corner of the neckband should touch the outside corner of the placket.
Ease the rest of the neckband into place. Baste in place before serging. Just in case your neckband doesn’t lie how you want it to.
Once you are happy with it, go ahead and serge the neckband on.

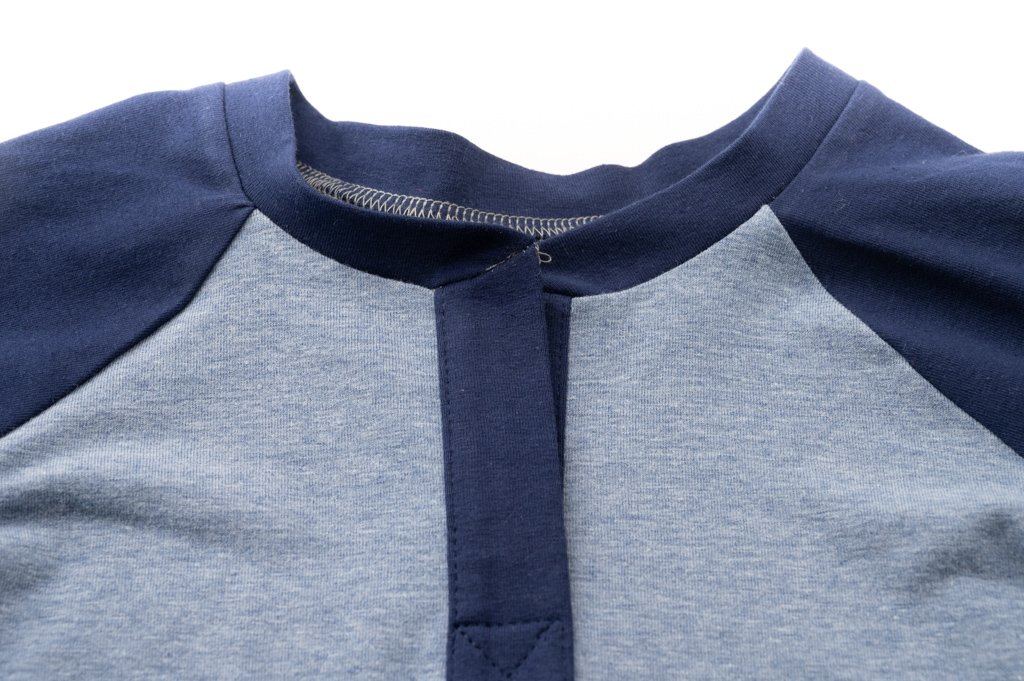
Topstitch in place.
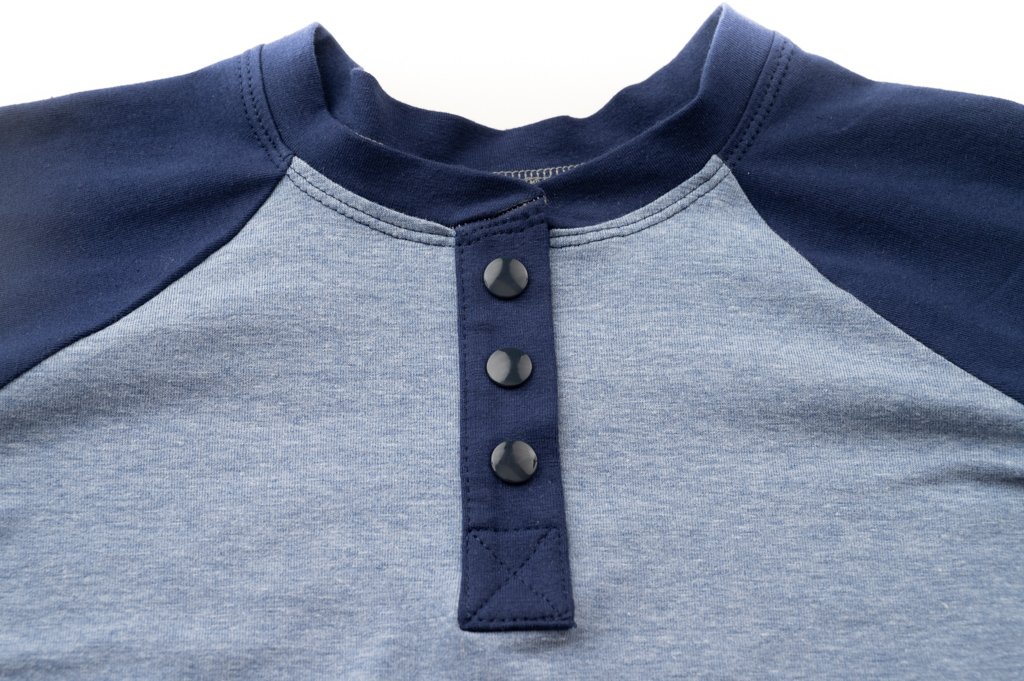
Add buttons or snaps, and hem your shirt if you have not already done so. And your shirt should be complete.
I hope you were able to have success with your own raglan Henley hack. I bet it wasn’t as difficult as you thought. The hardest part for me is always the neckband, and getting the front to lay how I want it to.


2 Responses
What a wonderful tutorial! Many will benefit from your succinct and clear, step by step directions. Thank you!
Thanks so much!