Today, I want to share a tutorial on how to add a neckband to a raglan style shirt. Raglans are one of my favorite types of shirts to sew and I feel that they are also one of the easiest to sew. If you’re new to sewing and want to start sewing clothes, I suggest starting with a raglan and hopefully this tutorial will help you out with the neckband.
Let’s get started!
Make the Neckband Piece
First, cut out the neckband piece according to the pattern that you are using. Make sure the stretch is going across the long section of the neckband. This way it can stretch around the head.
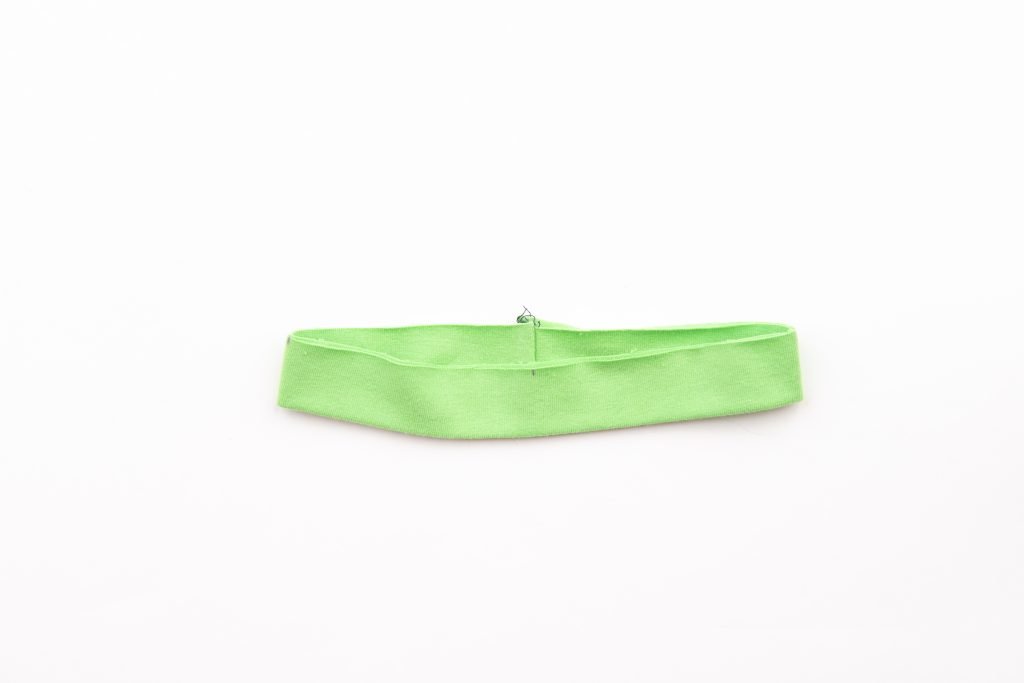
Now fold the neckband piece so that the two short ends are right sides together, and stitch using the seam allowance stated in your pattern. You can use your serger or sewing machine for this.
Fold in half long ways with wrong sides together and press with your iron. This should put your seam on the inside of the neckband.
Mark Your Neckband in Quarters
Mark your neckband in quarter points along the raw edge, using the seam as one of the points. Here you can see a light purple line in the center front and on the left side. You will also want to mark the right side, but you can’t see that mark in this image.
I like to just fold in half with my seam as one side and mark the other end. Then I line up the seam and that mark to find my other two quarter points.
Mark Your Shirt in Quarters
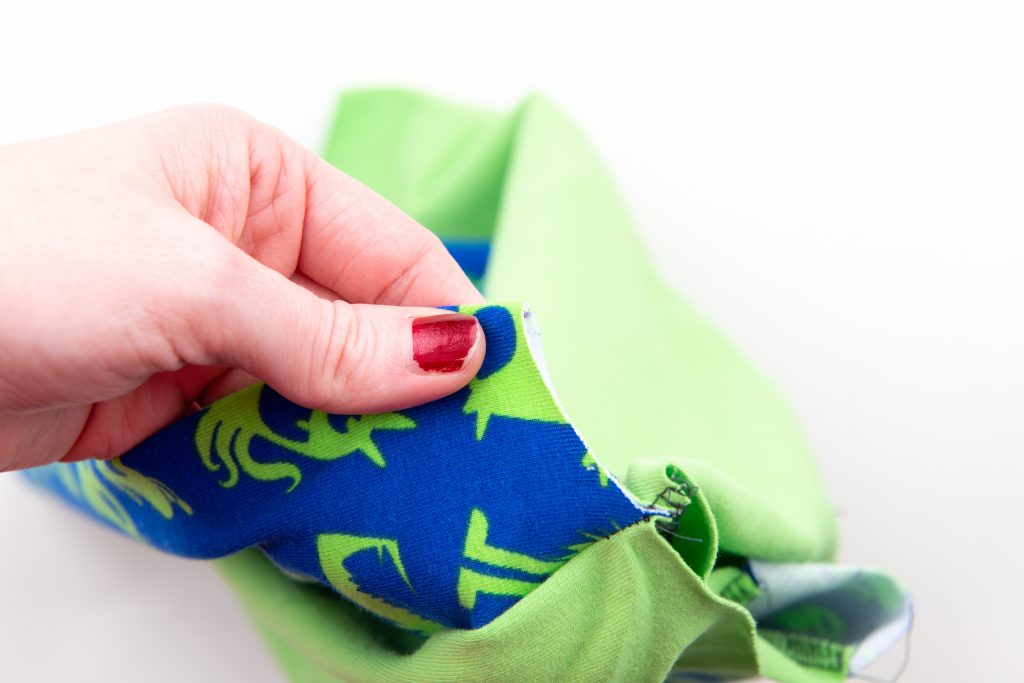
Find your front piece (the blue fabric), then line up the two seams on each side so that you can find the middle of the front. Make a mark. Repeat for the back piece.
Now line up the two center lines on the front and back piece, so you can find the other two quarter points. Make a mark. Note that they will not be the center of the sleeves. This is because the front of the shirt goes down lower than the back, making the quarter points off from the exact center of the sleeves.
You can see here that you can’t just line up the sleeve seams to find the last two quarter points.
Attach Your Neckband
Find your back piece again and line up the seam in the neckband piece to the center back line that you made. Clip or pin in place.
Match the remaining quarter marks on the neckband to the quarter marks on the shirt and clip or pin in place.
From there, I like to clip into eighths. To do this, you will slightly stretch the neckband piece to fit evenly between two quarter point clips. Be sure to only stretch the neckband and not the neckline of the shirt.
Serge or sew your neckband onto the shirt using the seam allowance stated in your pattern. Again, make sure to only stretch the neckband and not the actual shirt.
Finishing Touches
Iron your seam down toward the shirt.
Top stitch in place. I use my coverstitch machine, but if you do not have one, you can use a twin needle or a stretch stitch with your sewing machine. I highly recommend to always top stitch for a more professional look and it also helps the neckband to lay better.
Press with your iron one more time and you have now successfully attached a neckband to a raglan shirt! Congrats!!
Share this post
2 Responses
Thank you so much for this information, very helpful and informative!


2 Responses
Thank you so much for this information, very helpful and informative!