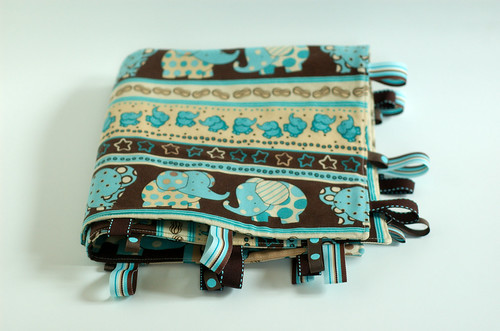
Another thing I made for our cousin’s six month old son was a ribbon blanket. I essentially followed this tutorial from Moda Bake Shop but looked at many other ones as well.
Due to the fabric that I was using, I ended up with odd sizes. I cut each square 9 5/8” with 1/4” seam allowances, except for attaching the ribbons which I did at 1/8”.
I made both sides of the blanket with all four fabrics instead of a minky fabric on one side.
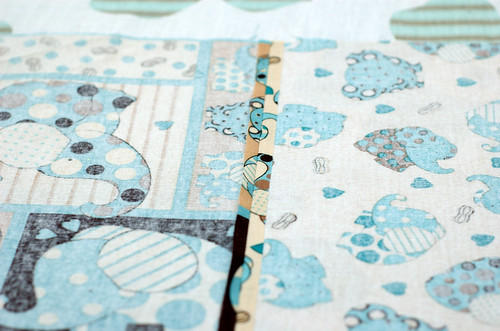
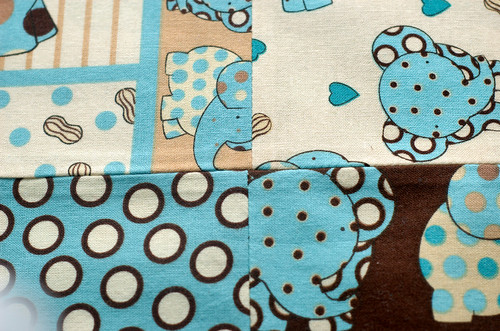
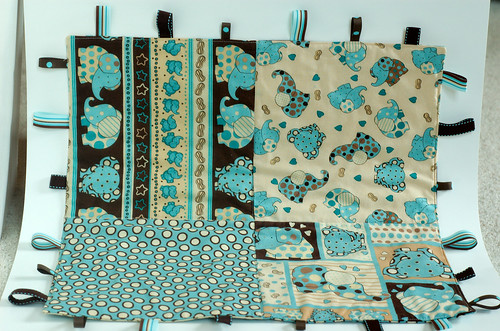
As you can see, I did not do the best job at matching up my fabrics, which caused issues when I stitched in the ditch at the end. The reason I decided to stitch in the ditch is because I didn’t want to take the chance that the warm & natural (the batting that I used) would come loose and ball up after being washed.
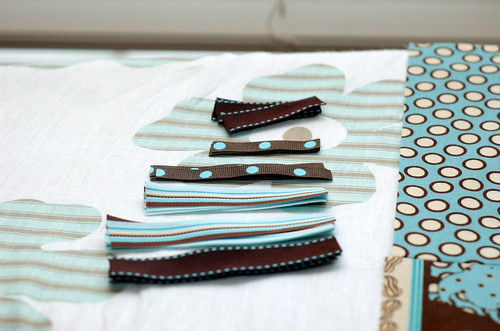
I chose three different ribbons and cut them in three different sizes. When attaching them, I just made sure to not have any of the same pattern next to each other, but the same size was fine. And actually, I used one of each size and pattern on each half of a side.
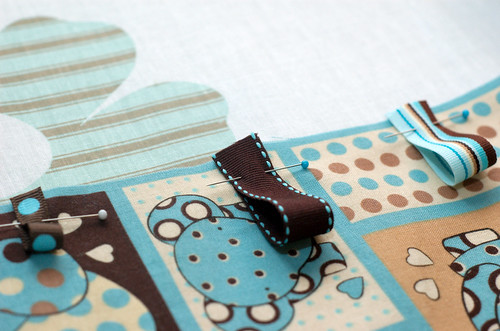
I decided to pin each ribbon in place and then I sewed them on with about 1/8” seam allowance. This may have caused more work for myself, but I felt that there would be less chance of having the ribbons shift this way. I would do it this way again even if it is more work.
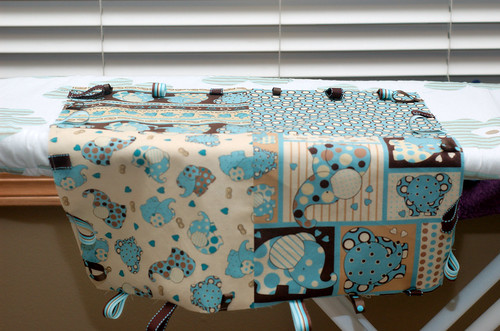
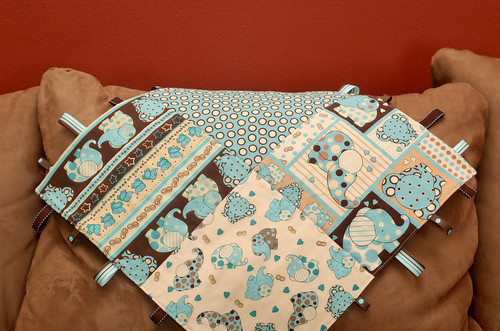
Here is one side of the blanket after attaching all of the ribbons. I placed the ribbon fairly even (just eyed it) because well, that is how I am. haha Many other people can easily randomly attach ribbons, but I just don’t have it in me. As often as I try to make things random I always end up with some sort of organization.
In other words, attach the ribbons however you are feeling at that time. I think it can look fantastic either way!
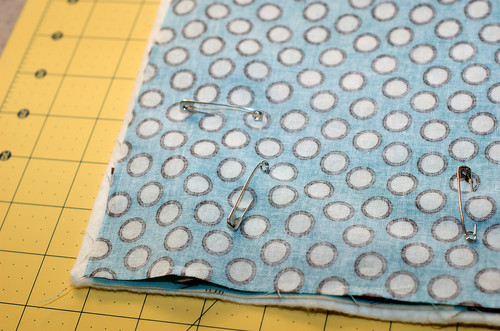
I may not have needed to use safety pins to keep everything in place, but I thought I would give it a try. Plus, I then wouldn’t have to worry about being poked by pins.
For the most part the ribbon went toward the inside, but there were a few that wanted to sneak out, so I just had to make sure to tuck them back in. Otherwise, they would be on the inside of the blanket once it was completed.
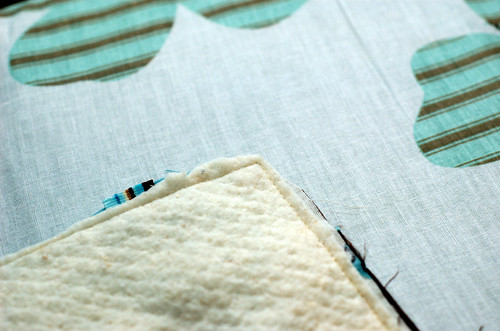
After sewing everything together, I trimmed the warm & natural so there was less bulk. Turned the blanket inside out, ironed, and topped stitched all the way around.
After topstitching, I decided that it would probably be best to quilt it in some way. I didn’t feel like actual quilting would look the best, so that is why I decided to stitch in the ditch. I am not 100% happy with how it turned out, but it has to do. I wish that you weren’t able to see the stitching, but you are.
Overall, it’s an adorable ribbon blanket, but it could have turned out better if I had made sure my blocks were completely lined up. Live and learn, right?




4 Responses
we think it looks fabulous, can’t see any mistakes! both kids like the blanket!
Don’t look too close now that I have pointed it out. 😀
lOvE iT!!! What is that to-die-for fabric with the elephants? It’s sooo cute!!! Nice job on the blanket!!!
Thanks!! I got the fabric from Joann’s…it’s by Debbie Mumm. They also had a pink one for girls. I looked online to see if I could link to it for you but it appears that it’s no longer in stock.