A lady I work with would like a basic tote bag, but with a zipper. I have tried a few different ways so far and wanted to show you one today, even though it didn’t really work out the way I wanted it to. I looked at different tutorials online and pictures of recessed zippers and came up with this version. Here is the tutorial for my successful version.
Here is a very brief and rough description of how I did it, but I don’t really recommend this way because the side seam becomes very bulky and it’s near impossible to get a straight top stitch. The good thing about this version is that when the bag is zipped closed, there is no opening at all, so nothing can fall out.
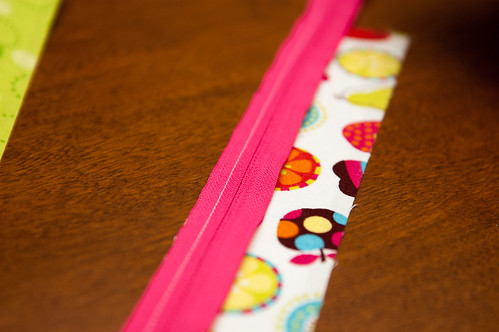
First, I cut out my basic tote pieces. I think mine were 12 x 12. Then I made the zip pieces (12 x 3 1/2). I attached the zip pieces to the zipper in the same way that you normally would. If you need a reference, I suggest following the Lil Cutie Pouch tutorial, but just for the zipper installation.
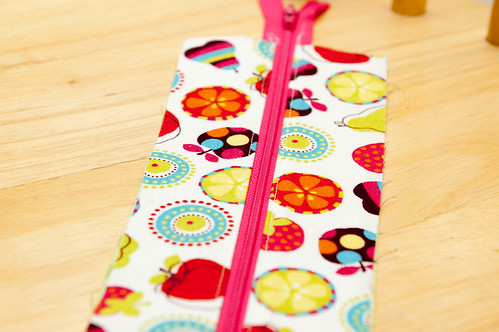
Here is the completed zipper section.
Then I attached the zipper casing to the top of the bag by placing the outside fabrics together. I put the strap between the casing and the bag body during this step.
For the second side, it appears that the zipper is twisted, but really it isn’t. I just made sure that it really was going to be correct before actually sewing the casing onto the bag.
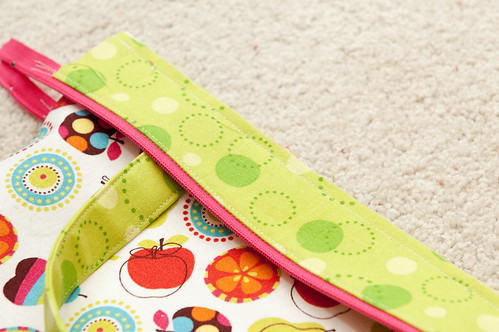
Here is what it looks like after the zipper casing is attached. The seam that you see will be the top of the bag.
Next, like I normally do with a tote bag, I placed the right sides together and sewed around the three raw edges. Making sure the zipper casing also had right sides together and included that when I sewed the raw edges together.
I then turned it right side out and formed a boxed corner with the zipper casing.
I tucked the casing into the top and top stitched around the bag. This is where it got really difficult because there is so much fabric in the side seam. I managed to top stitch, but it doesn’t look the best.
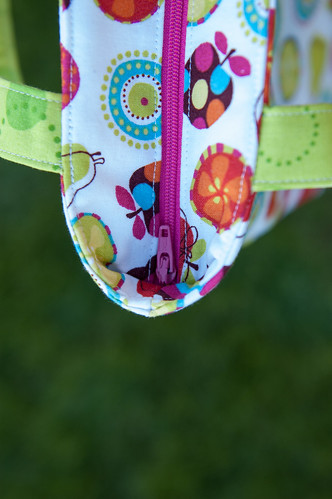
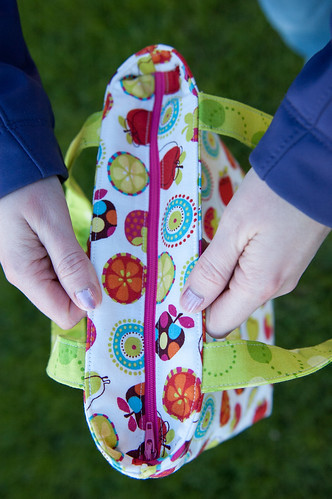
Here is the view from the top of the bag. I like the overall look of it, but also know that it won’t work for many bags. I have tried another version with one major screw up and one successful bag. I will show those soon, and plan on doing a tutorial for the recessed zipper that I am happy with. So stay tuned!
I had to share a few pictures of Lillian with the bag.
This is now officially her farmer’s market bag. She loves going to our local farmer’s market so I thought it would be perfect to make her a bag to carry.
On a side note, these pictures were taken toward the beginning of the summer when we still had beautifully green grass. Now the grass is brown and feels like straw so it wouldn’t make the best background for pictures.










6 Responses
Hi, thanks for your great tutorial….however i just want to know if i insert the inside lining, is that same way as we do with tote bag without zipper ? if you could help, appreciate it. Thanks.
I like this version better than the success version. Maybe wes should trim the interlining in the seam to make it easier to top sticth. I’ll try mine with this version, wish me luck 🙂
Wher e can we find the whole bag tutorial thank u