Changing a rotary cutter blade is a pretty basic thing to do but I thought a post about it couldn’t hurt, right?
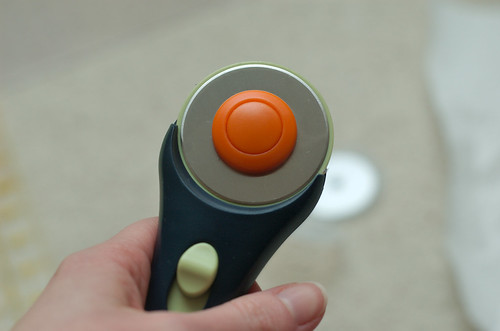
This is what it looks like from the front (well, what I consider the front).
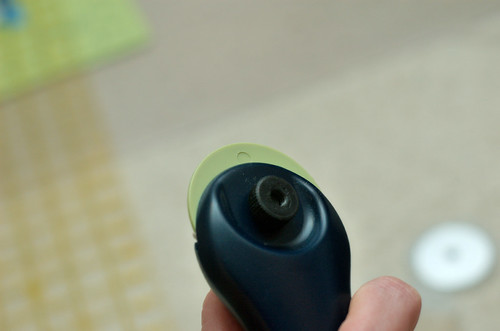
There is a a black nut on the back that you loosen to get the orange screw off. It comes off with the normal rule of “righty tighty, lefty loosey.” So to get it off you will need to turn it to the left to loosen it.
Here you can see the case of new blades along with the orange screw and black nut. This one has five blades and at first I couldn’t get them apart. I was trying to pull them apart when actually sliding them works better.
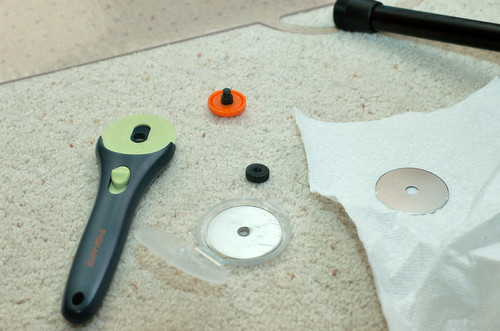
To prevent the blades from rusting they put some sort of oil on them. I wiped this off with a paper towel so that it wouldn’t rub off onto my fabric while I was cutting it.
Once you have the new blade ready, you just lay it on the front of the cutter. Either way is fine, there is not a difference between the two sides of the blade.
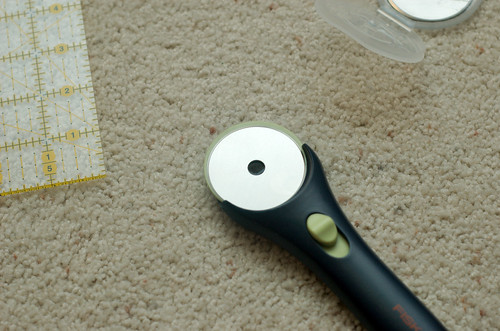
Reattach the orange screw and put the black nut back on and you have a nice new sharp rotary cutter.
My rotary cutter is Fiskars brand but I am guessing most are assembled in about the same way. Really, all that you need to do is pay attention to how you took it apart and then reverse the steps.
Happy cutting!


One Response
I do not agree. Read
http://cowtownquilts.com/2015/05/16/rotary-ruler-cutter-review/
Best regards, Brook