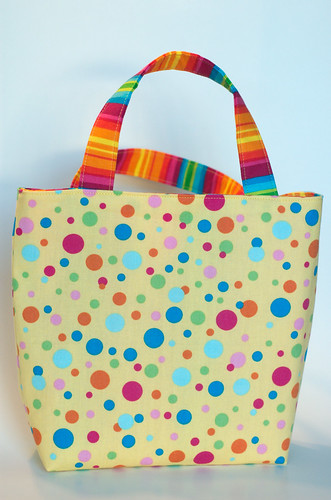
The last gift I made for our cousin’s children was a small tote bag for their daughter. I used the same tutorial that I used for my tote bag, except I added a pocket to the inside and changed the dimensions so it was smaller.
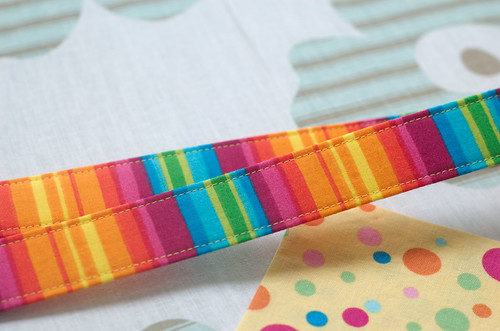
I cut two 10 1/2 x 10 1/2 pieces from the outer fabric, lining, and interfacing for the main bag. For the handles, I cut out 4 x 22 pieces from the lining and interfacing (you could also do two 4 x 11 pieces). The pocket is a 5 x 10 piece of the outer fabric.
For this bag, I used Pellon 910 which is a nonwoven, sew-in interfacing for featherweight to mid weight fabrics. I would have used Pellon 911FF like I did in my tote bag, but when I was buying the supplies they were out of it. Luckily, I did have enough for the handle because I don’t think I would want to mess with a sew-in interfacing for a handle.
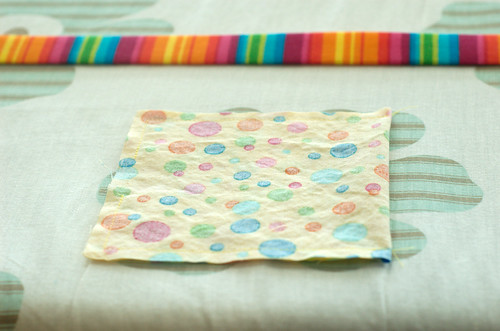
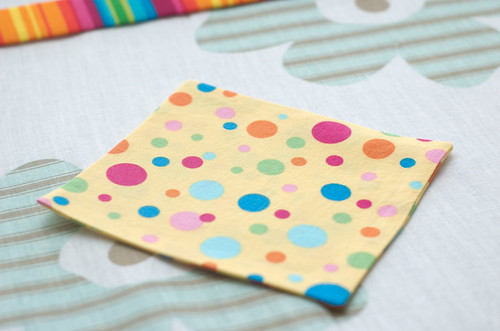
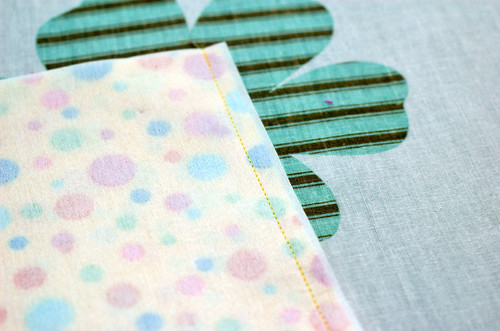
First, I made the handle and pocket. For a pocket, all you need to do is fold it in half the long way with right sides facing. Then, sew along the three open sides, but leave an opening in the bottom so you can turn it right side out. Clip the corners, turn, iron, and topstitch the top (folded side).
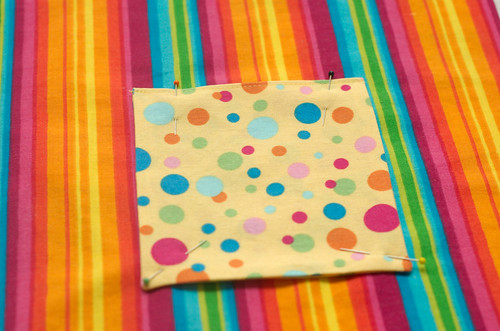
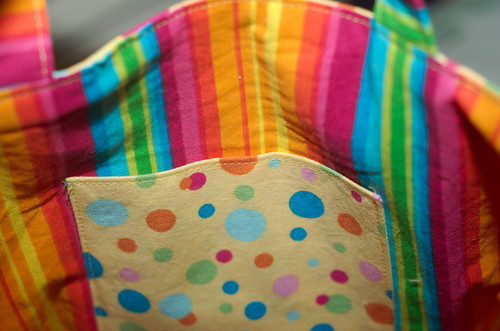
To attach the pocket to the lining, all you need to do is pin it where you want the pocket to be and sew close to the edge on the sides and bottom. Don’t forget to lock your stitch at the beginning and end so the pocket is secure.
I attached the interfacing to the outer fabric when sewing the two pieces together. Instead of basting (a long stitch that holds multiple pieces together and is normally removed after permanently sewing them together) I just pinned the four layers together.
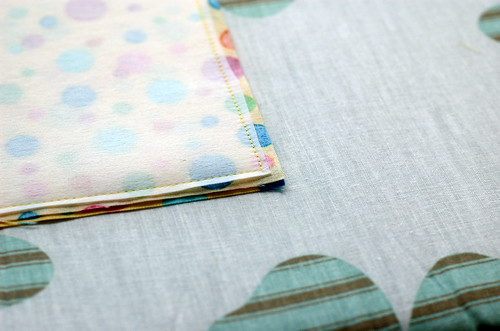
Since I used sew-in interfacing, I was able to trim the excess out of the seam allowance. That way, when I turned it right side out there would be less bulk in the seams.
This project went well and I still really like these tote bags. I still prefer the fusible interfacing, not only because it’s easier but because I did like the stiffness that it added to my other tote bag.
I also like the idea of having a pocket but I might line the pocket next time just so that there is a little extra support. Also, this bag was more difficult to iron once finished since it was smaller.
Overall, I think the size of this bag is perfect for a young child and would make it again.





11 Responses
So glad to have found your blog. I just bought my 1st sewing machine, and am trying to teach myself how to use it. This bag is too cute!
This looks exactly what I’ve spent the last hour searching for. Thanks for sharing! Going to sew one now!
Love your bag. Thanks for the great tutorial. Can you please tell me what the finished dimensions are?
Thank you for helping me figure what size tote for my grandsons! Lovely tutorial!
Repost comment with corrected blog address….Thank you for helping me figure what size tote for my grandsons! Lovely tutorial!
You’re blog came in just enough time. Thankyou Thankyou !!!!!
These dimensions look perfect with a short handle for a toddler! I’ll be using it tomorrow. It does look like you boxed the corners. I’m new to bags, what dimensions did you use?
I did box the corners, unfortunately, it’s been a long time since I made this bag and I can’t say for sure what dimensions I used. Sorry! But, I would think an inch would be good as that would give you an inch in depth for the bag. There is also a good chance that I still followed the original tutorial at Skip to My Lou and did 1.5 inches. I think you would be good either way and still have a great bag!