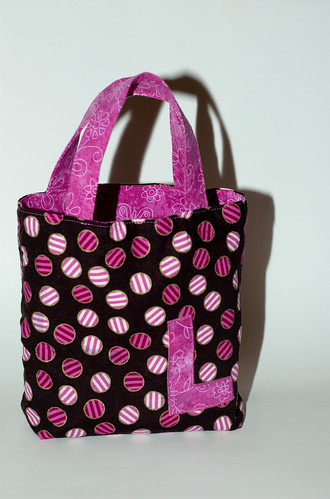
I made Lillian a tote bag just like the one that I gave away and the one I made for our cousin’s daughter.
Except this time I appliqued an “L” onto it so it was a little more personalized. I am very happy with how it turned out. I actually made this one before I did the flower applique because I knew straight lines would be easier to applique.
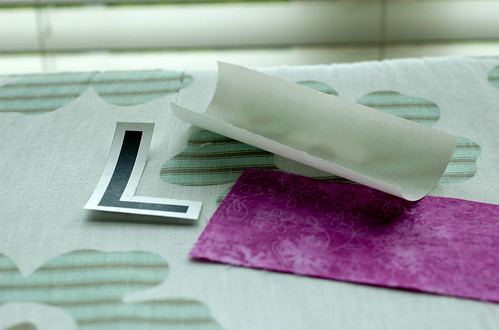
First I printed an “L” onto regular paper. After printing I realized that I wanted it to be a little bigger so I just measured the same distance all the way around it to get a slightly larger “L”. Then I cut it out.
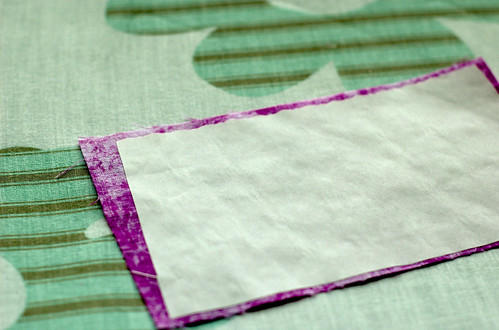
I cut out a piece of fabric and Heat N’ Bond Lite that was large enough for my “L” and then ironed the Heat N’ Bond onto the fabric.
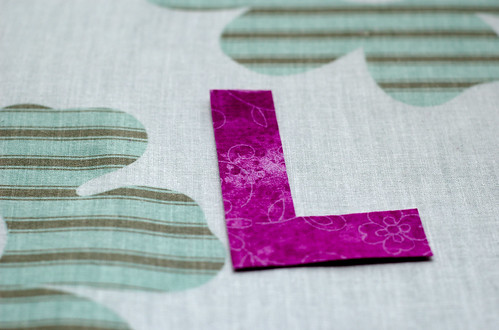
Then I traced the “L” and cut it out.
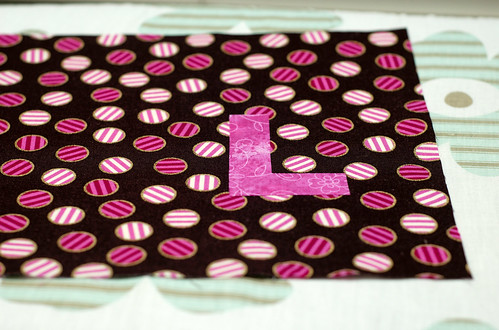
Next was the placement of the “L”…I wanted it on the lower right corner but had to make sure it wasn’t on the edge or bottom of the bag. I ended up placing it 2 inches from the right and 3 inches from the bottom.
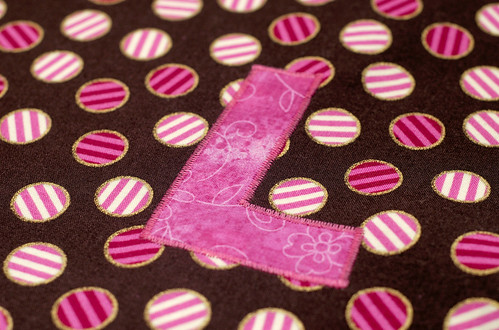
Finally was sewing around the “L”. It was easier than the curves in the flower but I have yet to figure out exactly how to do the corners.
I am very happy with this bag and Lillian loves it! Plus, she looks so cute carrying her little bag around (I should get a picture to share with you). We have a few of those book blocks which consist of small books so we put a few in the bag each time we are going somewhere. That way Lillian has a variety of books to read on the car ride.


One Response