I was making a few skirts for a coworker’s daughter and thought I would take pictures of the process of making an elastic waistband.
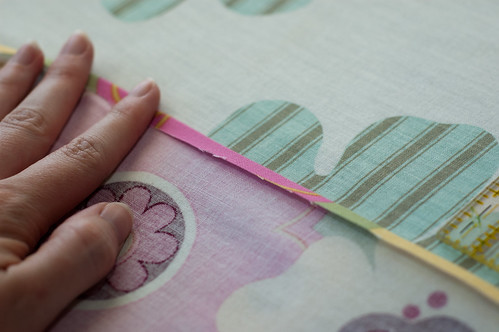
To start out, fold and iron the edge in by about a 1/4 of an inch. If you have a serger you can also serge the edge.
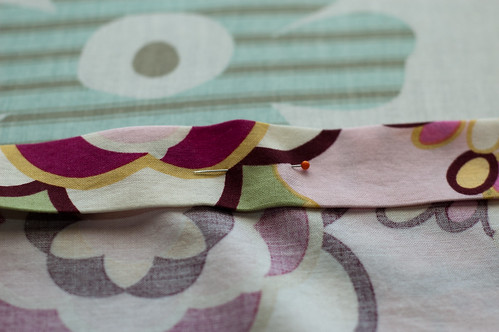
Next, fold and iron in again a 1/4 inch wider than your elastic. So if you are using 3/4 inch elastic this piece should be folded at about an inch.
I then mark the center of the back so I know where to leave my opening. You could leave the opening anywhere but I like to add a “tag” to mark the back.
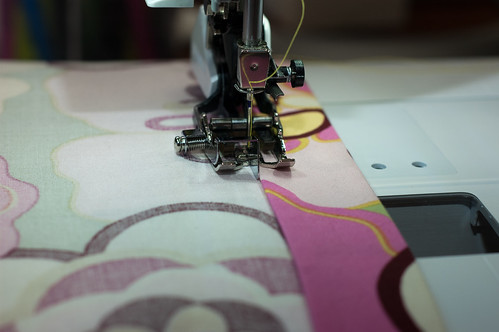
Now sew very close to the open edge. I have been using my edging plate that came with my walking foot. You can use a regular foot as well, I just find it easier to use the edging plate because then I know I’m sewing in a straighter line.
It’s important to stay close to the edge because if you don’t then the elastic won’t fit.
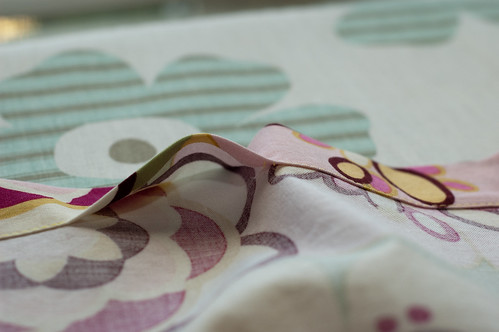
Don’t forget to leave an opening to insert the elastic!
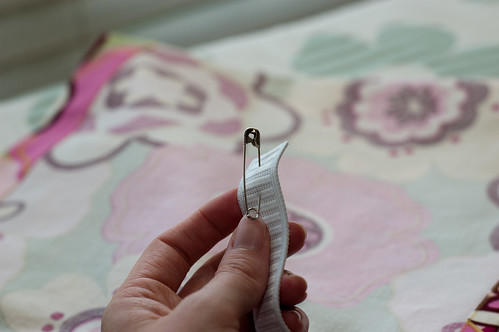
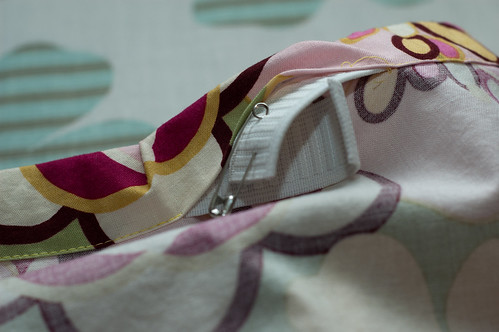
Prepare your elastic. I cut the elastic an inch shorter than the waist measurement. (keep reading for another option) Then insert a safety pin into one end. The safety pin is so that you have something to grip onto when trying to get your elastic through the casing that you just made.
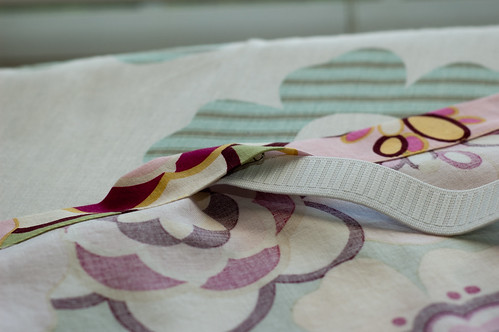
Push the end of elastic with the safety pin through the opening…
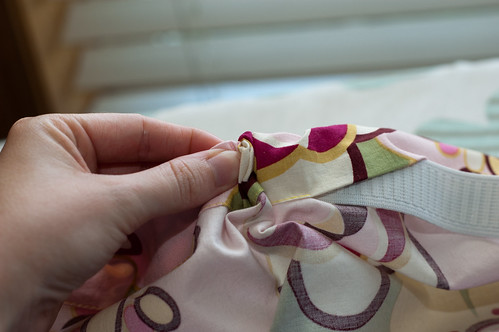
Scrunch the fabric onto the elastic…
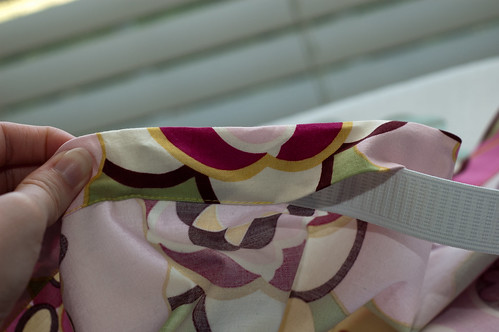
Then pull the elastic into the casing…
Continue until the elastic is all the way through and can come out the other side of the opening.
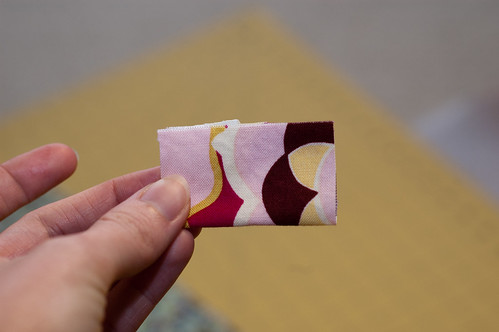
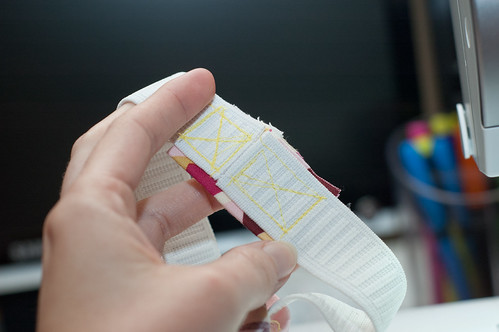
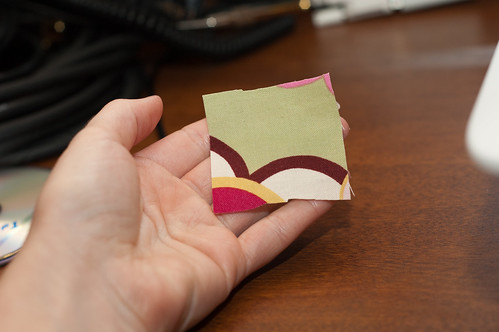
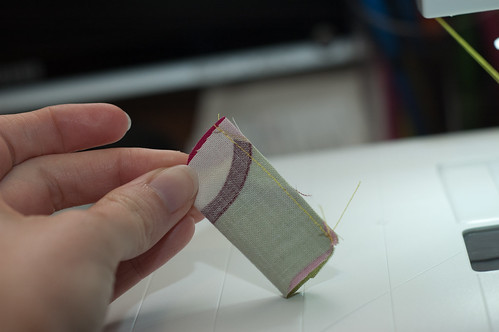
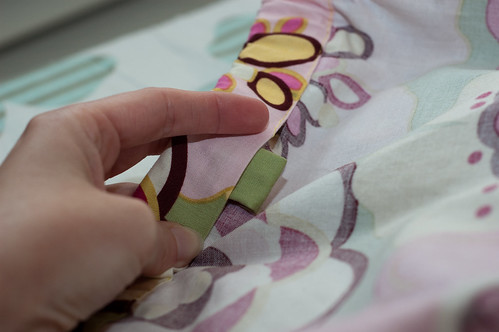
Using a piece of scrap fabric, cut out a small rectangle, about 2 inches long and a little wider than your elastic. I usually fold mine in half just so there is a little more fabric to hold the elastic together.
The fabric is going to be used to connect your elastic together.
You can also cut your elastic an inch longer than the waist and then just overlap the elastic to connect it but this causes a bump in the elastic which can be uncomfortable.
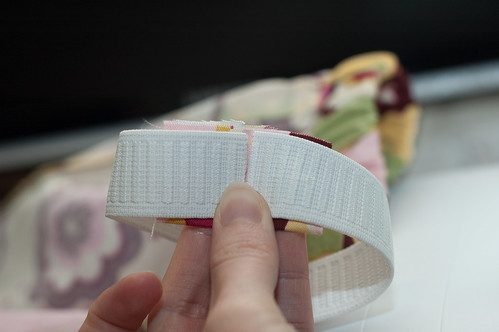
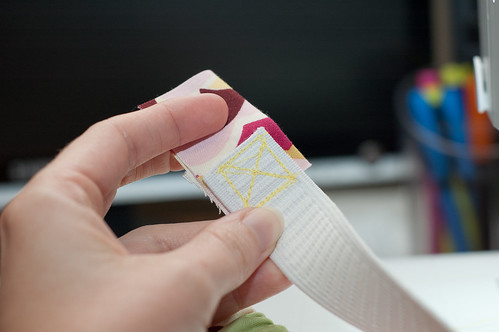
Instead, I attach each end of the elastic to the fabric. Be sure that the elastic is not twisted.
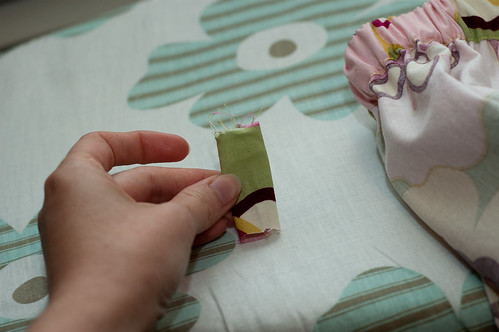
Trim the edges of the fabric so that it is smaller than the elastic. This is so that it fits perfectly inside the elastic casing.
Pull the elastic into the opening.
Prepare your tag or use a regular tag…cut out a small piece of fabric.
Sew right sides together on the very edge…don’t forget to back stitch so that when you turn the thread doesn’t come out.
Turn inside out and iron if you want. I don’t usually iron it because it doesn’t really matter if it’s flat or not.
Insert into the opening….
Sew closed.
Now you have finished inserting elastic to make an elastic waistband. You can try out the basic skirt in order to practice using elastic.








17 Responses
Hello there April.I am new to sewing, thank you for the clear tutorial.you have beautiful fingers.love to see more tutorial from you.
This tutorial just shaved hours off of what has typically been a very arduous and frustrating process for me. THANK YOU!
thank you so much for showing me how to insert elastic into a waistband-I will not try to make some summer skirts
Hi! Thanks a lot for the easy tutorial! Was great!
But I’m from Brazil and I did not understand what you mean by “scrap fabric”. I do know the words (scrap AND fabric) but I didn´t understand if this is a special type of fabric or a reglular one?
Thanks a lot!
Julie
Oi. Ela quer dizer um retalho/sobra de tecido 🙂
Great idea for putting the elastic ends together! I usually just overlap them but your way seems to give a flatter and more smooth result. Thanks for sharing (^_^)
Wonderful tip on inserting elastic I will be using the fabric rectangle idea Thank You so much!
I pay a visit everyday a few web sites and blogs to read posts, but this webpage offers feature
based posts.