Lillian was invited to her first birthday party a few weeks ago, which was for our neighbor boy who turned 5. I asked his mom what he liked and one of the things was matchbox cars. I remembered seeing a car cozy tutorial awhile ago on a blog so I thought that would be perfect to make for him.
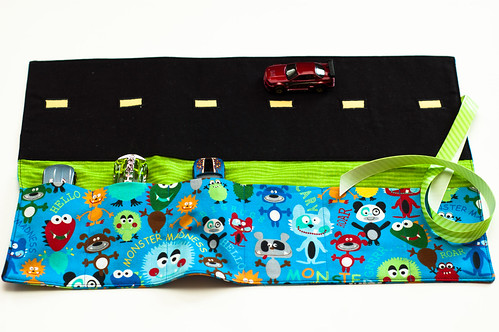
I based this car cozy off of two different tutorials. One from Homemade by Jill and the other from My Little Gems. It’s actually very similar to the crayon roll except it’s folded in half before rolling, and of course the obvious….larger size and less pockets which are also larger.
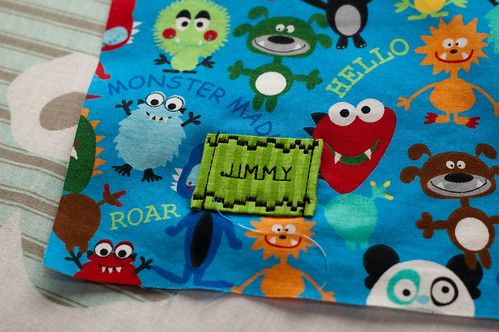
Because I was making this as a birthday gift, I wanted to personalize it a little more. So I thought, what better way than to add the recipient’s name! My machine only has one alphabet stitch so I didn’t have any choices there, but I was able to use a fun stitch for the top and bottom edge of the name tag.
I made this tag the same way that I made the tag for Lillian’s towel.
The outside fabric is 18 x 12, the green fabric is also 18 x 12, the pocket (monster fabric) is 18 x 9, and the road is 18 x 6 1/2. I think the road lines were 1/2 x 1, and I made the ribbon 1 yard which is 36 inches.
I wanted the end size to be 18 x 11 1/2 with each “car port” 3 inches wide but messed up one of my pieces and accidentally cut it 18 inches instead of 18 1/2. This of course didn’t leave room for a seam allowance, so I compromised and cut the pieces down to 18 which made my “car ports” a little less than 3 inches wide. So my final project was 17 1/2 x 11 1/2.
It worked out fine this way but I suggest cutting the pieces 18 1/2 x 12 so that there is less thinking when making the “car ports.”
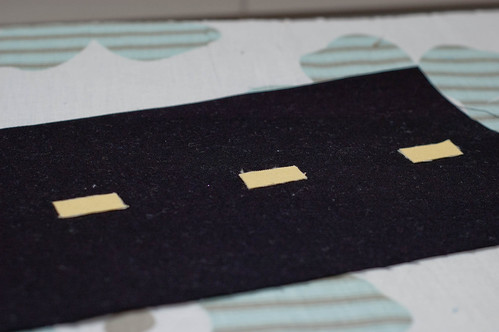
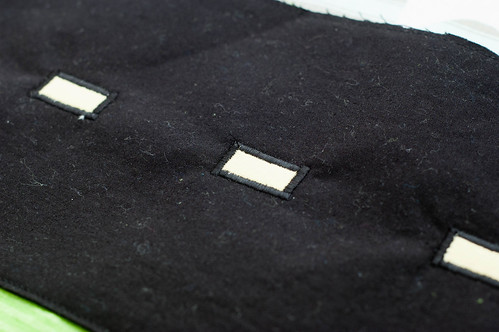
In order to attach the road lines, I just treated them as if they were applique. I debated about using yellow or black thread to attach them but I’m glad I chose black, even though it was mainly based on the fact that I didn’t have enough yellow thread. (Don’t you love how black cotton shows everything!?!)
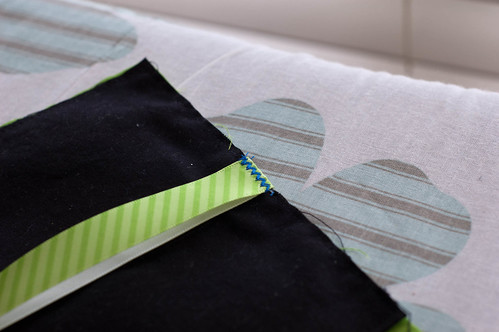
I then attached the road to the inner piece of fabric (green stripes) at the very top. So that the edge of the road that wouldn’t be in the seam didn’t fray I just ironed it under by 1/4 of an inch. This way, when I sewed the road to the inner fabric I was able to catch the folded area in the seam.
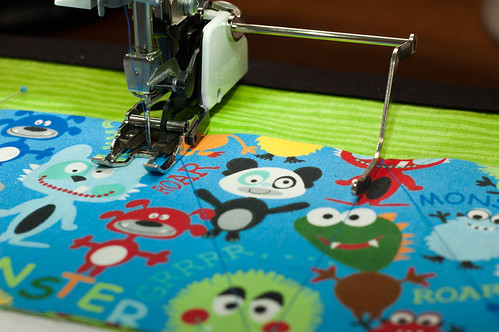
To attach the pocket and make each opening even I used the above tool (which I think is called a seam guide). I attached it to my walking foot (because I tend to use my walking foot for everything) and set it for a little less than 3 inches.
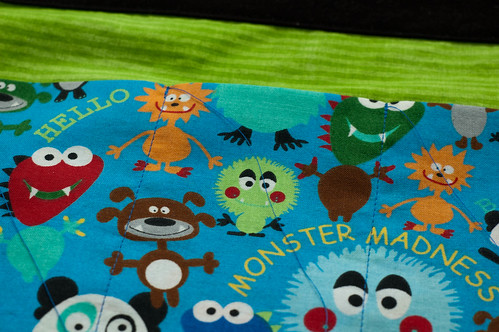
From there I sewed my first line a little less than 1/4 inch from the edge. For the next line, all I had to do was keep my first stitch line under the seam guide and I knew the next line would be evenly spaced from the first line. Then I repeated for all of the additional lines. (wow, that’s a lot of lines in one paragraph!)
After attaching the pocket, I then attached the ribbon to the middle of the road. When buying my ribbon I didn’t notice that it was one sided. When sewing it to the road, I should have made the unfinished side facing outward because when this is closed it’s not the striped side that shows. Lesson learned for next time I guess!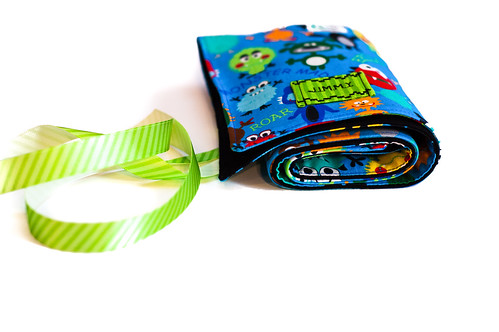
Here is how it looks folded….except there are no cars in it above. I am happy with the way this turned out other than the ribbon. But I’m sure 5 year old Jimmy didn’t even notice. Actually, when he took it out of the gift bag he asked his mom what it was. haha It had cars in it already, but you know how kids are when getting new things…just too excited to really look at what it is.
Linked to Made by You Monday, Kim’s Kandy Kreations, {Sew} Modern Monday, Show Me What Ya Got, Serenity Now, Kojodesigns, Sundae Scoop, Make Yourself Monday




13 Responses
Love this April! I am going to have to try and whip up a couple of these for my boys before the baby comes. I am always losing cars when we are out, and the little road for them to drive on is adorable!
Found you via linky party at I Heart Naptime. I love this little car cozy… I have a little great nephew who is really into cars and would love this! Thanks for sharing it.
oh my goodness what a cute and practical idea!!
Feel free to link this up to my new Make Yourself Blog Hop!!
-Jamie
For Love of Cupcakes
Thank you so much for joining the Make Yourself Monday Blog Hop! :o)
-Jamie
I love this idea! You could use this for any kind of interest idea for the car. I’ve been looking for somethings for road trips, and I think this might be a great jumping point.:)
This is super cute April! I love all that you are doing on this website. It is fun to see what you are working on!
Hi! I love your version of the car caddy! The little tag is adorable! We featured your caddy in a round up of similar do-it-yourself toy car ideas on our blog.
http://www.feltwithlovedesigns.com/2013/08/02/links-with-love-diy-toy-car-activities/
Thank you for sharing your wonderful ideas!