I have used binding (some refer to it as bias tape) for a few projects so I thought I would share a tutorial on how to make it. I have never made true bias tape; I have always made what they call binding.
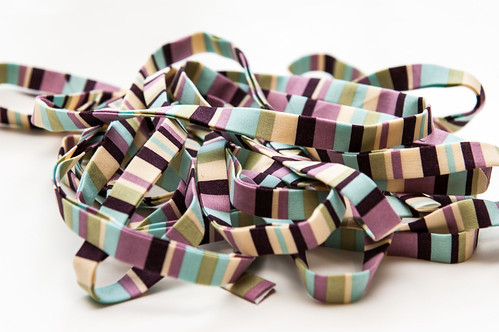
The difference between actual bias tape and binding is that bias tape is cut on the bias of the fabric and binding is cut with the grain. You can use binding for any straight edge, but if you have a curved edge you will want to use bias tape.
So let’s get started….
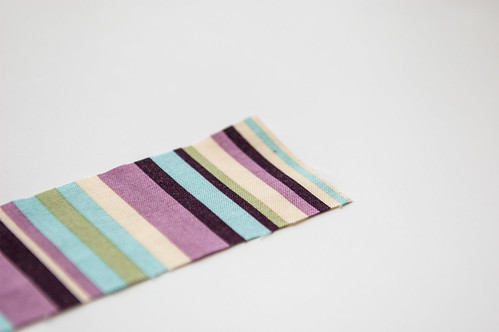
Cut strips as long as possible and 4 times the width of what you want your finished binding width to be. So if you want your binding to be 5/8 inch wide, you would want your strips to be 2 1/2 inches. This seems to be a fairly normal width for quilt binding, but I have also found that 2 1/4 inches is common. Since we are making binding and not bias tape you can cut parallel to the edge of your piece of fabric.
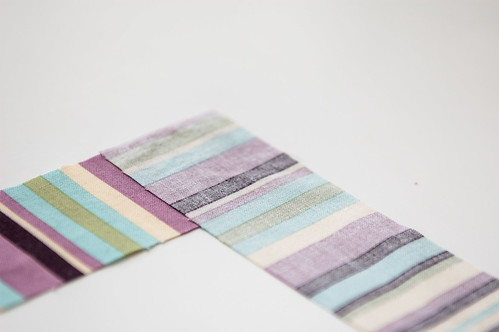
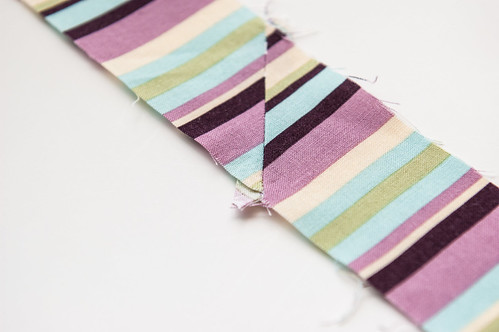
Once all of your strips are cut out, lay one strip on top of the other with right sides facing. The corners should be lined up like in the above picture.
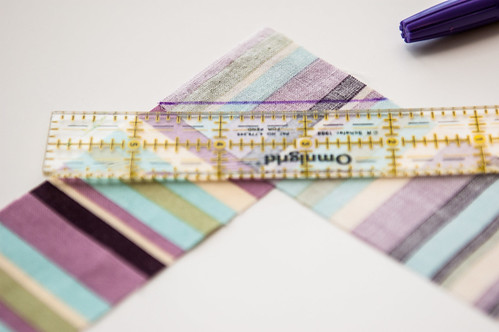
Draw a line from the two corners that are now on the outside of the strips. I’m not really sure how to describe this, but you can see in the above picture what I am talking about.
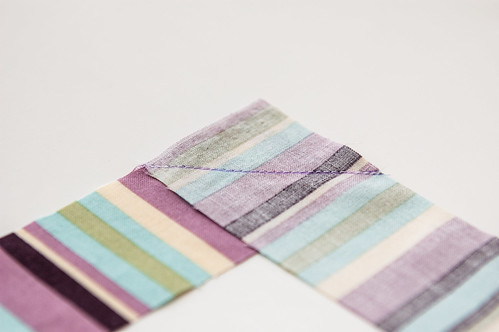
Sew along your line and be sure to lock your stitch. Locking your stitch is where you sew a few stitches back and forth. This helps to prevent the thread from easily coming out…it locks the stitch in place, hence locking your stitch.
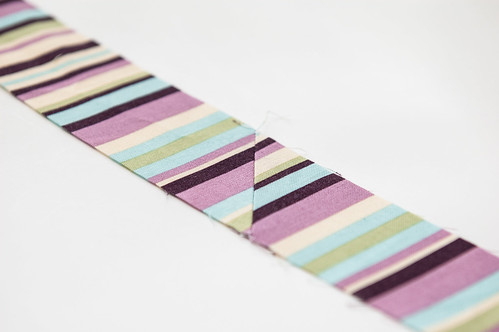
If you turn your strip over, you can check to make sure your two strips are even and form one long strip. I always do this because I have been known to accidentally sew along the wrong diagonal. As you can see in my picture, I didn’t care if my vertical lines matched up, but you could take the extra time to match them if you wanted to and were also using striped fabric.
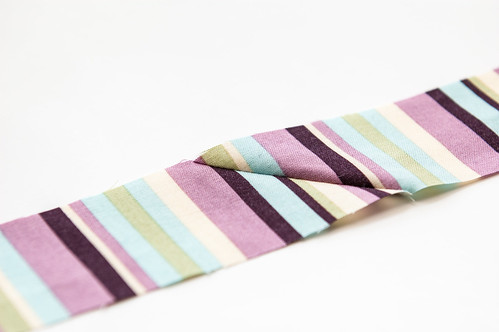
Here is the back of the fabric.

Cut off the extra fabric leaving about a quarter of an inch.
Now, iron the seam flat.
Again from the front…because of the way it’s sewn together, you will have small triangles sticking out along the edge. Go ahead and cut these off.
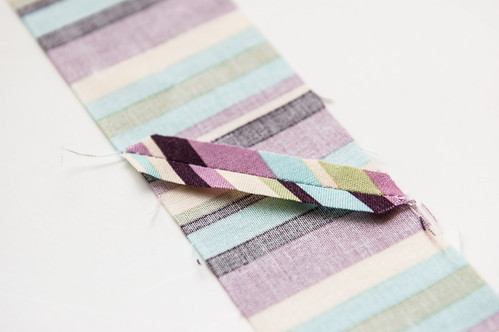
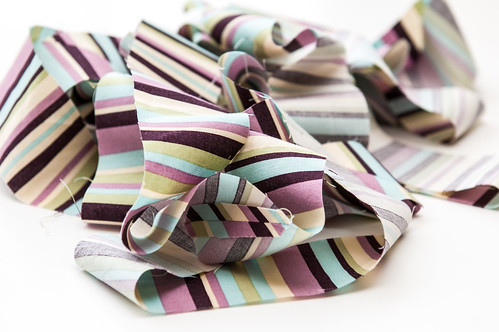
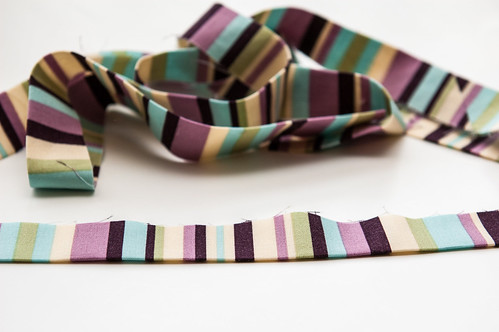
You should now have one long strip of fabric that looks similar to the above picture.
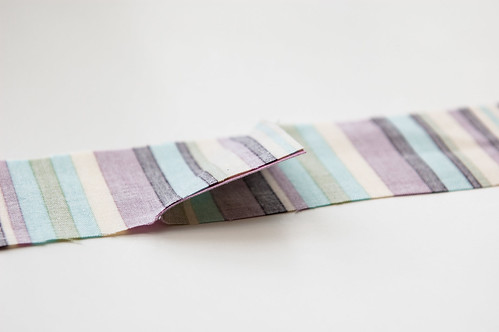
Now, how to fold the strip to have useable binding….
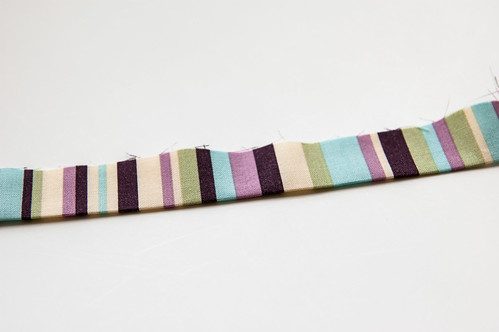
Iron lengthwise with wrong sides facing. Then unfold, and iron each raw edge in toward the middle line that you just created. Fold and press in half again and you have double fold binding (bias tape, whatever you want to call it).
I apparently forgot to take pictures of those last few steps. If you don’t understand what I am talking about, the pictures from my strap tutorial might help. Don’t forget you are making binding and not a strap though! That would be a lot of stitching to take out!
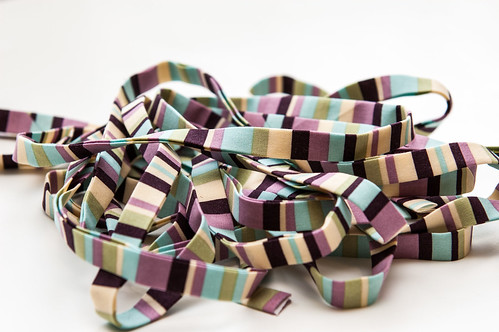
Look at your cute binding, which by the way, probably cannot be purchased at a store. Well, obviously your exact binding can’t be purchased at a store, but you know what I mean. Most stores only carry solid binding and bias tape. That is why it’s so fun to make your own. You can choose incredibly cute fabric that matches your project exactly. Most quilters weight cotton will work, but those with a smaller pattern will probably look the best.
Be sure to check out Shorts on the Line next week to see how I used binding for a pair of shorts.


3 Responses