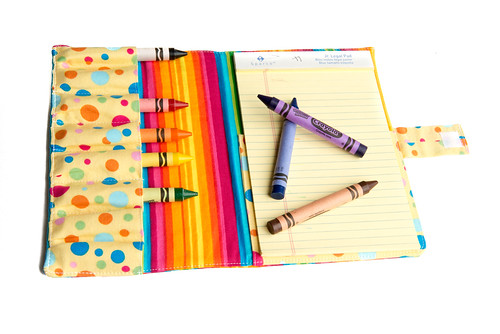
Well, it’s finally ready! The crayon and notebook holder tutorial that some of you have been waiting for. I first posted about this, oh, about a year ago! Gasp! I can’t believe it was that long ago that I first attempted this. My goal with this was to make it so that the fat crayons (I think they are technically called large crayons) would fit in the pockets At that time, Lillian was a little over two and still needed the fat crayons.
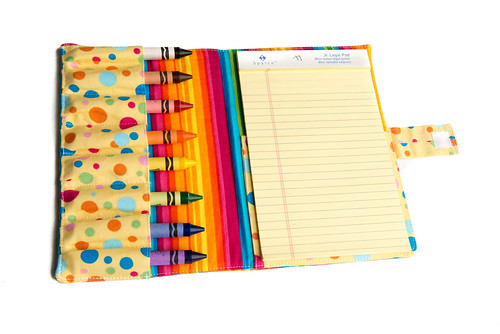
I was finally successful and want to share with you how I did it so that you can make a few for the little ones in your life. With the bigger crayon pockets you can either use 8 fat crayons or 16 regular crayons. It fits a Jr. Legal Pad, which I thought was a perfect size for the little ones. So continue reading for the tutorial if you would like to see how I made it.
Crayon and Notebook Holder Tutorial
Supplies
- (2) 12 x 9 pieces each of fabric and fusible interfacing (I used SF101) for the inside and outside pieces (striped fabric)
- (1) 12 1/2 x 6 piece each of fabric and fusible interfacing (I used SF101) for the crayon pocket (polka dot fabric)
- (1) 6 x 10 piece each of fabric and fusible interfacing (I used SF101) for the book fabric (polka dot fabric)
- (1) 2 x 3 piece of fabric for the strap
- (1) 11 1/4 x 8 1/4 piece of Peltex (I suggest fusible on one side, but I used non-fusible)
- 3/4” x 3/4” Hook and Loop Tape (aka Velcro)
- Fabric marker or pencil
- Crayons
- Jr. Legal Pad
Notes
- Don’t iron on any interfacing to the outside fabric until instructed, but you can go ahead and iron it on to the inside piece and the pocket pieces.
- 1/4” seam allowance unless otherwise noted
Attach Notebook Pocket
Fold and press one long edge of the paper pocket piece 1/4 of an inch.
Fold in half with short sides together and wrong sides facing. Top stitch along the top fold (the one you just created).
Attach to the bottom right corner of the inside piece by sewing around the three open edges. Be sure to have the raw edges along the edge of the inside piece. Make sure you lock your stitch at the beginning and end.
Your notebook pocket is now complete.
Make and Attach Strap
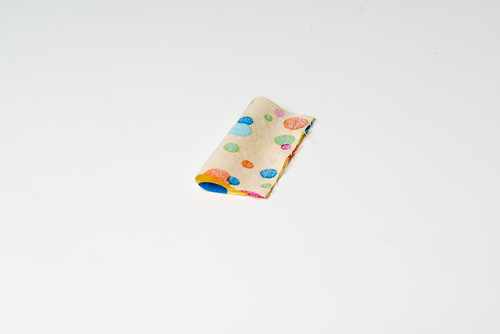
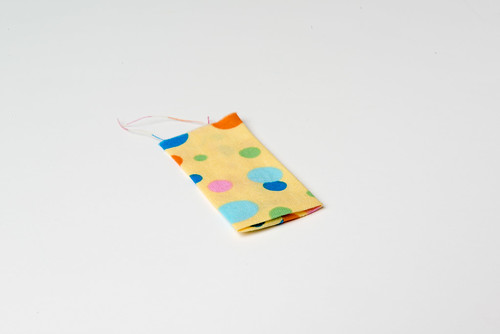
Fold strap piece in half with short sides touching and right sides facing. Sew along the now long edge (it was the short edge before).
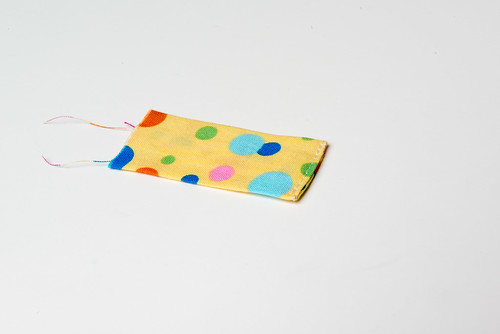
Turn right side out and iron with the seam down the middle.
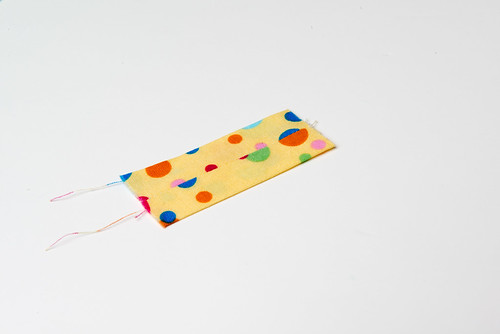
Fold in one raw edge about a 1/4 of an inch and sew with a very small seam allowance.
This step makes it so that the strap doesn’t have a raw edge. The other edge will be within the seam allowance so there is no need to fold it into the middle of the strap.
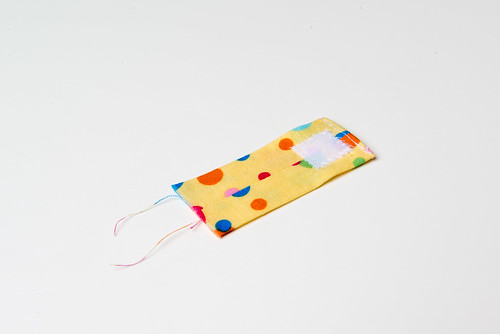
Attach the soft hook and loop piece to the strap a 1/4” from the folded/sewn edge and center on the strap. It should be attached to the side with the seam showing.
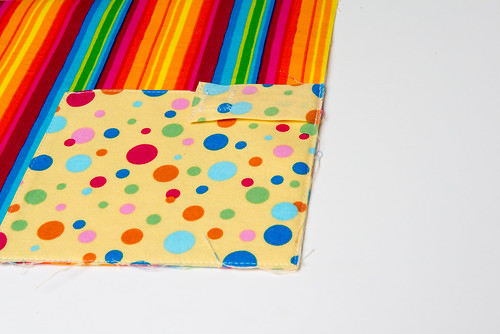
Attach the strap to the middle of the inside piece. A majority of the strap will be on top of the notebook pocket and the hook and loop should be facing the book pocket.
Make and Attach the Crayon Pocket
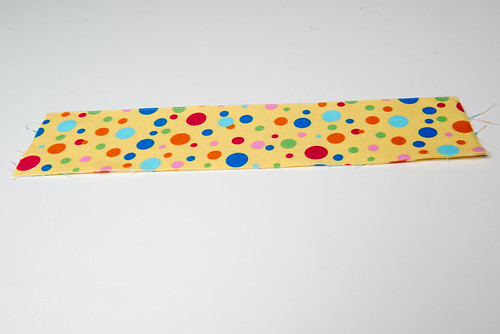
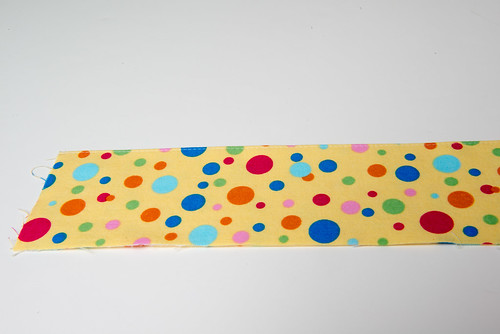
Fold crayon pocket in half with right sides facing and long edges touching.
Top stitch on the fold.
On the inside piece, measure and mark every 1 1/8″, on the pocket piece, measure and mark every 1 1/2″ but start 1/4″ from the edge. You may also want to mark the same spots on the top stitched edge of the crayon pocket. These will be your guidelines to form the actual crayon pockets.
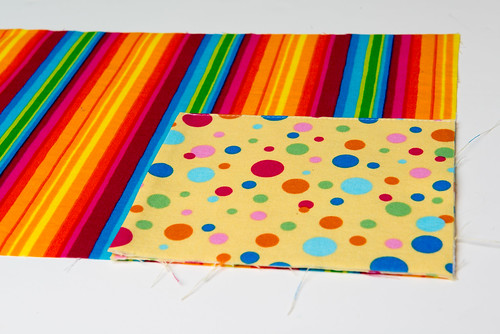
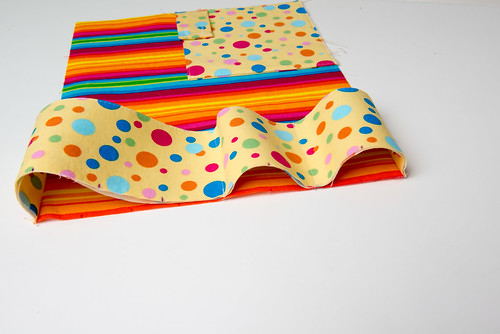
Attach to the inside piece on the opposite side of the notebook pocket. Start by sewing the two short raw edges to the top and bottom of the inside piece using about a 1/8″ or less seam allowance.
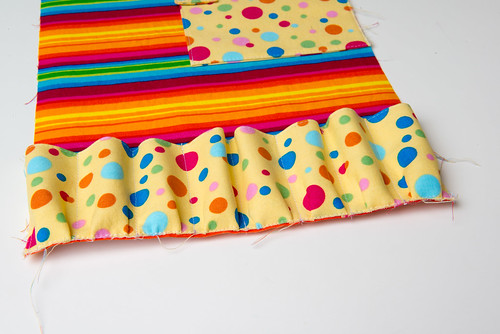
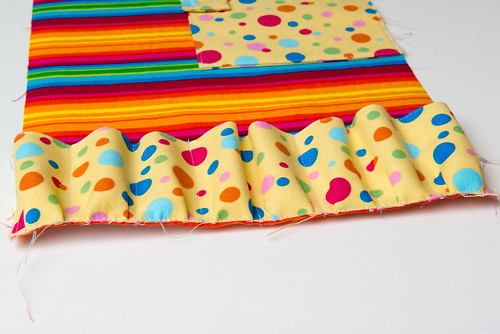
From there, start making your pockets. I started in the middle, then the middle of that and so on. Make sure to match your lines so each pocket is the same size.
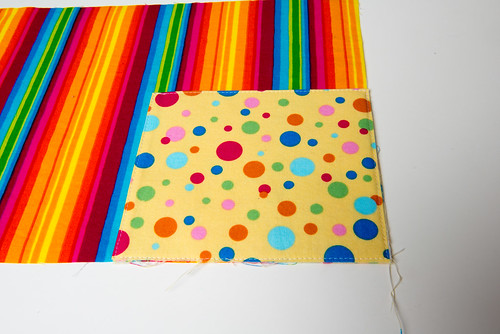
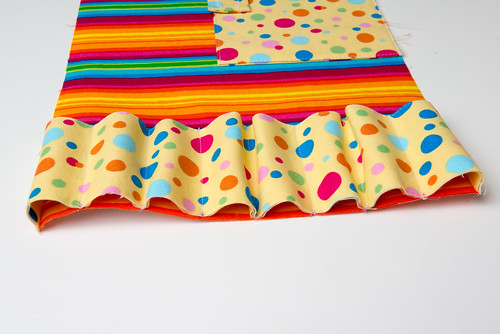
To make the pockets, I started from the raw edge and sewed straight up the pocket piece. Be sure to lock your stitch at the top of the pocket or it won’t hold when the crayons are being taken out and put back in.
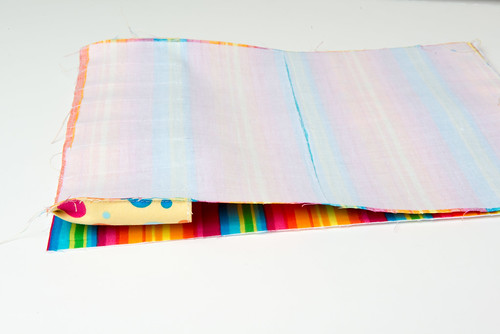
Next, sew along the bottom of the crayon pocket. In order to get the pockets fairly even, I pushed the middle of each pocket down and kind of forced it to form two pleats. This way, the pocket is more centered and they don’t each bunch on one side.
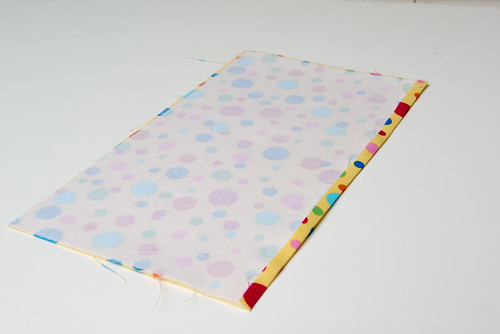
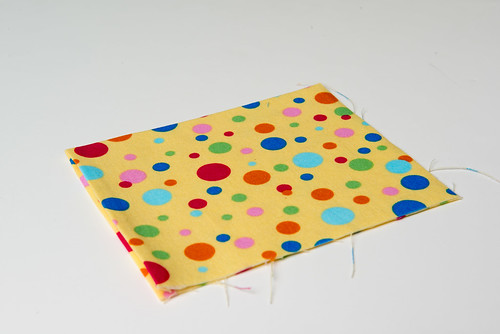
Hopefully between the two pictures you can sort of see what I did.
Prepare Outside Piece
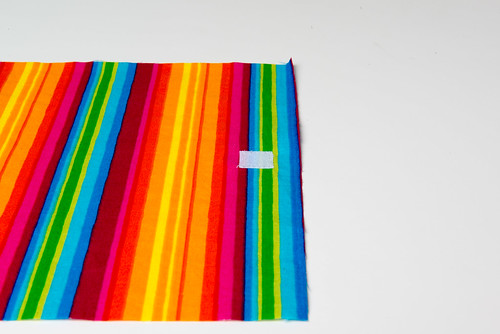
Attach the other piece of hook and loop tape to the outside piece centered on the short edge and 1/2″ over. Be sure it’s on the right side of the fabric if it’s facing right side up.
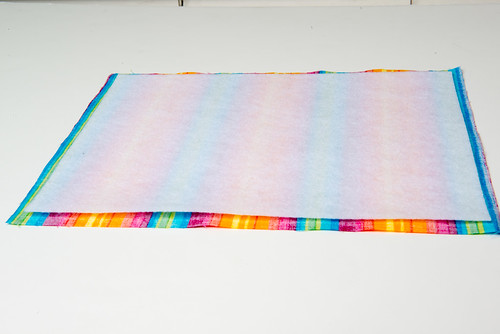
Iron on the Peltex and interfacing to the outer piece. If you only have regular Peltex, be sure that the interfacing holds it in place. To do this, center both pieces on the wrong side of the outside piece, then iron so that the glue from the interfacing traps the Peltex in place.
Again, to make this easier, I suggest using Peltex that is fusible on one side, and if so, then be sure the fusible side is facing the outside piece. In this case, you wouldn’t necessarily also need the interfacing, but it won’t hurt.
Finish the Crayon and Notebook Holder
With right sides together, sew the outer piece and the inside piece together making sure the hook and loop tape are on opposite ends. Leave an opening about 4″ long so you can turn. This is somewhat difficult to turn because of the Peltex, so that is why I suggest such a large opening.
Clip the corners, turn right side out, and then iron the seams flat.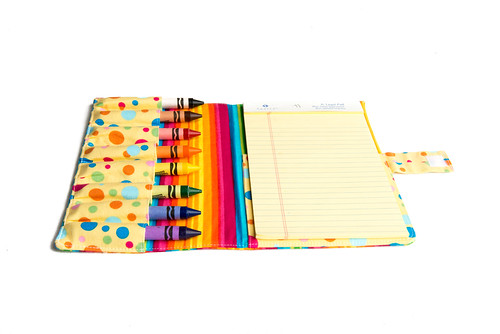
Top stitch about an 1/8″ from the edge being sure to close the hole that was left open for turning. My machine had a little bit of trouble sewing over the crayon pockets so make sure you start out with a new needle.
Now let the kids play with their new Crayon and Notebook Holder. This has been perfect for Lillian to take on long car rides, except for the fact that she decided to color the striped fabric and her car seat. Thank goodness for washable crayons!
Linked to We Did It Wednesday, Weekend Bloggy Reading, Sundae Scoop




8 Responses
LOVE the bright colours!!
Great tutorial – thanks so much for sharing.
This is so awesome! I can see many variations of this same notebook. How about one of the Notebook/Activity books? Or make the pocket a tad different and bigger and put in a coloring book? (You might need to make the whole thing a tad bigger. Love it as is, though. With 15 grand babies, I’m always looking for inexpensive gives to make them.
Excellent tutorial. Would it be ok not to use peltex? Thanks!
Can you please email me this pattern