I made my in-laws a potholder and oven mitt from the Prudent Baby tutorials. Last year they were able to purchase a summer home on a lake so I thought it would be fitting to use fishing material.
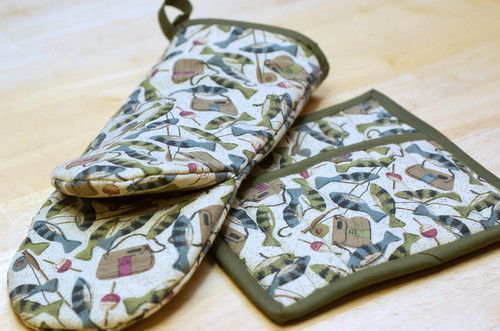
Potholder
On to the process of making them. I started out with the potholder and was pleasantly surprised with how it turned out, considering what it looked like before putting all of the pieces together. (I wish I would have taken a picture to show you).
I used 2 layers of insul-brite and since I do not have a walking foot the material shifted like crazy! Well, at least I’m assuming a walking foot would help. I made sure to face the shiny side of the insul-brite toward the fabric so that it would actually reflect the heat away from the potholder.
This was also my first experience with using double fold bias tape and two step binding. I also used Prudent Baby’s tutorial on how to sew with bias tape. It wasn’t the easiest thing to use over the thick fabric so next time I will probably get the wider bias tape. Eventually, I would like to make my own but right now it’s easier to just buy it.
Of course, I forgot to add the ring of bias tape to hang the potholder. Oh well, how many people actually hang their potholders, right?
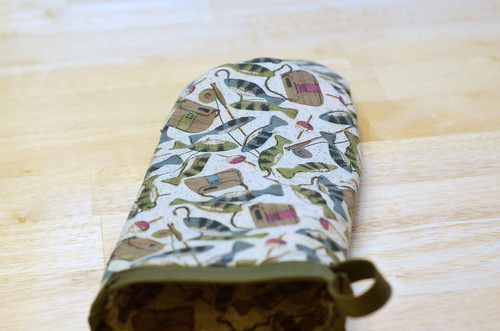
Oven Mitt
A few days later, I decided I was going to attempt the oven mitt. I was a little confused with the directions at first but then realized that for the back of their oven mitt they were using two different fabrics plus the lining. So on page two of the downloadable pattern you can go ahead and tape the two pieces together if you are only using one fabric. You can also skip number 4 of the directions because you won’t have anything to sew together.
Since I did not have matching fabric for the lining, I needed to differentiate the lining fabric from the outer fabric. In my sewing class, we made pajama pants and the teacher suggested to put pins in an X on the back fabric pieces. So I used this suggestion and put X’s on what would be my lining pieces. It worked out really great and helped me to know which was the lining and the outer fabric. Normally it wouldn’t matter but since I used insul-brite I had to which way to face it.
Since I do not have a serger I skipped that part and later realized it was not a good idea because the material was kind of scratchy. So I went back and zigzag stitched what I could. After stitching I cut the excess fabric off. It worked out fine this time but next time I will be sure not to skip this step.
I also messed up the hanging loop but got it to work out. So needless to say, I have a lot of work to do when it comes to sewing on bias tape.


7 Responses
They look great! A walking foot helps tremendously. I will bring mine for you to play with! Zig-zagging is OK but you might have a faux overlock stitch too. If you look at potholders at the store they are sometimes not even serged! I can also teach you how to make an inside and outside and turn them right side out, that way you can avoid bias tape if you want and have a clean inside. How are we going to do all of this in a day and a half? 🙂
I do have the overlock foot and actually used it on another project. Blog to come when I get a chance. 🙂
Also, if you are not doing curves (so like for this project) you don’t actually need BIAS tape, you can cut it on the cross-grain, saving fabric. It really is easier to work with it when you make it because it’s better fabric and it’s wider.
Here check this out: http://www.ohfransson.com/oh_fransson/2009/04/quilt-along-15-making-and-sewing-binding.html
and this: http://www.diaryofaquilter.com/2009/05/finishing-quilt-tutorial.html
I really want the pattern for the oven mitt but can not seem to be able to down load it.
Can you help me.
Thanks
I’m also trying to access the oven mitt pattern – – and it doesn’t work.
PLEASE PLEASE send me a copy by email!
Many thanks
Karen
Here is a new link. http://www.prettyprudent.com/2010/05/prudent-home/make-an-oven-mitt-2/ I’m on my phone so I can’t test the download.