I wanted a makeup bag to match my toiletry bag so I decided on a smaller version of the same design. I would actually not mind it being even a little smaller than this one. Since I made the toiletry bag too tall, I figured I could fix that mistake this time and I found a tutorial on Warehouse Fabrics’ site that doesn’t have raw seams on the inside.
Making the bag this way is harder than with raw seams on the inside, but in my opinion it looks much better. If you don’t fully understand what is going on in this tutorial, it might be easier to first make the bag with raw seams on the inside, and then later make another one following this tutorial.
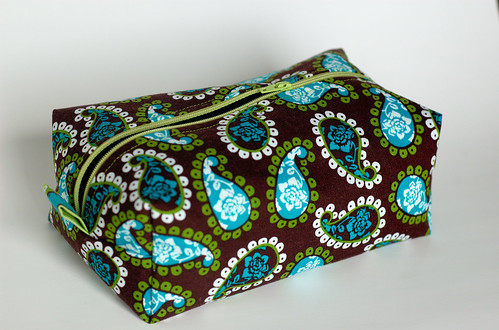
I did not use iron on vinyl this time since my makeup doesn’t have any liquid (other than foundation, but that doesn’t count). I still decided to sew each piece of fabric onto the zipper separately because I have found that I get a better finished appearance this way.
This time I also only used two pieces of fabric instead of four. You could still basically make this the same way as I did the toiletry bag, but with the few changes so that you don’t have raw seams on the inside.
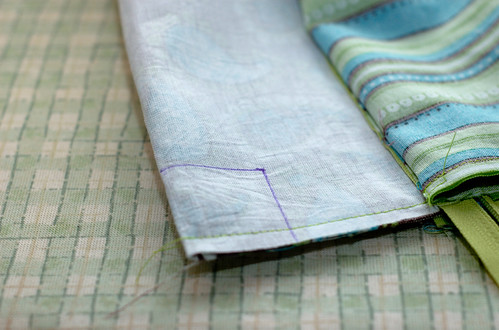
It was incredibly important to stop a half inch from the edge like it mentions in the tutorial. But, be sure to make each side even because where you stop might show on the outside of the final project. I have a picture near the end of the post, showing what I mean.
When sewing each end together you do not want to include any of the other piece of fabric. So if you are sewing the lining, be sure not to get any of the outer fabric. This was kind of difficult for me, but I did manage.
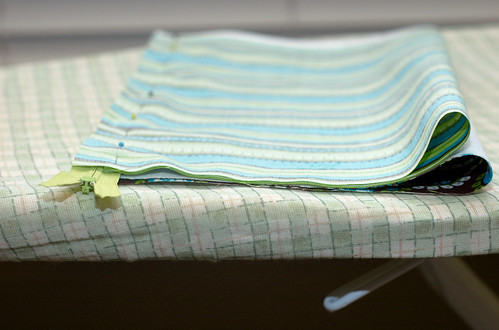
This is also when I attached the zipper tab since I wanted a small tab instead of a whole handle. I used scrap fabric that matched my lining and just sewed the two long sides together with right sides facing. Turned right sides out and ironed with the seam in the middle.
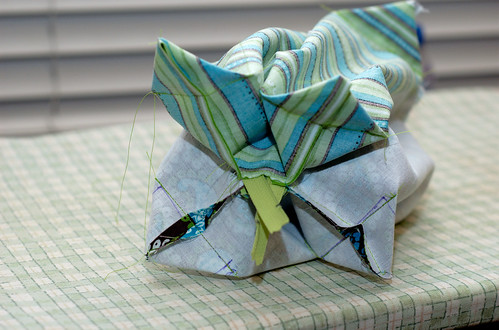
You will box all the corners except for one in the lining fabric, so this means seven corners. (I know I was a little confused at first whether I needed to do the lining and outer fabric separately) You do all but one so that you can later turn everything the right way. I attempted doing boxed corners by cutting out squares and it just didn’t work for me, so I went back to the other way of making triangles.
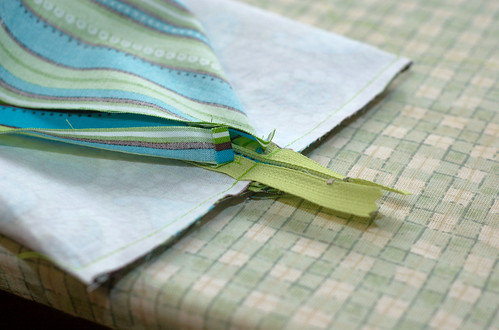
Here is what my boxed corners looked like before clipping the corners. It does take some maneuvering to get each corner to fit under your needle, but if you pin it well enough, it will be easier.
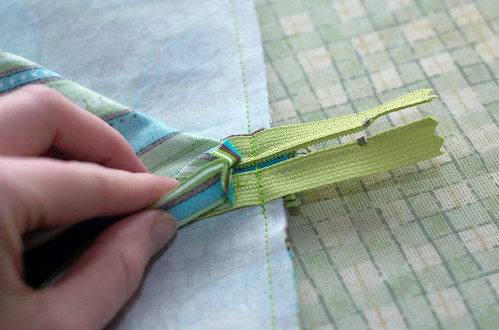
In this picture, you can see where I didn’t stitch far enough when attaching the zipper. I suggest locking your stitch and also making sure that you stop at the same place on each side of the zipper. That way if you end up having the end of your stitching showing it will at least look uniformed.
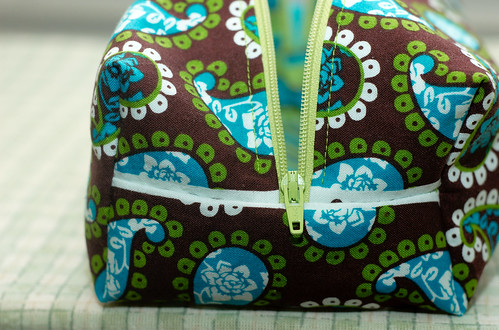
I also thought that the seam allowance would cover the selvage edge on my fabric, but it obviously didn’t. Yep, another mistake that could have easily been avoided!


8 Responses
I think it looks lovely, but if it bothers you, you could cut out a few of the paisleys and applique them over the selvage.
That is a thought!
love your tut, wish i could print it out but it’s one of 122 pages! HELP!
You will want to follow the link toward the top for the actual tutorial. I’m not sure how they have it to print, but if it’s still a lot of pages, you would want to contact them. Sorry I can’t be of more help.
Tq 4 sharing!! Hv a nice day!!
Do you mind if I quote a few of your articles as long as I provide credit
and sources back to your blog? My blog is in the exact
same area of interest as yours and my users would definitely benefit from a lot of the information you present here.
Please let me know if this okay with you. Many thanks!