One of the reasons that I wanted to learn to sew was because I can never seem to find pants that aren’t too long. I guess you will have that when you are only 5’2”.
Shortly after I bought my machine I did actually hem some pants but completely forgot to take pictures. Well, recently I bought another new pair of dress pants that needed to be hemmed and I actually remembered to take pictures this time.
I would say the most popular way to hem dress pants is by using a blind hem. This way you don’t actually see the hem. Here is a tutorial and I hope that you are able to follow along. If not, please ask questions and I will try to explain it better. It’s an odd process but once you understand it, it’s not too bad.
First determine how much you need to hem your pants. I almost always have to hem mine an inch so that is what I will use for my example.
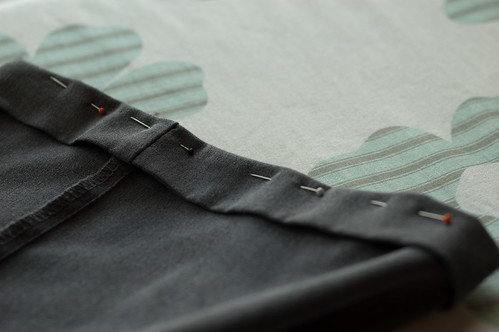
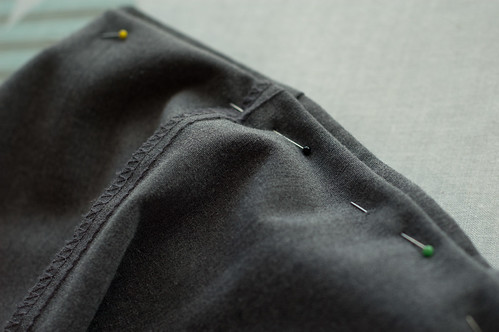
Turn the pants inside out, then fold up the bottom of the leg by the amount that you need to hem by, so in this case one inch. I pin close to the bottom of the leg and you will see why I do this in the next few steps.
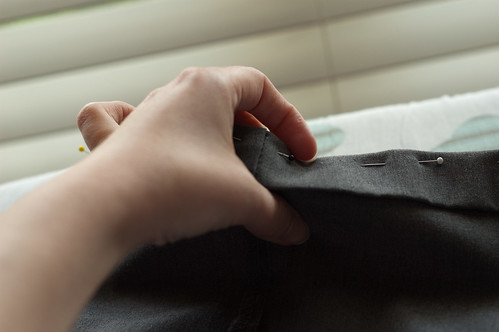
Now, fold the leg toward the inside (which is actually the outside of your pants since we turned them inside out) a little less than an inch (or whatever your hem measurement was).
In the picture above, I would push the material down with my pointer finger so the opening of the first fold is facing up.
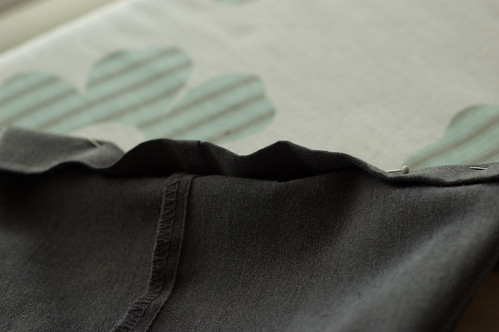
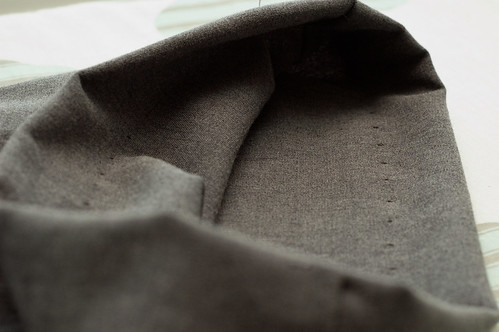
In this picture you can kind of see how it should look when you start to fold it in.
When folding in, you will leave a small (1/4 inch or less) “flap” so that you have somewhere to sew.
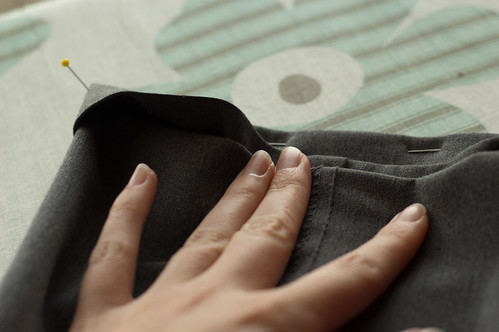
Now pin in place again and remove your first set of pins. You can keep all of the pins in but I find it easier if I remove the first set. Actually, you wouldn’t have to pin in the first step but I find it easier.
Now you should have two levels of fabric. Using a blind hem stitch (the one that has a flat line and then a peak, another flat line, and peak) and blind hem foot if you have one, sew along the smaller (lower) piece of fabric. The flat lines should go on the smaller piece and the peaks should jump over to the pant leg and catch the edge just enough to hold the two pieces together.
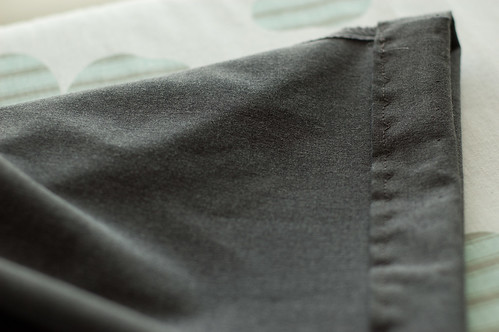
In this picture you can sort of see how the stitch should look. This is after it has been unfolded though so it looks like all of the stitching is on one piece of the fabric when really the straight lines didn’t go all the way through.
The look from the outside of the pant leg. You can barely see the stitches and what you do see is where the peak of the stitch caught the pant leg.
Hopefully this all made sense and you now feel comfortable hemming pants with a blind hem.


3 Responses
Any tips on how to do this with pants that have a cuff? I have a pair of cuffed pants that I’m eager to wear, but I never seem to find time to take them to be hemmed.
Just starting to read all the reviews as I’m starting to sew