Have you ever been in a sewing rut? Do you have many patterns from many different designers, yet you always go back to the same ones? I know I certainly do! So when I saw that Mel from Mahlica Designs was doing her breaking ground blog tour again, I decided to join in and “break some ground”!
Basically, I just needed to pick a new to me pattern designer, new technique, new style, or really anything I could think of that would be new to me when it comes to sewing. So I chose a new to me designer as well as a new to me fabric type. I have to admit…I was a little nervous to get started!
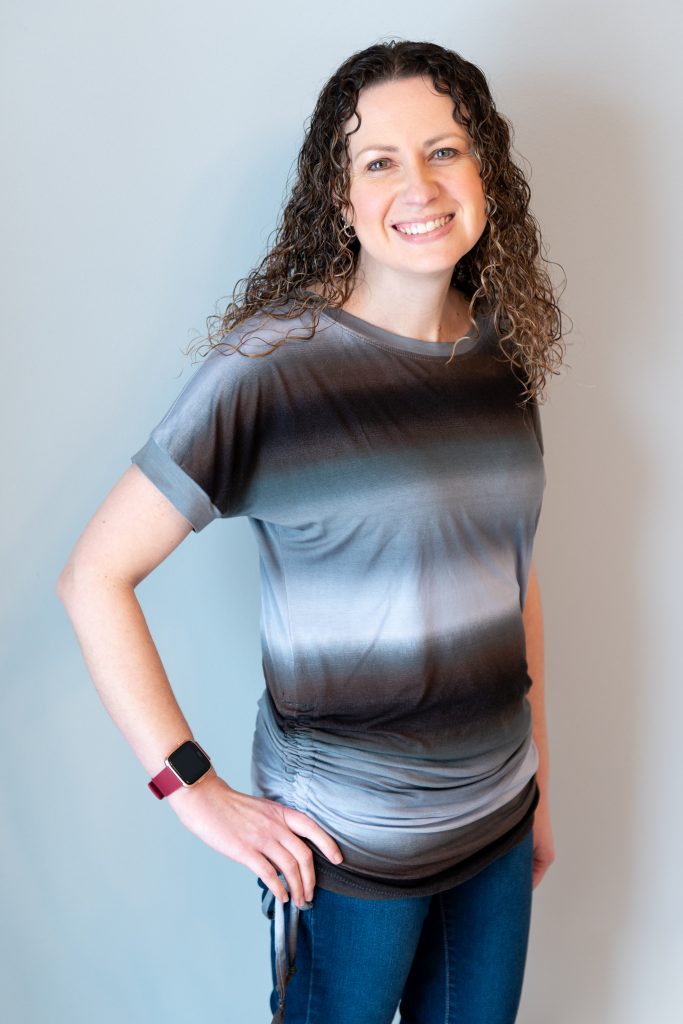
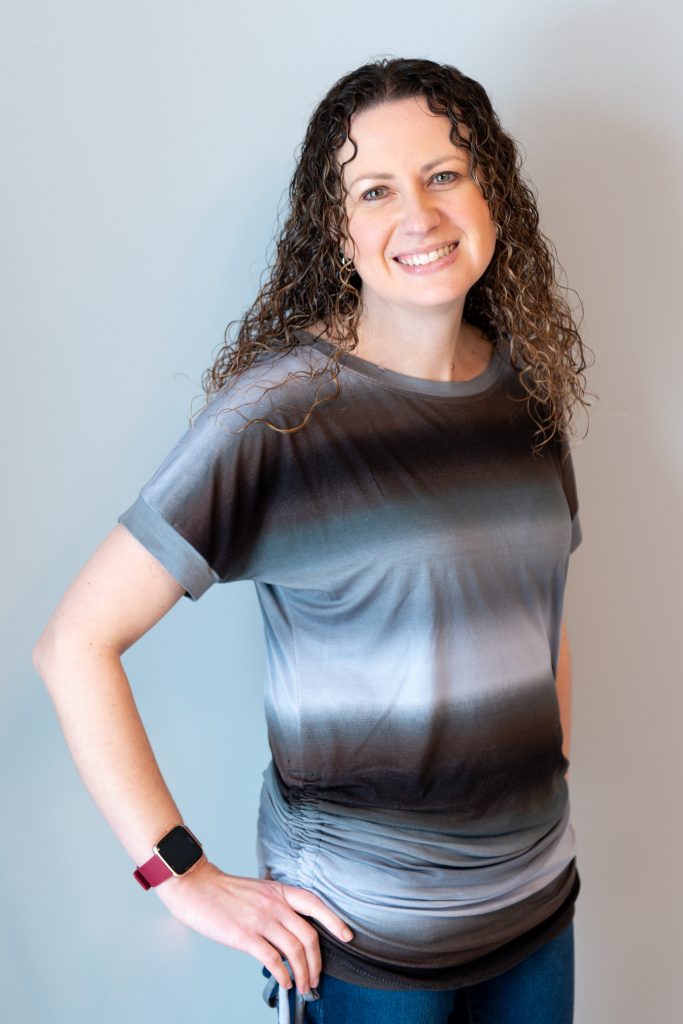
I decided on the Sienna Drawstring Dolman Top from Sinclair Patterns using some modal fabric from So Sew English. Honestly, I chose this pattern not only because it’s a little different from my normal more basic style, but also because I was intrigued by the fact that she splits her patterns into petite, regular, and tall. If you’ve been following me for awhile, you probably remember that I’m barely 5’2″, so I have to adjust most patterns so that they aren’t way too long!

As you can probably guess, I made the petite, and I think it’s the perfect length! Luckily, with this pattern, even if it were a little too long, I could just “scrunch” up the sides a little more.
So let’s talk about the actual pattern a little more.
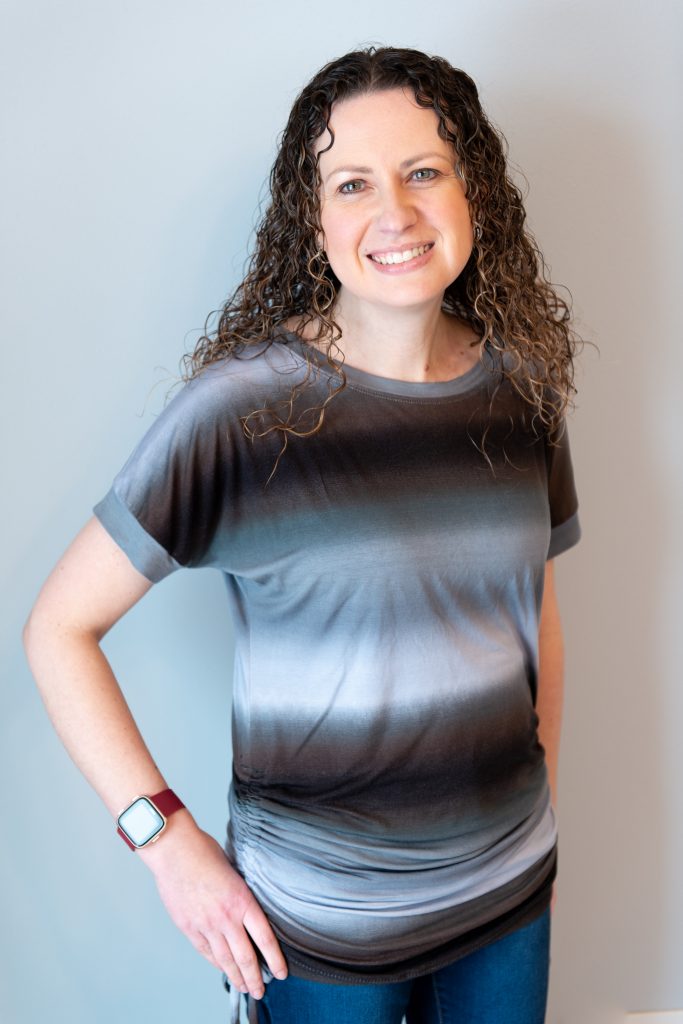
Sienna
This pattern tutorial was actually very different from the ones that I’m used to using. It starts out with a LOT of information. Overall, I feel that this is a great thing, but it did make the pattern a little intimidating to me. It has things like what sewing machine needles you’ll need, techniques for sewing with knits, types of stitches to use, and much more!
Pros
- The shirt fits perfectly!
- The pictures in the tutorial have text on them explaining what you are looking at or an important part that you need to know for that step.
- The tutorial lists different choices of how to do things. For example, it states that you can fold the hem twice for a finished edge, or you can use a coverstitch machine and just fold it under once.
- Instead of a finished measurement chart, it states how much you will want to add or subtract to the measurement. So for example, it states that for the waist you would take the size measurement plus 7 in. This really helped me since I typically have to grade out for the waist (hello rectangle body!). But with it telling me that the finished width would be the measurement plus 7 in, I knew that I didn’t really need to grade.
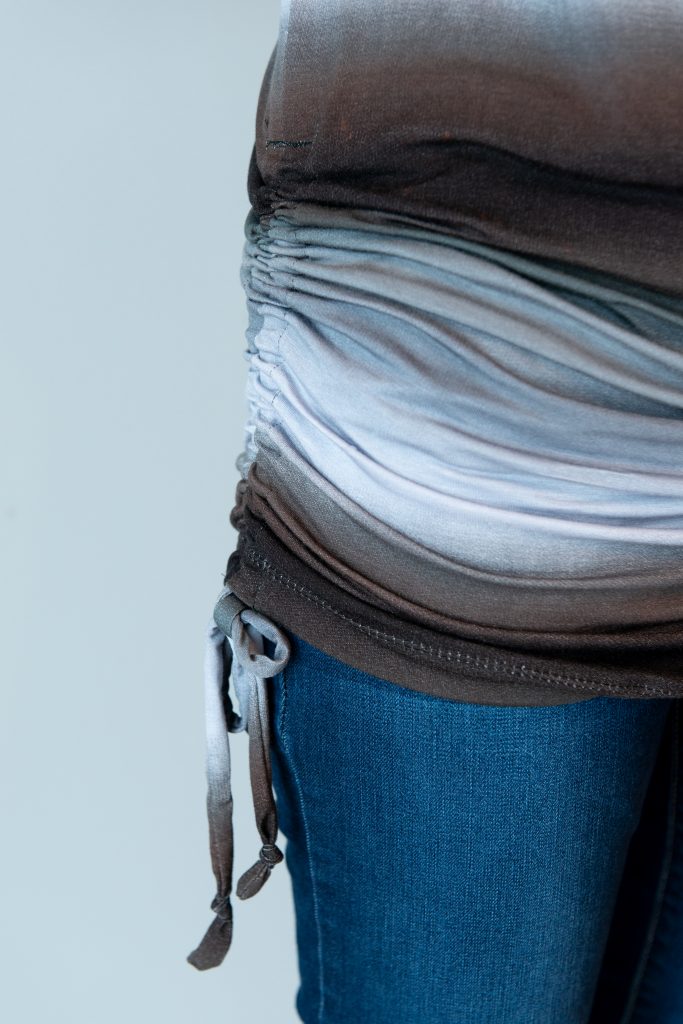
Cons
- 1/4″ seam allowance. I use a serger for most garment sewing and with a 1/4″ seam allowance that means that the serger doesn’t cut anything off. It’s doable, I just find it more difficult to serge. Personal preference, I guess.
- The pattern pieces need to be trimmed before taping or gluing together. They do have nice circles on them to help with matching up the pages, but I hate that you have to trim the top and one side before taping them together.
- On the cut chart, the pieces are numbered after the pattern piece name. If you are just quickly glancing, you might accidentally cut out more or less of that piece than needed. Example: Front (2) – cut 1 on fold. So you really only need 1 front piece, but when I quickly look at it, my mind tells me that there will be 2.
- The pictures for each step are not under/next to the actual text for that step. Instead, steps are grouped together and then there are pictures after. For example, there is a section titled “Prepare the neckline band” then there are 3 actual steps explaining what to do. On the same page, there are then 3 images to show the steps. This isn’t necessarily a terrible thing, but to me, I find it easier to follow if there is a step, and then an image.
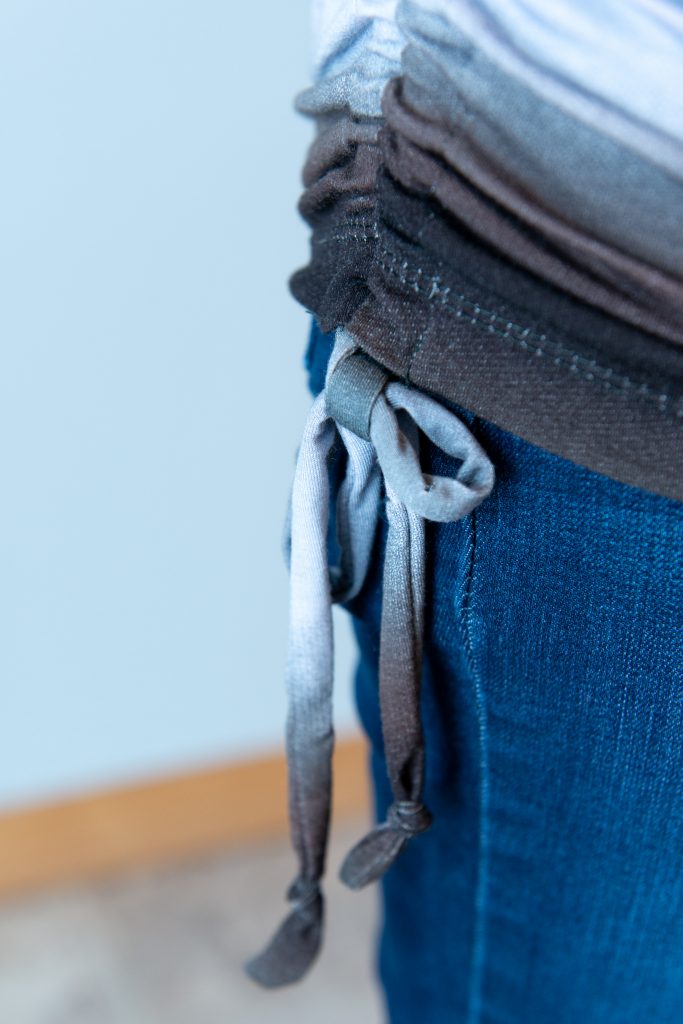
Modal Fabric
After a quick Google search, I found that Modal is a type of rayon usually made from beech tree fibers. Hmmmm…who knew or would have guessed?!?
- I found that it has a similar feel to double brushed poly but it is not as thick and doesn’t cling to itself in the same way as DBP.
- It was easier to sew with than I expected by the feel of it. Since it is pretty slippery, I was expecting it to be very difficult to sew, but it really wasn’t!
- It irons beautifully. Mine had a lot of creases in it from being folded on my shelf and they came out with zero issues.
- It wrinkles easily, so I highly recommend hanging it instead of folding. But, the wrinkles seemed to come out as I wore it.
- I had to change my serger foot to light pressure.
- It seemed to be see through but once the shirt was completed it was not.
Conclusion
Overall, I liked the pattern. I was able to follow the tutorial, didn’t need to grade for length, and have a new shirt that I can wear! I don’t love it though, but it’s mainly because I’m not sure that the style of this shirt looks great on my body type. I will definitely try another Sinclair Pattern though, as I don’t think it’s the designer’s fault that I don’t love the shirt!
As far as the modal fabric, I liked it as well. I would say it’s a perfect summer fabric since it is so light weight and flowy. It was fairly easy to sew and is comfortable to wear. Could you ask for much more?
Tour and Giveaway Details

Be sure to check out how the other bloggers “broke ground” and enter the giveaway:
Monday March 11– That’s Sew Lily, Sewing A La Carte, Mijn 11jes & ik
Tuesday March 12– mahlicadesigns, Embrace Everyday, Jot Designs, auschick sews, Raising Stripling Warriors
Wednesday March 13– Musings of A Seamstress, Very Blissful, Sew4Five, Just Sew Something, Hazelnut Handmade, Crafting Through Time, Tales From A Southern Mom
Thursday March 14– Make It Sew with the Bear and Pea Atelier, Ronda B Handmade, SequioaLynn Sews, Sewing with D, The Sewing Goatherd, OOYAmade, My Golden Thimble, Custom Made by Laura
Friday March 15– Sew Cute Couture by Kathy, Sewing Novice, Ronda B Handmade, Momma Bear Sews, MeMade, My Golden Thimble, Lulu & CelesteThe tour sponsor, Phat Quarters, is offering 2 patterns of choice from her pattern shop to one lucky winner.
a Rafflecopter giveaway
***
We’d love to see how you’re Breaking Ground this month. Share with us what you’re working on by using the hashtag #BreakingGround2019 across social media.



9 Responses
I love this shirt on you! Maybe it will grow on you over time!!
For assembling the pattern, check out Itch to Stitch blog – she just cuts the corners off each page and aligns that way! Much faster!
Very nice!!
I stick the pdf-pages to the window and as you can see through them you don’t have to cut of all the edges… Before I hated to use PDF patterns for the cutting and taping, but with this method it actually goes very fast!
I love the shirt on you and the striped ombre fabric really compliments the pattern! I’ve been meaning to sew this one since it came out!
This is a helpful pattern review. I’ve looked at this pattern many times thinking it would be a great swim cover up if I lengthened it. Since I’d fit in the petite I bet I could get away with using a tall and not have to lengthen it for the job. Mayb wear it around a little more to see if it grows on you. I’ve tested patterns that I was really unsure if I would like at all and they have turned out to be favorites after trying them out.