This post may contain affiliate links. Meaning, at no cost to you, I get a small percentage of the sale if you purchase after clicking. All proceeds will be used to help keep this site up and running and allow me to continue to create additional content. Thank you for your support!
It’s slowly starting to warm up here in Wisconsin. Monday it got up to the mid 70’s and Wednesday there is a chance of up to 7 inches of snow! Welcome to spring, I guess? Even with warmer weather, I still like to wear hoodies, especially since most mornings and evenings are still very cool, even randomly throughout the summer. So naturally, I’ve been into making them for myself. I’m assuming you would like to as well. And with any good hoodie, you will need a drawstring for the hood. What could be better than a perfectly matching drawstring to your project? Whether it’s a hoodie, or maybe a shirt with ruching like the Sienna that I recently shared.
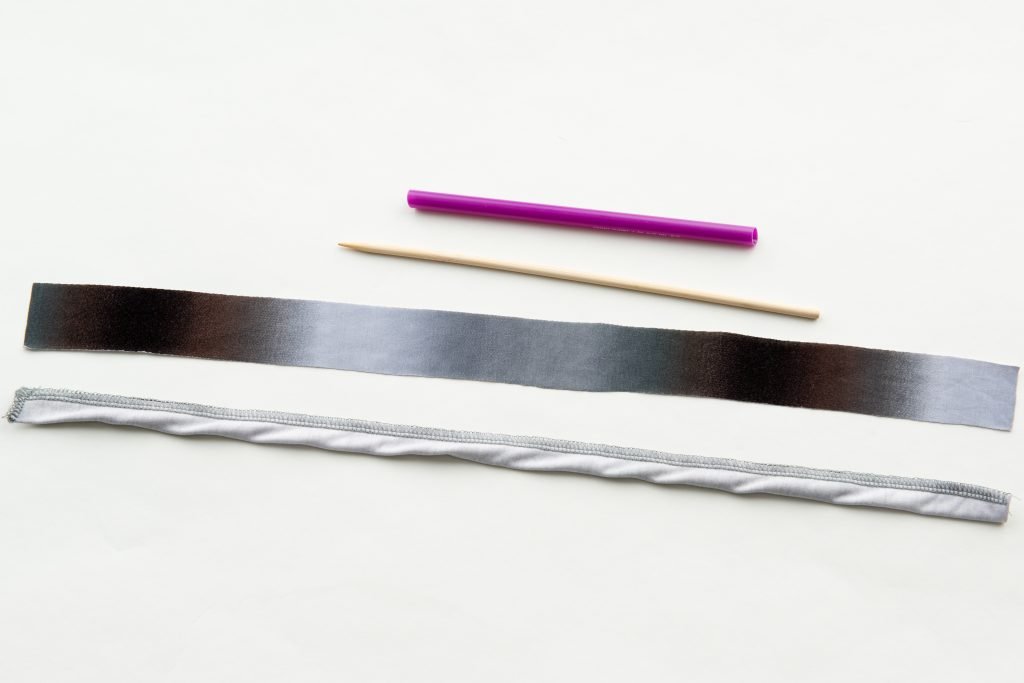
All you will need to make a drawstring is fabric and your machine. There are many different ways to turn a small tube, but I find the following method the easiest. For this method, you can either use a Quick Turn Tool or even a wide straw and bamboo skewer. I started out with a straw and bamboo skewer, but added the Quick Turn Tool to my Christmas list this past year and it ended up under the tree! (My mother-in-law is great like that!)
I have used different types of fabric for drawstrings including cotton lycra, double brushed poly, poly rayon spandex french terry, and modal. You just have to be a little more careful with the lighter fabrics, so that you do not poke a hole in your fabric.
Are you ready to get started?
How to Make a Drawstring
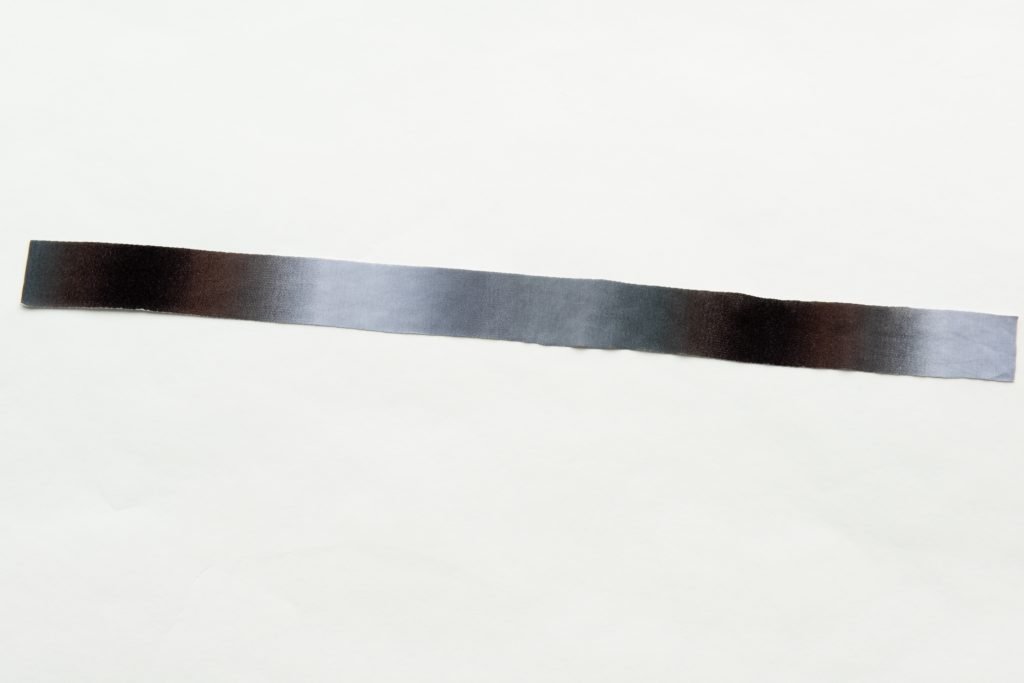
Cut out your fabric. For a drawstring for an adult hood, I tend to cut the drawstring the width of the fabric by 1.5 inches. You can always cut it shorter later.
I have also pieced together fabric to make it long enough, you will just need to plan it out a little so that the seam is always on the inside of the casing.
Fold your fabric along the long side with right sides together.
Sew or serge along the long edge with about a 1/4″ seam allowance. You can also sew/serge one of the short ends, but it’s not 100% necessary.
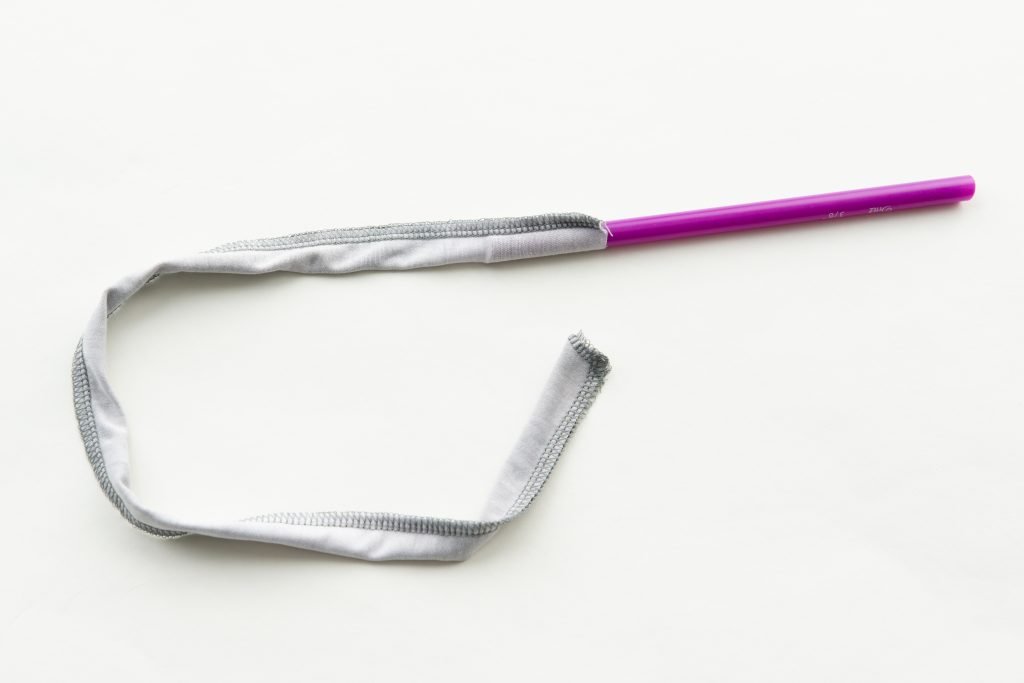
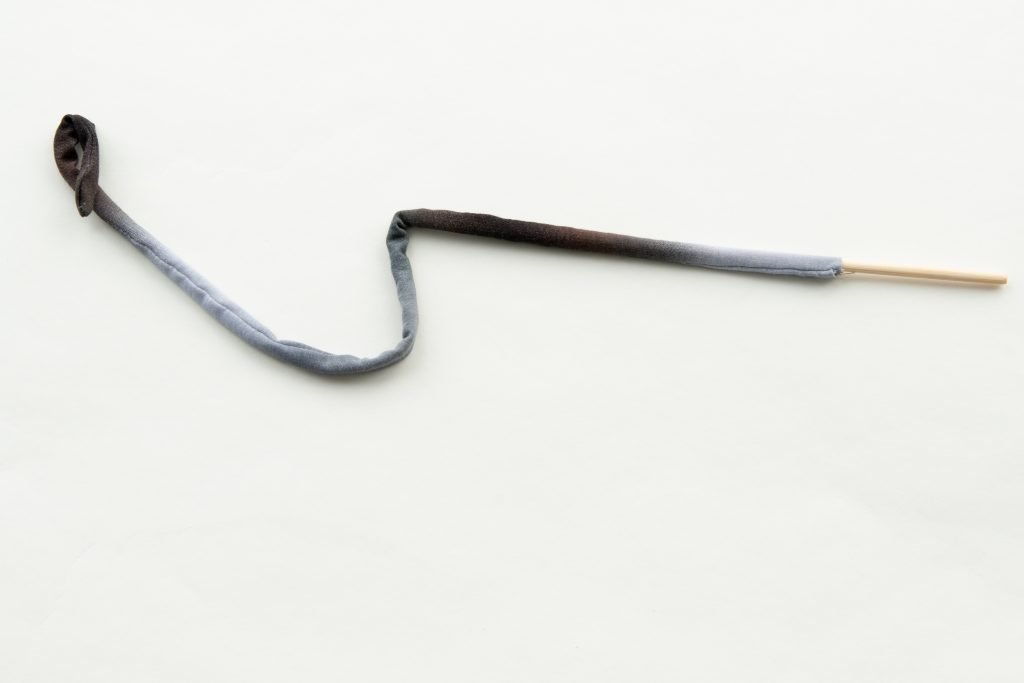
Insert your straw/cylinder into the tube of fabric.
Continue to insert the straw through the tube of fabric until it gets to the end.
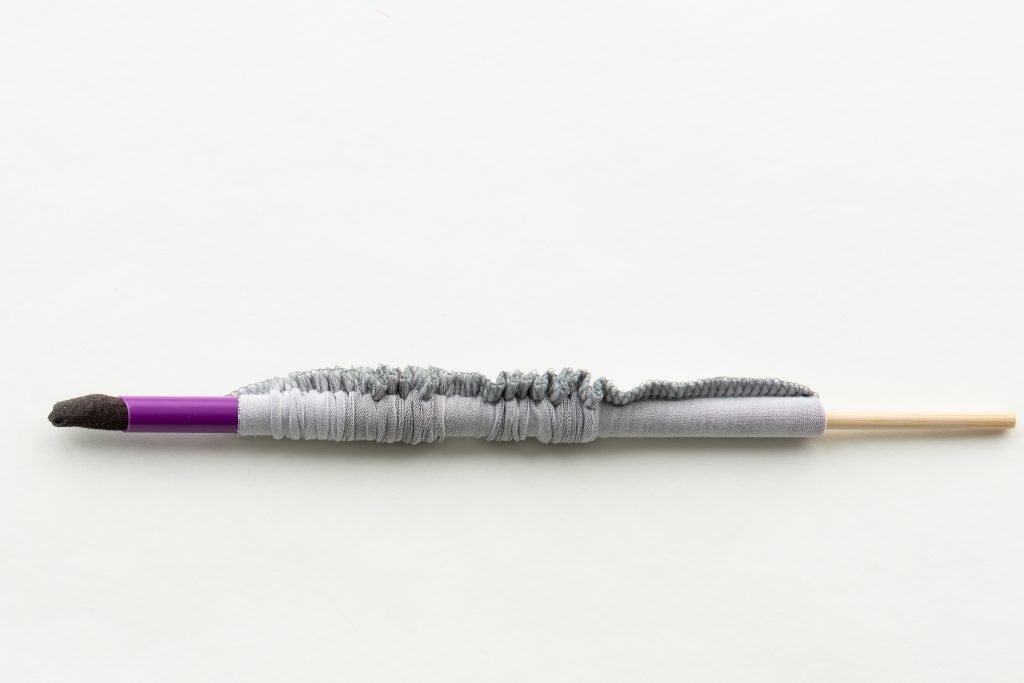
Using the skewer/rod, begin to push the end of the tube into the straw/cylinder.
Note: the straw/cylinder is laying the opposite way as in the above image.
Continue to push the fabric through the straw/cylinder until the tube of fabric is right side out.
Remove the skewer/rod and straw/cylinder from the drawstring. You can now iron and top stitch if you prefer. Honestly, I don’t usually do anything except insert into my casing. If you need help on how to do this, please see my tutorial on inserting elastic with a bodkin. It’s not elastic, but has the same concept.