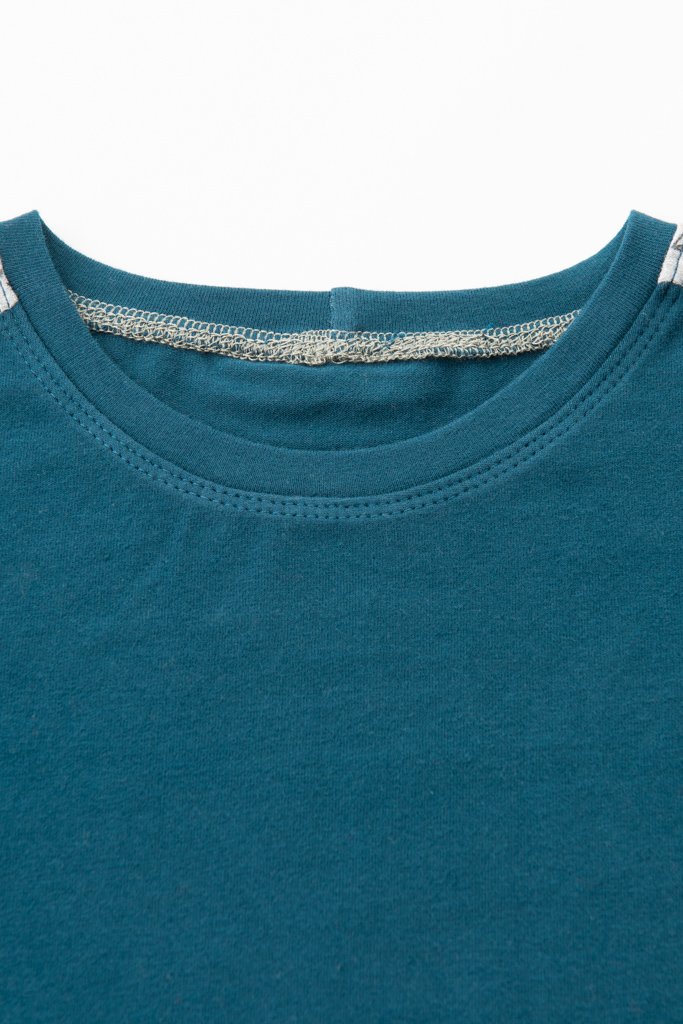
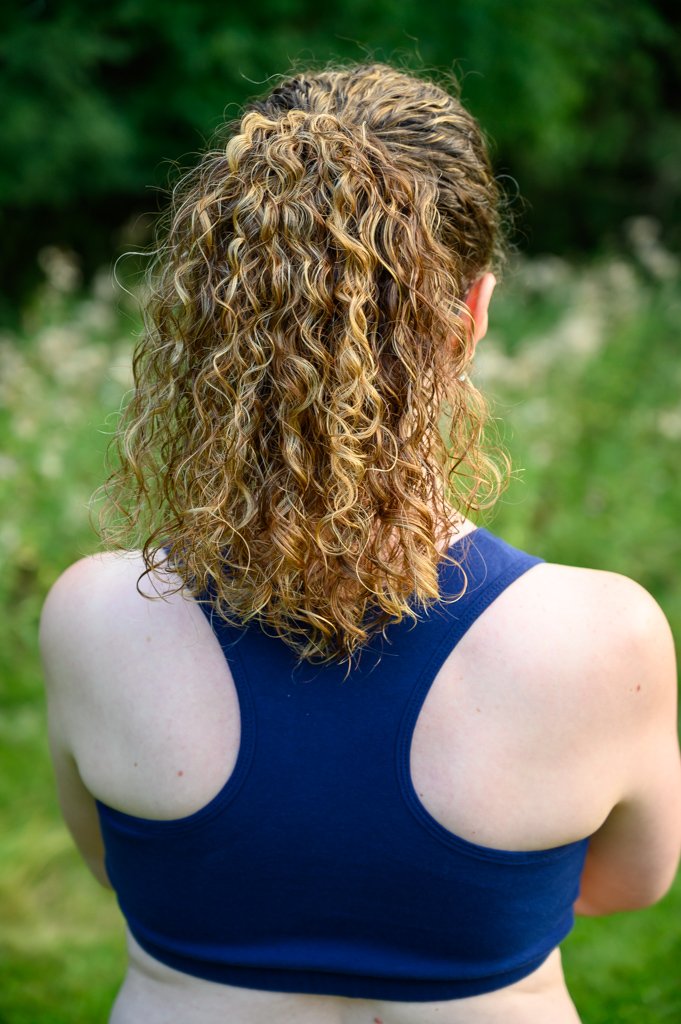
Today, I wanted to share a tutorial on how to sew a dolman style shirt. There are many different patterns and varieties of dolmans. In general though, when I think of a dolman shirt, I think of the shirt style that has “bat wings”. By bat wings, I mean that the sleeve just arches into the side seam. You don’t actually need to attach separate sleeves. Some, like the one that I sewed for this tutorial, have smaller “bat wings” and others have much larger ones. It’s all personal preference.

This post may contain affiliate links. Meaning, at no cost to you, I get a small percentage of the sale if you purchase after clicking. All proceeds will be used to help keep this site up and running and allow me to continue to create additional content. Thank you for your support!
I’ve made many different dolmans and like most of them, but for different reasons. The look that you get will depend on the type of fabric that you use for the shirt. In general, dolmans do tend to have a few creases or lines around the chest. This is because of the curve created under the arm to create the bat wing look. I think you will have less of this with a flowier, lighter weight knit, than if you used a heavier knit. You can also create a dressier look by choosing a flowy fabric such as hacci, modal, or double brushed poly. If you use cotton lycra, you are going to get more of a t-shirt look.
Here’s an alphabetical list of the ones that I have and a short explanation to what options each pattern has and anything that I had to change.
- 5 out of 4 Jenny – This is a cross front dolman.
- Halla Slim Dolman – I haven’t made this one yet, but it’s free if you use the code in their Facebook group. It’s one of the more basic dolmans, so might be a great pattern to try out first.
- Love Notions La Bella Donna – I think this was the first dolman I made. It’s still one of my favorites even though it’s a pretty basic pattern.
- New Horizons Dublin Dolman – This one has a few different options including a v-neck option and a gathered back.
- Peek A Boo Sun Kissed Tee (women’s version) and Little Miss Sunshine (girl’s version) – This one is probably the most like a regular tee. There is very minimal bat wings, so when on, you can barely tell that it’s a dolman. The girl’s version also has a dress option. I’ve made Lillian many of the Little Miss Sunshine shirt options.
- Patterns for Pirates Cocoon Cardigan – As you can probably tell from the title, this is actually a cardigan, which makes it much different from the others. I had to size down from my measurements for this pattern to fit the way I preferred and actually will probably size down one more if I make another one.
- Patterns for Pirates Pumpkin Spice Dolman – This has a pretty large bat wing style. For some reason, I find it a little dressier because of the large bat wings.
- Patterns for Pirates Sweet Tee (women’s version) and Sugar Pie (girl’s version) – Another more basic dolman style shirt. I have made both patterns. I like the Sweet Tee, but unfortunately, I either measured incorrectly or the sizing was off on the Sugar Pie. I haven’t tried again, but their other girl patterns that I have tried have been an ok fit.
- Patterns for Pirates Tulip Tee (women’s version) and Tiny Tulip (girl’s version) – I have not made the women’s version, but have made the girl’s version. Both are the same style with a cross front and/or back, but instead of a top cross it’s at the bottom of the shirt. Both are also free patterns.
- Sew Like My Mom Allium (women’s version) and Tulipa (girl’s version) – This pattern has a curved color blocking option at the top, as well as options for front gathers. There are two girl’s versions. I linked to the size 6-16, but there is also one for younger girls.
- Sew Much Ado Seafarer Top – I made this shirt a long time ago. It went together well, but I didn’t attempt to shorten, so it was way too long for me.
- Sinclair Danielle – I have not made this one yet, but it has larger bat wings similar to the Pumpkin Spice Dolman.
- Sinclair Sienna – I blogged about this one a few posts ago. It has ruched sides for a little different look from the other dolmans.
Are you ready to get started with the tutorial? For this tutorial, I made a long sleeved, curved hem dolman shirt. I explain in the tutorial where you can hem the sleeves to make it short sleeves.
How to Sew a Dolman Style Shirt
1. Sew the Bodice

To start out, you will want to pin or clip the shoulder seams together with the front and back piece right sides together.

Then sew or serge together using the seam allowance stated in the pattern.

Still with the front and back pieces right sides together, pin or clip the side seams together.

Sew or serge the side seams together.
2. Sew and Attach the Sleeves

If you are making your dolman shirt long sleeves, then take the sleeve pieces, right sides together and pin or clip along the long edge. So in this picture, the bottom right is the wrist, and the top left is the top of the sleeve.

Sew or serge together.

Turn the sleeve right side out. Then mark in fourths. Mark the arm opening into fourths (the shoulder and side seam should actually be the half way points).

Insert the sleeve into the arm opening making sure that you are putting right sides together, lining up the sleeve seam with the side seam of the shirt. Then line up the other three marks. Pin or clip together.

This is just a pic showing how the sleeve and arm hole are clipped together.

Sew or surge around the opening. This would actually be a short sleeve version if you did not attach the sleeve. So if you want short sleeves, you can either add a band, or hem the sleeve.

After the sleeve is sewn/serged onto the shirt, turn it right side out.
3. Sew and Attach the Neckband

Along the short end, sew or serge the neckband together with right sides facing. This will form a circle.

Along the long edge, fold and iron with wrong sides together.

Mark the neckband in quarters. I use the seam as one of my quarter points, which is why there is not a fourth clip.

Mark the neck in quarters. Remember that the shoulder seams are not quarter points! I like to fold the front and back pieces in half to find the front and back quarter points, then put those two points together to find the other two quarter points.

With right sides together, pin/clip the neckband to the neck hole, matching the quarter points. I then clip between those so that it’s easier to evenly sew the neckband onto the shirt.

Sew/serge together.

Press with the seam allowance toward the shirt.

Top stitch in place.
Can you see the difference in how the neck band lays after being ironed and after being top stitched? Top stitching is definitely worth the extra time.
4. Hem Sleeves and Bottom of Shirt

Fold your sleeves to the wrong side by the amount noted in your pattern.

Stitch the hem of the sleeve.

Fold the bottom of the shirt to the wrong side by the amount noted in your pattern. This particular one is a curved hem. You could also add a band if that is your preference.

Stitch the hem. Iron all hems and seams for a finished/more professional look.
It’s probably a toss up between a dolman and raglan on which style is the easiest to sew. A dolman is probably slightly easier and definitely quicker since there are less seams to sew together, especially if you choose to make it short sleeved. If you are looking to sew your first shirt with knit fabric, a dolman style would be the perfect choice.


