This post may contain affiliate links. Meaning, at no cost to you, I get a small percentage of the sale if you purchase after clicking. All proceeds will be used to help keep this site up and running and allow me to continue to create additional content. Thank you for your support!
Have you ever wondered how to get extra support in a sports bra or just wanted a little bit of extra coverage? Lining it with powernet is the perfect option. In this tutorial, I will show you how to do just that!
It’s actually much easier to line a sports bra than you would think. I used the Resolution Bra from 5 out of 4 Patterns, which includes a tank pattern as well. Both the bra and tank have binding as the neck and arm hole finishes, so if your pattern does not include binding, you may have to slightly adjust the way you line it.
Helpful Terminology:
Power net: It’s a fabric that has some stretch, but provides a ton of support. Different than power mesh as power mesh does not have as much support. Both could be used to line a sports bra, but if you need the support, I suggest using power net. I’ve read that you may need to size up if using power net, but I have not on the two items I’ve used it for. It definitely holds me in, but not too much where I needed a larger size. It does make it a little more difficult to put on and take off. The power net can be a little scratchy which is why I chose to enclose it between two pieces of cotton lycra.
Baste: sew together with a very long stitch. It’s usually used as a temporary way to hold layers together. If needed, the thread can be removed once the normal stitching is completed. In this tutorial you will want to sew together with a smaller seam allowance than your pattern. I tend to use 1/4″ since the seam allowance is 3/8″.
How to Line a Sports Bra
1. Cut Out Your Pieces
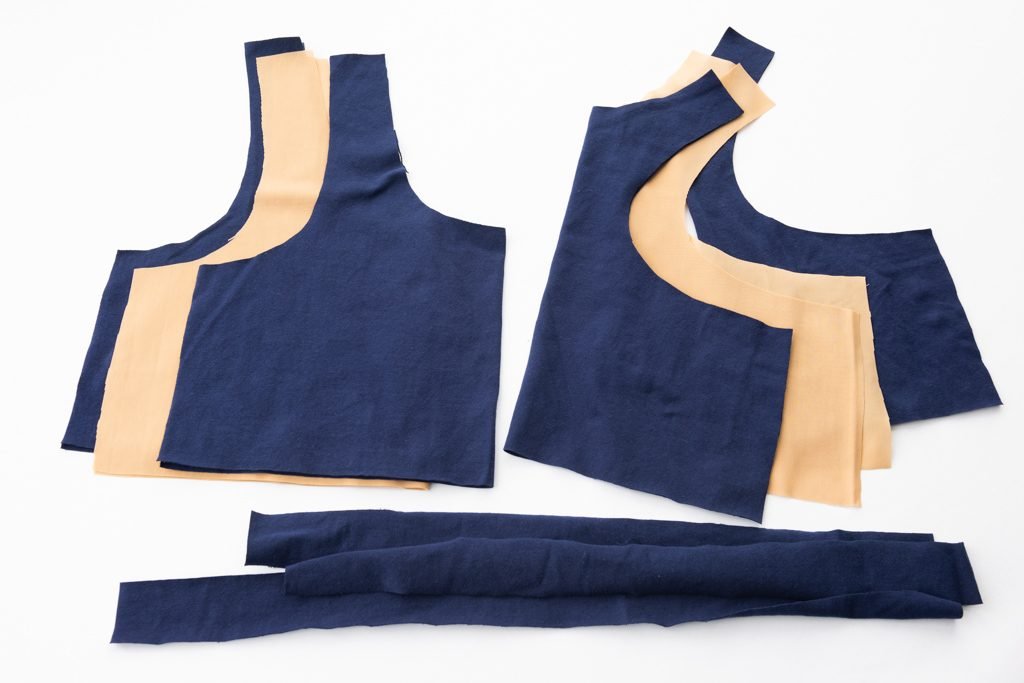
For a non lined version, all you need to cut out is the bra front, bra back, and binding pieces.
In order to line the bra, you will instead need to cut out two bra fronts, two bra backs, and your binding pieces out of your main fabric. As well as one bra front and one bra back from the power net.
2. Prep
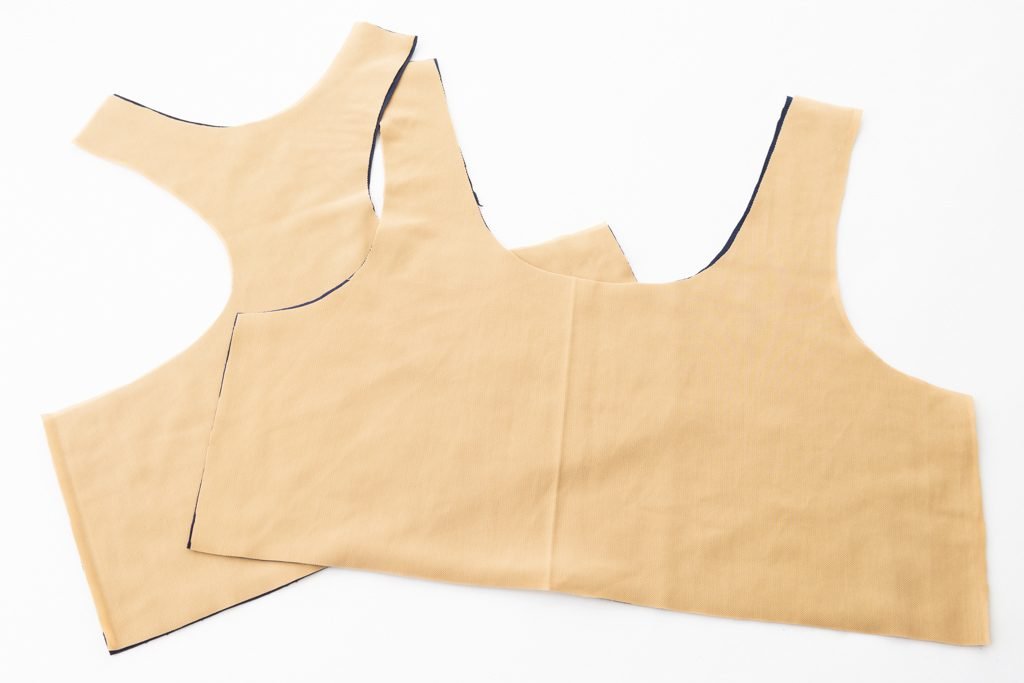
For both the bra front and the bra back, you will take one piece of your main fabric and the power net piece and pin/clip with wrong sides together.

Baste together along the raw edges, both the bra front and the bra back pieces. Note that the power net side will be considered the wrong side of the fabric going forward.
You will now have two bra fronts and two bra back pieces, one of each with just the main fabric, and one of each with the main fabric and the power net basted together.

Sew both sets together according to the pattern’s directions. In most cases, this will be at the shoulder seams and the side seams.
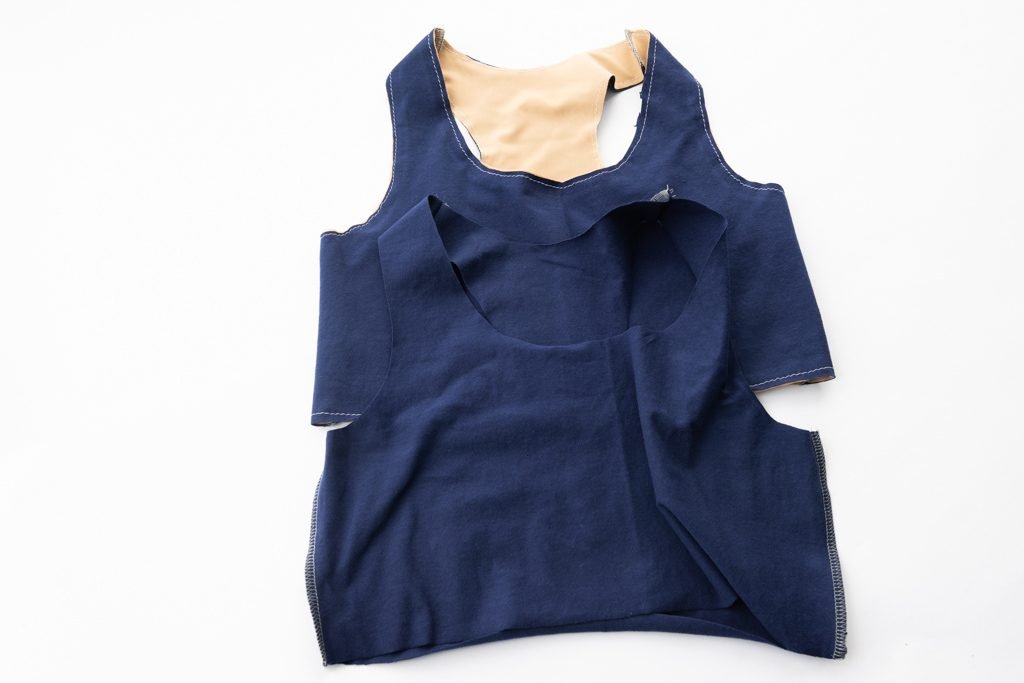
You will now have what looks like two sports bras, one with power net and one without.
3. Assemble
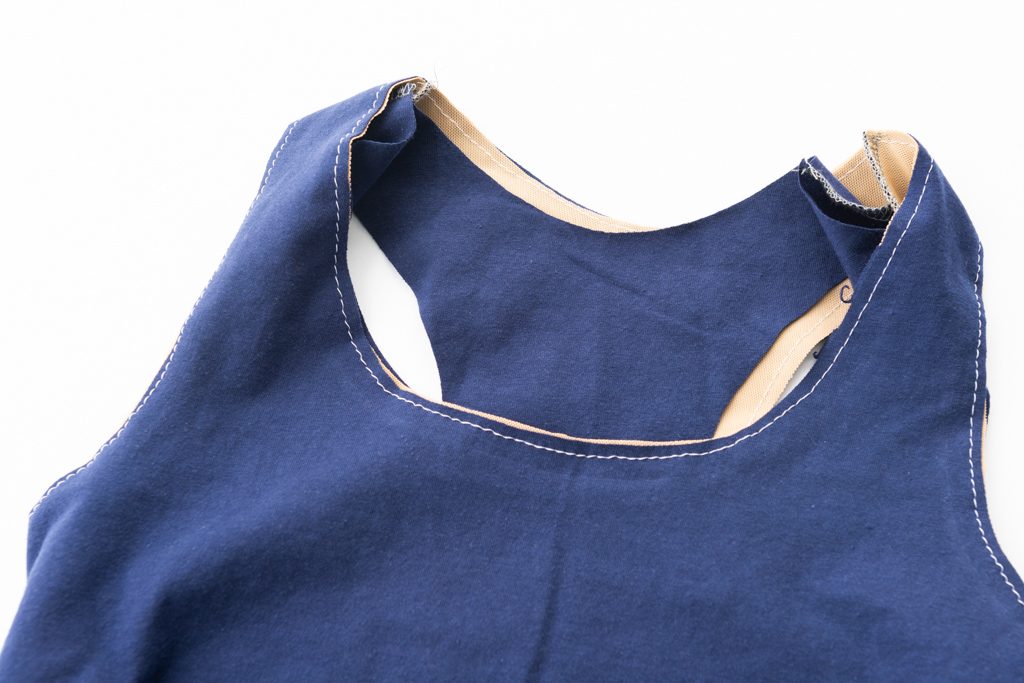
Place the regular bra pieces inside of the bra with power net, wrong sides together (use the power net as the wrong side). Line up the seams and edges and pin/clip together. Baste around the edges, including the neck hole, both arm holes, and the bottom.

Once everything is basted together, you will use that piece as your bra. From here, you will attach the binding according to the pattern’s instructions.
It wasn’t so difficult was it? Now you can comfortably line a sports bra for more coverage or extra support in a sports bra.



One Response