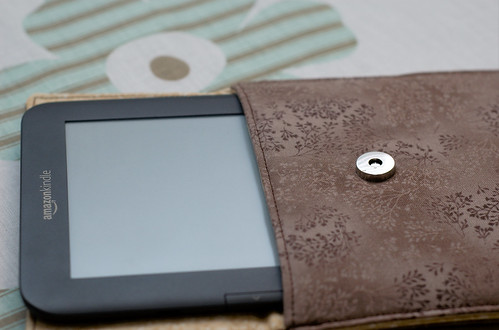
I made a case for my Kindle back in February and wanted to share a tutorial on how I made it. I am just now getting around to posting the tutorial but it’s a super quick project so you still have time to make a few for Christmas gifts if you would like.
This case can actually be made for a variety of different things. I made my sister a phone case using the same steps, just a different size. I have been using a magnetic snap for the Kindle cases but used Velcro for the phone case. You could use regular snaps, buttons, really anything to keep it closed.
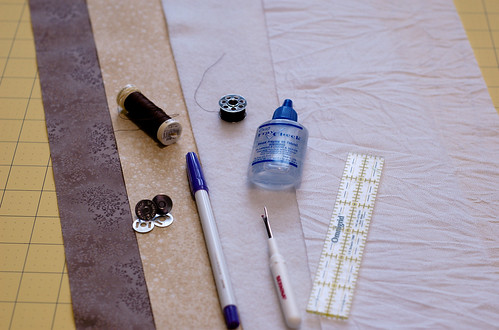
You will need fabric, fusible interfacing (I used SF101), a decent thickness batting (fusible fleece, thermolam, warm and natural), thread, snaps or some type of closure.
First, measure your kindle, nook, phone, etc. Then use the formula below with those dimensions to get your fabric size.
The calculations to get the dimensions for your fabric are as follows:
((length x 2) + depth/height + 1 + flap size) x (width + depth/height + 1)
For the Kindle 3 and the Kindle Touch I used the same size….I know the Kindle 3 fits perfectly but have not tried the Kindle Touch. Amazon compares all of the Kindles and they also give the dimensions of each type.
First cut out your fabric. Mine were 20 x 6 1/2 for the outer fabric, lining fabric, and fleece, and then slightly smaller for the fusible interfacing.
Fuse the interfacing to the outer and lining fabric being sure to iron the fabric first.
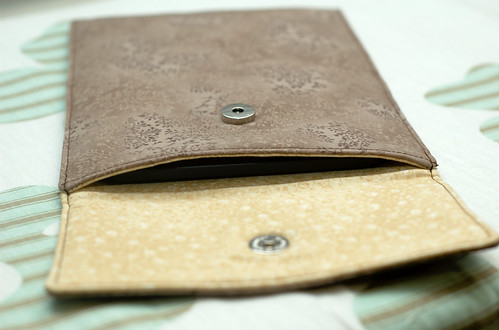
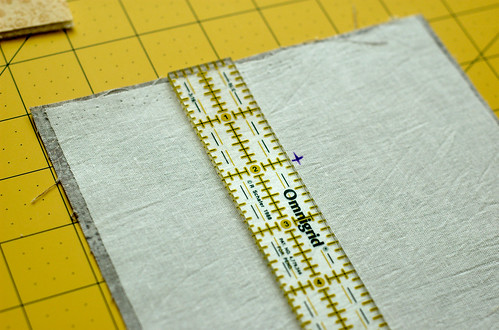
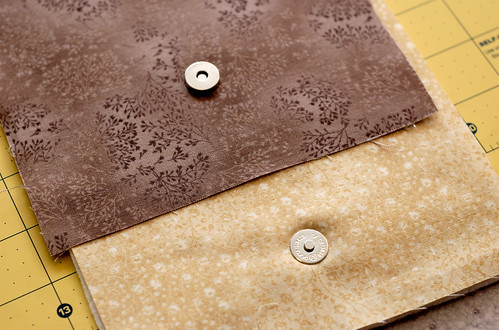
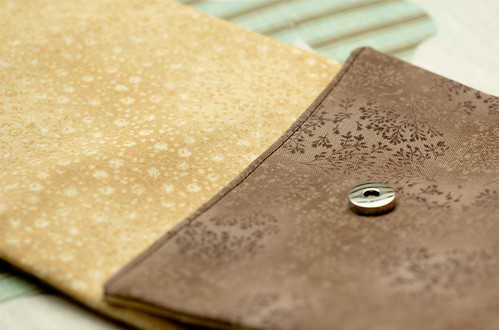
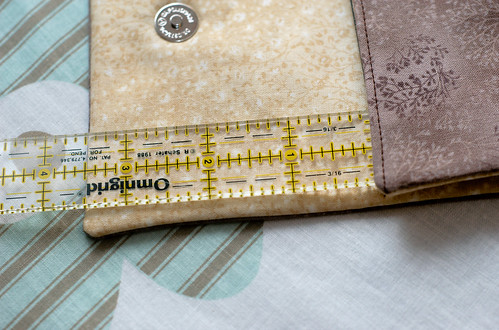
Next, attach the magnetic snaps. One snap goes on the lining and the other on the outer fabric. Both are 1 1/2 inches down from the short side and centered across the short side which for mine was 3 1/4 inches from the edge. The picture shows that it was down 2 inches but I found that to be too far down so when I closed the case it pulled the flap too tight.
If you need a tutorial on how to insert a magnetic snap check out this one by Keyka Lou. But here is a brief tutorial on how to insert one…
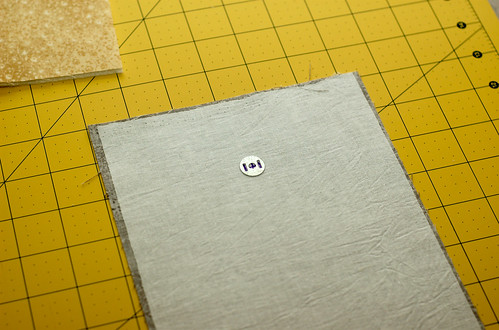
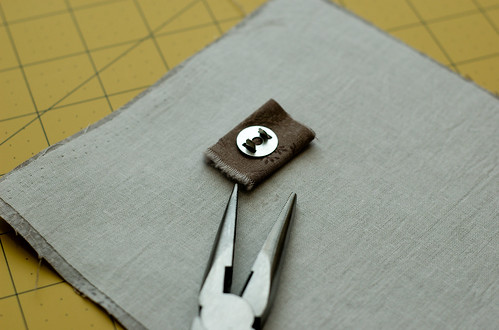
Place the small metal piece where you want the snap to be. Mark the two long holes.
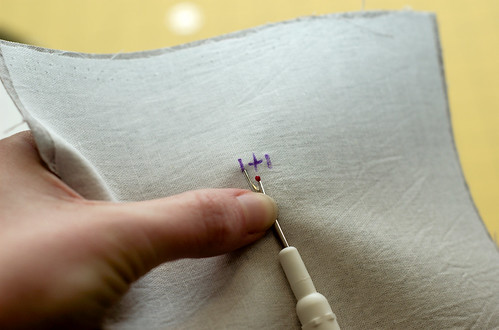
Take your seam ripper and cut the two lines. Apply fray check.
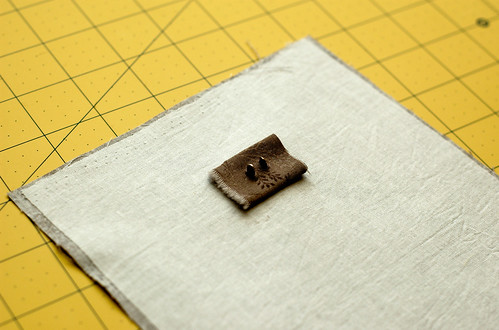
Place the snap through the right side of fabric so that the prongs are facing the wrong side of fabric. Add a small amount of scrap fabric so that there is more for the snap to hold onto.
Put the metal piece on top and fold the prongs until they are flat. You can fold the prongs toward the middle or toward the outside, I haven’t decided which way I prefer.
Back to the Kindle Case tutorial…attach a label now if you have them.
Place the fabric with right sides together and snaps at opposite ends. Put the fleece on top and pin.
Sew together with a 1/4 inch seam allowance leaving about a 2 1/2 inch opening on the side of the outer fabric with the snap. I prefer to leave the opening large enough for me to get my hand through.
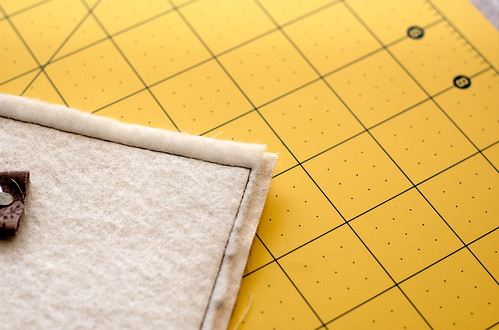
Trim the fleece,
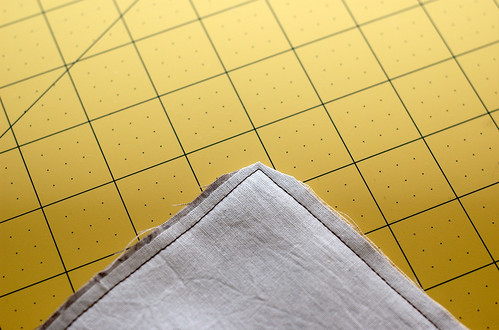
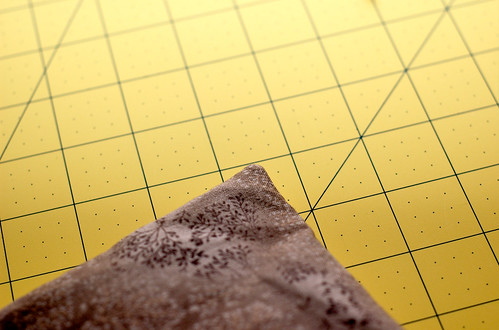
cut the corners, and turn right side out.
Be sure to fully poke out the corners…this is why I prefer a hole big enough to fit my hand through.
Iron flat being sure to fold in the opening.
Top stitch the short edge that has the snap on the outer fabric.
This should close your opening if you chose to leave the opening on this edge.
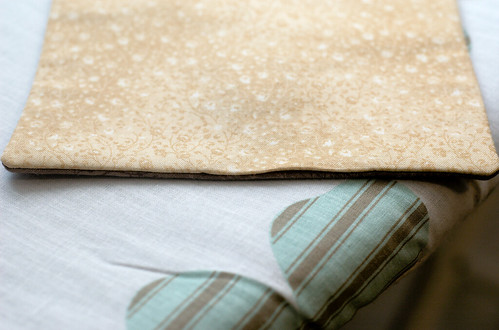
Fold so that the top of the flap to the top of the “pocket” is about 3 1/2 inches.
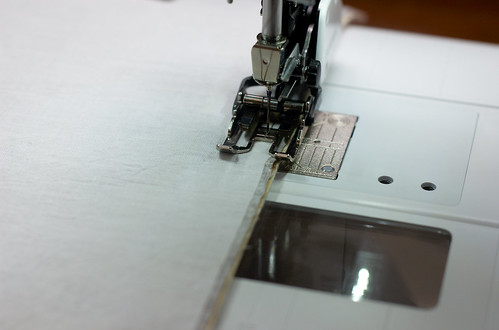
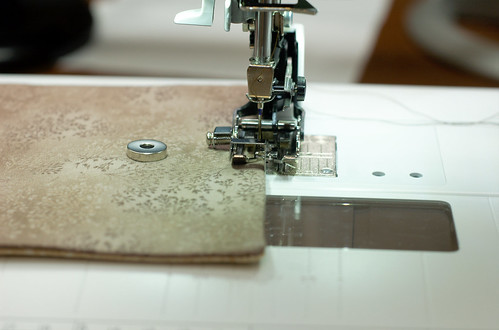
Top stitch all the way around starting at the bottom and going up and around. I like to go over the area where the “pocket” begins a few times for added support. I suggest using a walking foot for this part and if you have a stitch in the ditch plate for the walking foot use it as well.
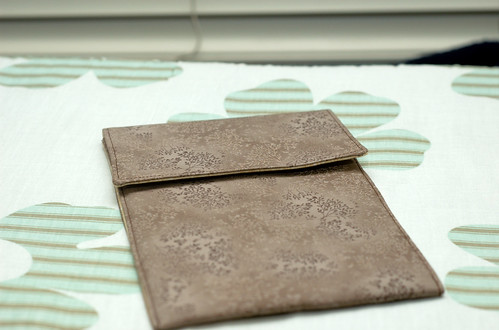
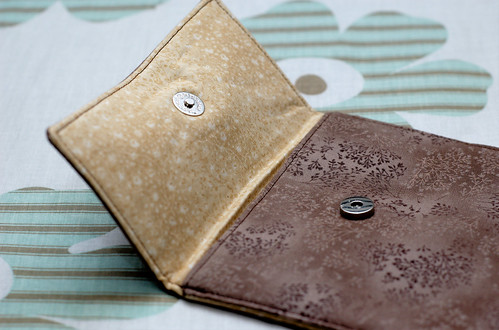
Now you have a finished Kindle case or case for whatever object you decided to make a case for. This should even work for a laptop case, just be sure to get the correct dimensions and don’t forget about the depth/height.
Linked to We Did It Wednesday, Sundae Scoop, Show Me What You Got, Made By You Monday, Weekend Bloggy Reading





13 Responses
These are cool and I love your magnetic snap instructions! I have only done one of these snaps so far and they are not easy…..
I made a kindle cover based on your tutorial with a few changes: velcro instead of magnetic snaps and I also shortened the overlap between the main body and the flap.
Thanks- this was a very easy-to-follow tutorial. I linked your tutorial to my blog post:
http://wp.me/pXgo5-93
Marsha
Marsha, I’m so glad that you were able to follow the tutorial easily! I always worry that I understand it because I know what I did, but that others won’t.
I’d like to try using this tutorial to make a cover for my tablet. You mentioned at the end of the post to account for the depth of a laptop – how would this figure into the formula you used to get the fabric dimensions?
Another question… what’s the purpose of using the fusible interfacing and the fleece? Do you think it would work okay with just using fleece?
Thanks so much for your help!
The depth would be the same as the height. I didn’t make that clear at all! Sorry about that!
The fusible interfacing just adds a little thickness to the fabric, but wouldn’t be needed. I just tend to always using fusible interfacing plus fleece or some other type of batting.
I found this tutorial very helpful and maybe I’ll get over my fear of using those snaps now!