I wanted to make Lillian’s Easter basket and decided on this style from Pink Penguin. I did change it a little so that it would have one strap instead of two, since I think of an Easter basket as a basket with one long handle.
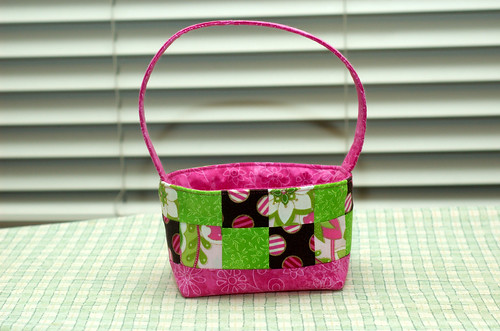
I decided on three different fabrics for the body, plus one other fabric for the handle, bottom, and lining. You could really do any combination that you wanted, going as crazy or plain as your heart desires. You could also make the outside one fabric and the lining another. So many possibilities!
The basket is smaller than you would think but is perfect for an almost 2 year old. The finished basket is about 6 by 4.5 inches. But again, you could easily change the size of the squares to make it larger. Just remember that you will also have to change the size of the lining and the bottom of the basket.
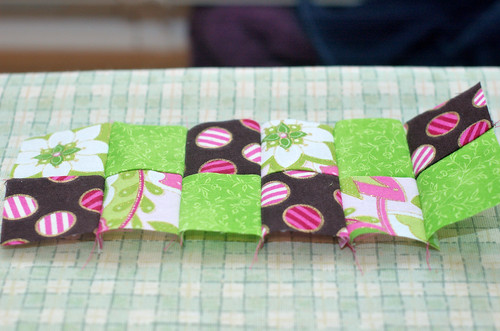
I started out by cutting my fabric and then laying the squares out on the floor in the pattern that I thought would be the best. If it didn’t look right, then I could change them at this point instead of having to rip out seams later.
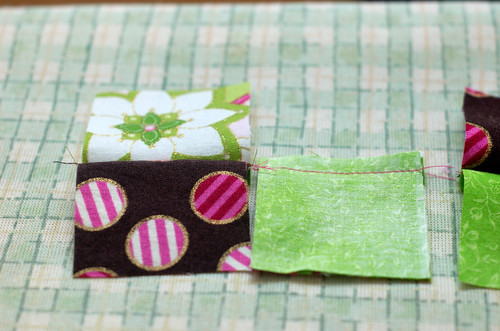
I then sewed the first two squares in each row together, next two, and so on. Keeping everything in order so that I had less of a chance of sewing the wrong pieces together. Again, I didn’t want to have to rip out any seams!
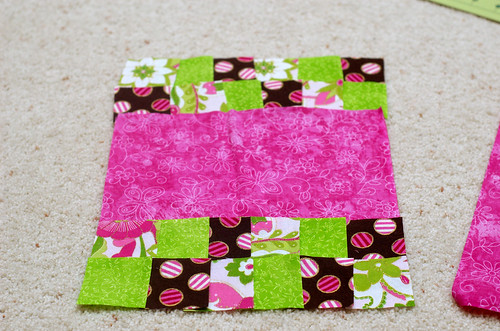
After that, I ironed the seams in opposite directions before sewing the pieces together to form the two block by six block rectangle.
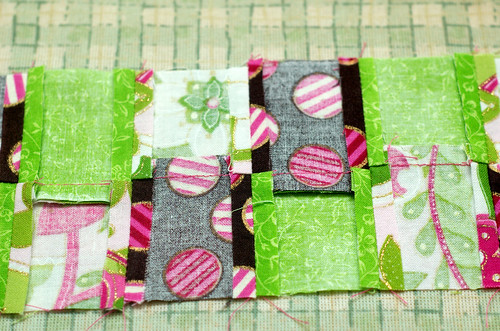
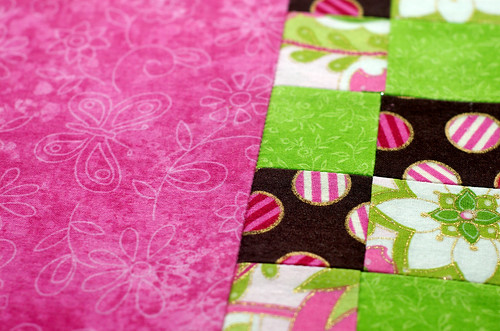
I was so excited to see the blocks go together. It was actually easier to keep everything lined up than I expected. Mine isn’t perfect but decent. I just made sure to line the seams up before sewing. The blocks are so small that I didn’t even pin them together before sewing. I have found that sometimes it’s actually easier to not pin everything.
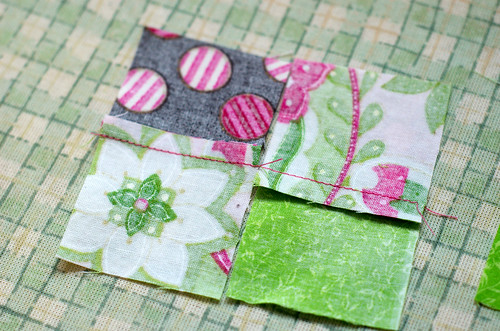
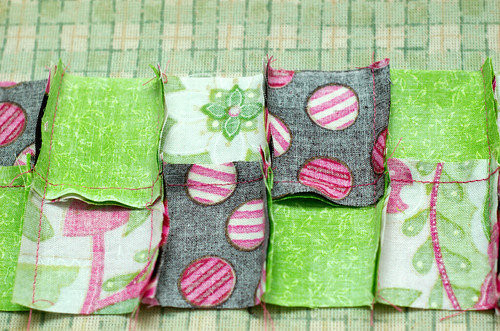
Here is the back showing the middle seams ironed every other way, and then the other seams not ironed yet.
I followed the tutorial and pressed the rest of the seams open.
I did not use linen for the bottom but instead used quilters cotton. I also used TP971F Fusible Thermolam Plus as the batting because that is what I had here at home. I can’t complain about how it worked and the finished basket stands up well so I would use it again. I am guessing it’s about the same as using a fusible fleece batting.
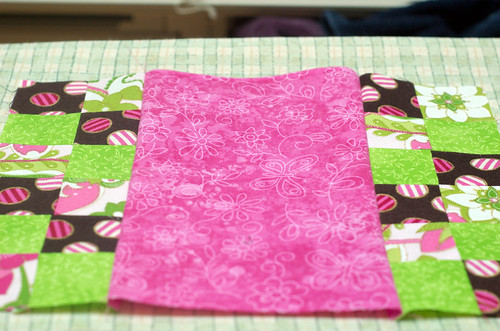
Since it was a fusible batting, I did not cut it bigger than the fabric because I didn’t want to fuse it to my ironing board or my iron. At first I wasn’t going to “stitch in the ditch” but my walking foot came in so I had to try it out. Especially since I got the new edge plate with it…more on the walking foot in another post.
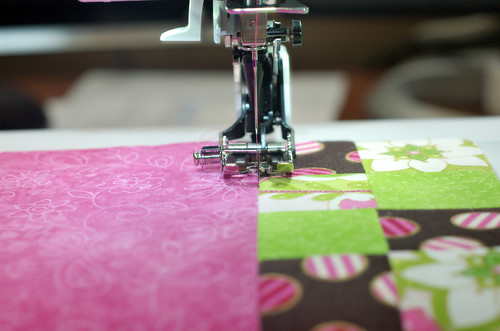
“Stitching in the ditch” is where you stitch along a seam. It should not be seen and in this case is used to attach the batting to the fabric, except since I used fusible I didn’t really need to “stitch in the ditch.”
I used one type of fabric for the handle instead of two. I cut the piece 4” x 17” instead of cutting out 2 – 2” x 17”and sewing them together. It’s a little long, so I would probably do 15” if I make this again.
I decided to try using Pellon 809 Décor-Bond again and it fused much better this time. I don’t know if you remember my comment about it in this post but I had trouble getting it to fuse to the fabric. I have found that handles/straps (whatever you want to call them) are much sturdier if an interfacing is used. A fusible interfacing is probably the easiest and what I would recommend.
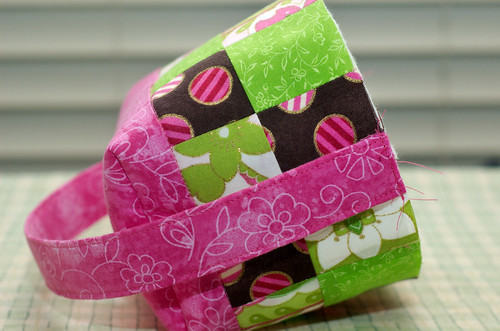
I attached the handle the same as the tutorial describes except I only had to attach one on each side. I just had to make sure that it wasn’t twisted.
Once turning everything right side out it looks like a mess.
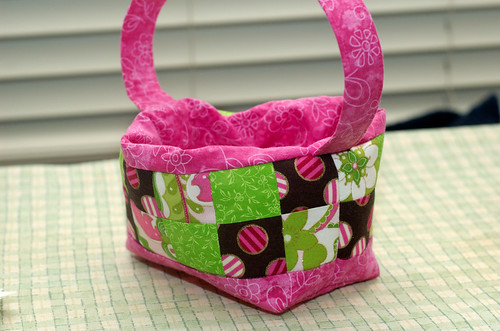
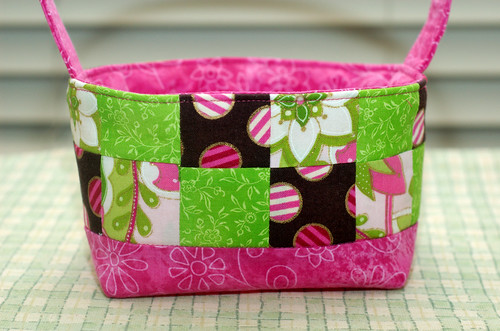
Nothing a little ironing and top stitching doesn’t help! Now Lillian is set for her first Easter egg hunt this weekend!


4 Responses
Oh how cute!! You do such a great job at stitching in the ditch! I could never get the perfect look!
I can’t take too much credit for stitching in the ditch because I used the plate for my walking foot made specifically for stitching in the ditch. Makes it MUCH easier!