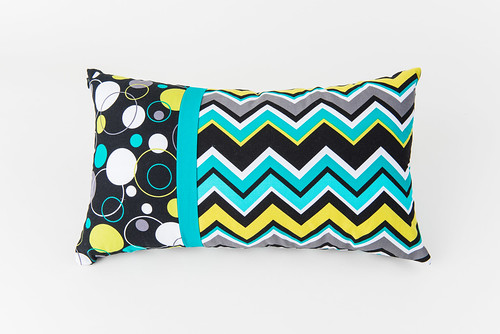
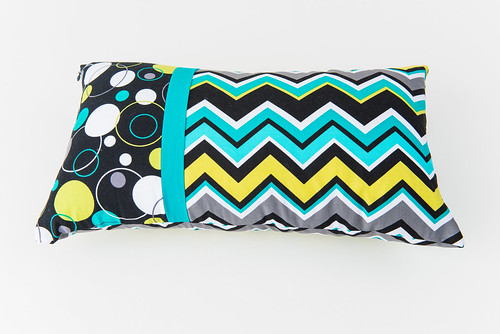
Today, I want to show you how to make a pillowcase with what is called a flange, as well as review a company called PillowCubes.com and offer a discount. The flange is the decorative piece in the solid color; it really just adds visual interest.
I decided to make a pillowcase that would match Owen’s room once he is in a toddler bed. I chose a 12 x 21 polyester woven pillow form from PillowCubes.com which seems to be a great size for a crib/toddler bed. I used my invisible zipper tutorial, but pieced the front of the pillowcase.
Cutting Out the Pieces
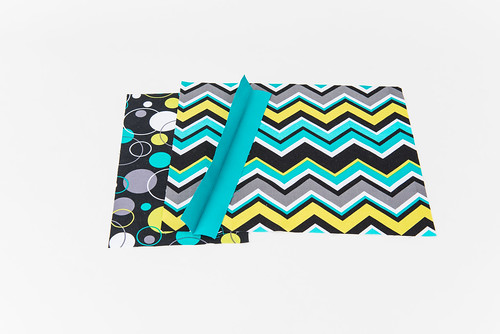
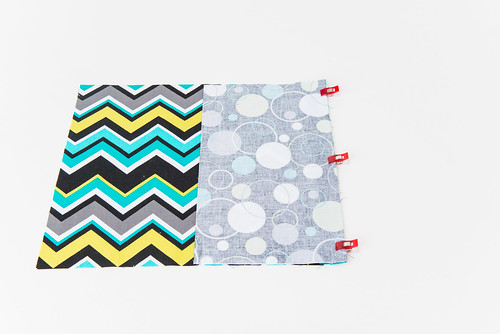
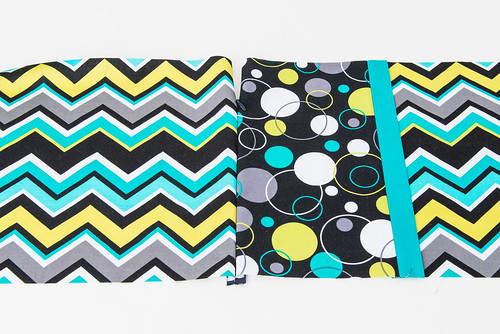
To get started, you will need three pieces for the front of the pillowcase. Since my pillow form was 12 x 21 (actual size 13 x 22 as posted in the additional info tab on the PillowCubes.com website), I knew I wanted the back and front pieces to be 12 x 21 (subtract an inch from the actual pillow form size).
I wanted about a 1/3 to 2/3 ratio, so I took 21 and divided by 3 to get 7. This would be my smaller piece. I added 1/4” for a seam allowance. Actually, since I promised I would be completely honest on my blog, I have to confess that I forgot about the seam allowance before cutting out my fabric. So each piece of my pillowcase is actually 1/2” smaller than I wanted it to be. I didn’t have enough fabric to recut so I went ahead and sewed it up with my fingers crossed that the pillow form would still fit….and it does….snuggly.
Anyway, back to the tutorial. I should have added the seam allowance to get a piece that was 12 x 7 1/4.
For my larger piece, I took 21 minus 7 to get 14, added my seam allowance to get 14 1/4”. So I cut the piece 12 x 14 1/4. When figuring out the total sizes, you do not need to include your flange, because it doesn’t add any length to your pillowcase.
If you weren’t adding a flange or using two different fabrics, you would just cut out your fabric to be the 12 x 21. If you aren’t using a flange, then the above two pieces would still work; you just want your total length after piecing everything to be 21.
I was originally thinking that my flange would be 3/4”, but since I forgot about my seam allowance on my main pieces, it ended up being an inch. Honestly, I think I like that it is an inch. It could probably even be a little larger if you wanted.
So, to get an inch flange, you will need a piece of fabric that is 12 x 2 1/2. That is the size of the flange you want (1”) doubled, and then the seam allowance doubled. So 1 + 1 + 1/4 +1/4 = 2 1/2.
My 4 pieces were as follows:
| circle fabric | 12 x 7 1/4 |
| chevron fabric | 12 x 14 1/4 |
| flange | 12 x 2 1/2 |
| back fabric | 12 x 21 |
Front Assembly

Now that the pieces are cut out, let’s start with the flange. Fold and iron it in half with the long sides together. So you will get a piece that is 12 x 1 1/4. This will end up being a 1” flange with a 1/4” seam allowance.
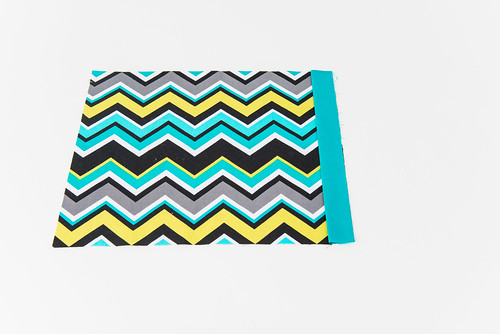
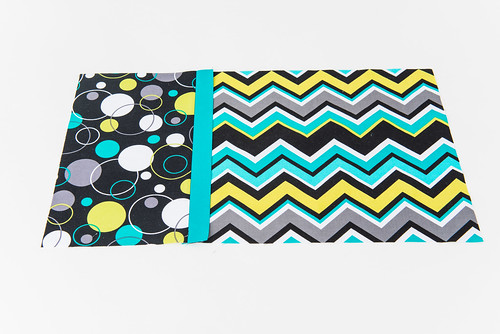
Next, put your 12 x 14 1/4 piece right side up. Then, on the top right with the raw edges together, put your flange piece on top.
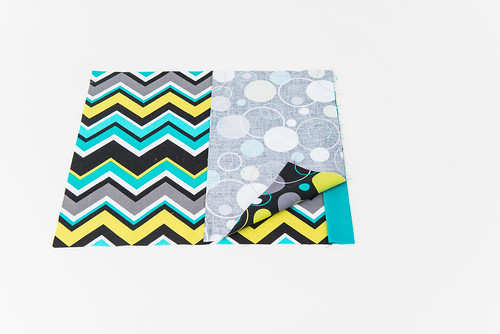
Next, put your 12 x 7 1/4 piece right side down on top of your flange piece. Be sure to line up the raw edges of all three pieces.
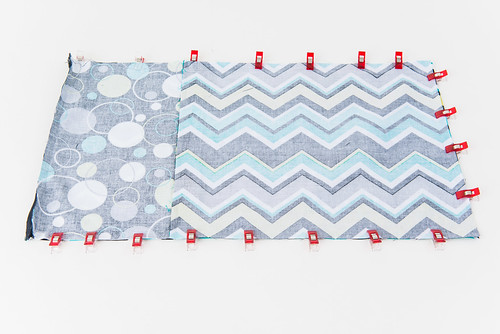
Pin or clip and sew together with a 1/4” seam allowance. If you have a directional print, you might want to line up everything like in the below picture and then layer. It will end up with the flange and smaller piece lined up on the left side of the larger piece….if you want the smaller piece on the left for your final pillowcase. Hopefully that makes sense!
Open and iron your flange toward the large piece so that it lays flat. At this point, I suggest serging or using a zig zag stitch on your seam so that it won’t fray when you wash the pillowcase. I forgot to do this until it was too late.
Shorten and Install Your Invisible Zipper
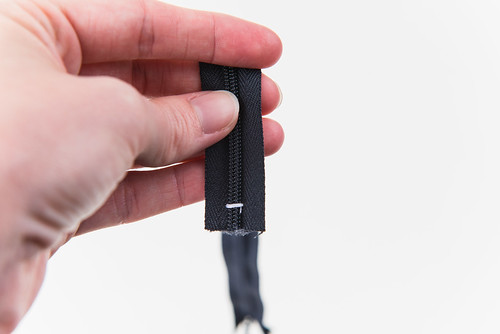
Now it’s time to install the invisible zipper. If your zipper is too long, you can easily shorten it. I did this by first cutting my zipper to 12”. Then, a little away from the bottom, I added a “zipper stop.” To do this, I actually used my button stitch on my sewing machine, so that way my machine didn’t try to move the zipper through the machine. I increased my stitch width so that it went to each side of the zipper teeth. To get the perfect width I had to manually turn my needle wheel and adjust my width until it was on each side of the teeth. Be very careful because you don’t want to break your needle from hitting the zipper teeth…this is why I manually turned my needle wheel. I then just let the machine sew a stitch back and forth so that my zipper wouldn’t come off of the end.
I then inserted my invisible zipper using my own invisible zipper tutorial since it had been so long since I used my invisible zipper foot. It’s super easy to do and I highly recommend an invisible zipper foot.
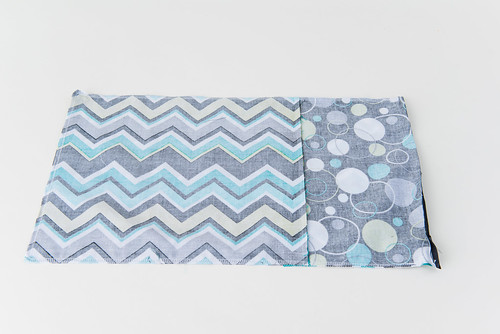
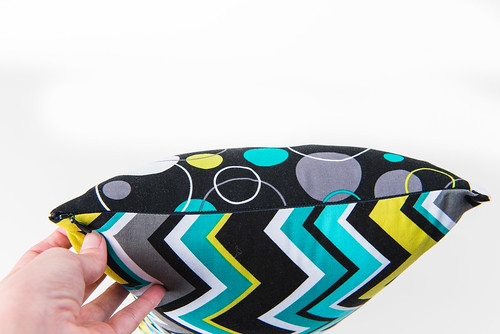
Above is how the edge with the invisible zipper should look. You can barely tell there is a zipper there!
Finishing the Pillowcase
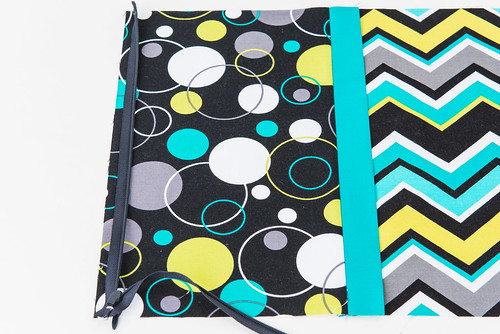
After your invisible zipper is installed, sew around the remaining edges. It’s a good idea to also serge or reinforce with a zig zag stitch so that the raw edges don’t fray.
You can sort of see my serging along the three edges that don’t have the zipper.
Clip your corners and turn your pillowcase right side out…
insert your pillow form….
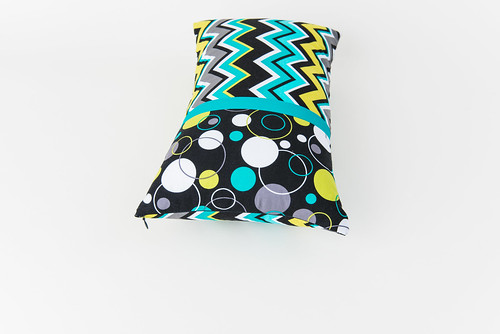
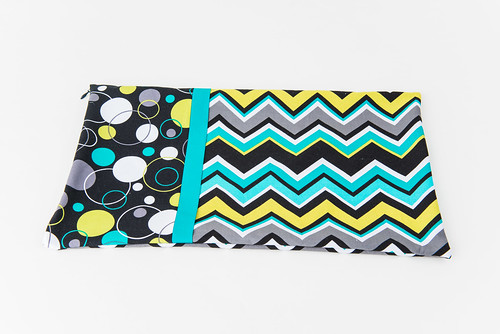
and you have a finished pillowcase…
with an invisible zipper!
PillowCubes.com Review and Discount Code
Now I want to talk a little about PillowCubes.com. When Kevin, the owner, first contacted me about his pillow forms I didn’t think that working with him made sense for my blog because the pillow forms were sold in bulk. Well, he listened to the fact that not everyone wanted to buy in bulk and decided to begin selling pillow forms individually. When I found out, I decided to go ahead and try out a pillow form.
As I mentioned above, I decided on the 12 x 21 polyester woven pillow form. There are so many choices to choose from that it’s not an easy decision. You can get square, rectangular, round, or bolster pillow forms, ranging in sizes from 5 x 5 to 40 x 40. But you aren’t limited to what they have in stock, because you also have the option to do a custom order pillow form. The next option is the filling…polyester, multiple down options, eco-friendly, etc. You really can find whatever option you are looking for.
The quality of the pillow form is excellent. It’s a really full pillow form as you can see in my pictures. As I mentioned in my tutorial that you might want to serge the edge of your pillowcase, PillowCubes.com does just that to their pillow forms. I’ve basically only purchased pillow forms from Wal-Mart and the quality of PillowCubes.com pillow forms is definitely much higher quality. I am not an expert when it comes to pillows, but I can tell that these are made to last, just based off of my own sewing experience. One of the other perks about buying from PillowCubes.com is that all of their pillow forms are made in the USA in Tennessee.
Kevin was kind enough to offer my readers a 10% discount on one order from PillowCubes.com. Just use coupon code “SewingNovice10” at checkout for your 10% discount.
Disclaimer: I received my pillow form free of charge in exchange to share PillowCubes.com with you.


2 Responses
There are also other pillow inserts manufacturers with really low wholesale prices. We like reinastores.com and pillowforminsert.com
There are no minimum requirements and you get brand new inserts directly from the manufacturer.
Gorgeous pillow and great tutorial. You have style, and a skill for teaching.