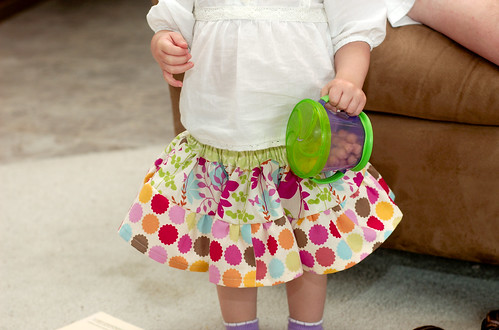
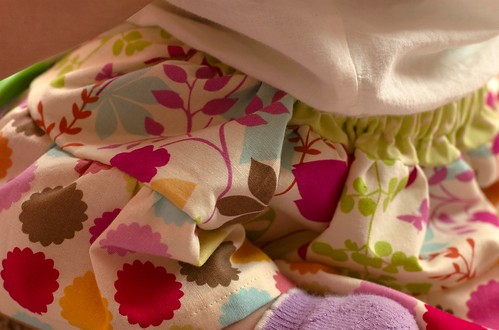
I accomplished my first skirt for Lillian and LOVE it! It was Prudent Baby’s tutorial for a layer cake skirt.
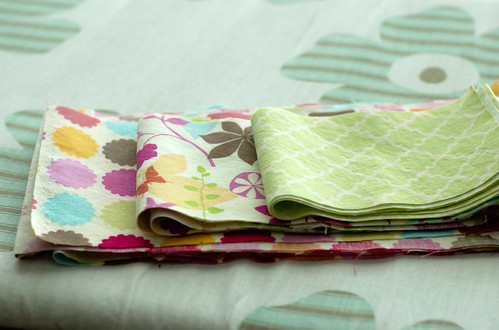
I bought the three fabrics at Hobby Lobby and it actually ended up that the green fabric didn’t really show up. I guess that is what happens when you adjust a skirt to fit an almost 2 year old that only wears 18 month clothes. I ended up using the green fabric for the diaper cover…post to come later.
After some calculating based off of the tutorial, I used the following measurements, which are pretty close to what I would consider 18 month clothes (it’s for a little girl that needs the skirt to be about 8 inches long and with a waist measurement of 17 1/2 (if you use the 16 1/2 for the elastic)).
Elastic: 17 1/2 in but should have been 16 1/2 in (luckily it still fits!) I actually cut my elastic an inch shorter than the measurement of the waist because I do not overlap it.
Top Layer (green)”: (1) 3 1/4 x 42
Middle Layer (flowers): (1) 3 3/4 x 42 (1) 3 3/4 x 21
Bottom Layer (circles): (2) 4 3/4 x 42
The hem was sewn at 3/8 in and I basted at 1/4 in but my needle was at position 4 which makes it a little less and then I sewed the layers together at 3/8.
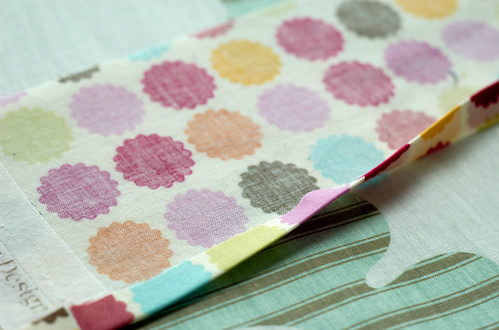
I left the selvage edge and just made sure to sew in far enough so that it did not show on the outside. This way, I had less edge stitching, which is fantastic since I don’t have a serger.
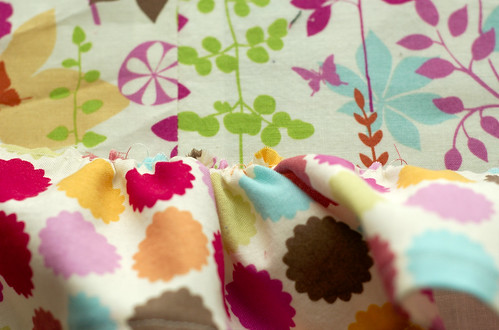
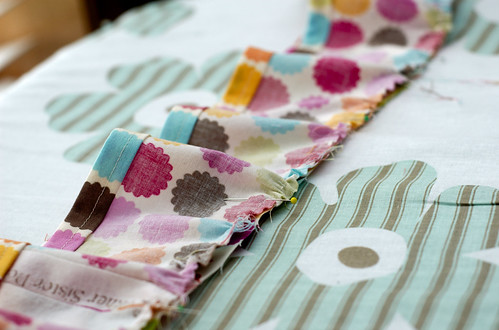
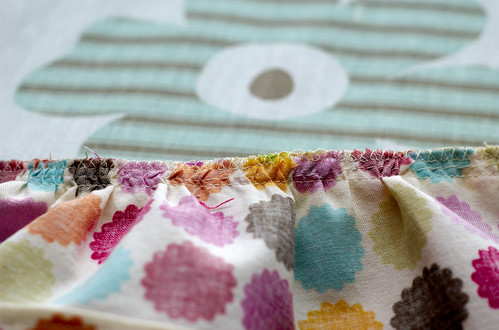
Basting…well, it’s a pain, actually, it’s not the basting that is a pain, but the gathering. It seemed to take forever to get the layer equal to the length of the layer above it. But, it’s well worth the time, because the skirt is adorable!
At first it was a little weird to sew the two pieces together because I have never sewn two pieces together that weren’t completely flat. You don’t need to feel like it has to be perfect because it will look fantastic on the ride side of the fabric anyway.
As I mentioned above, I don’t have a serger, but I do have an overlock foot. This foot is what I used to finish the edges. I know that I could just do a zigzag stitch but with the overlock foot it pretty much looks the same as it would if it were serged. It takes awhile to finish the edge this way, but I think it’s worth it. There is less room for fraying.
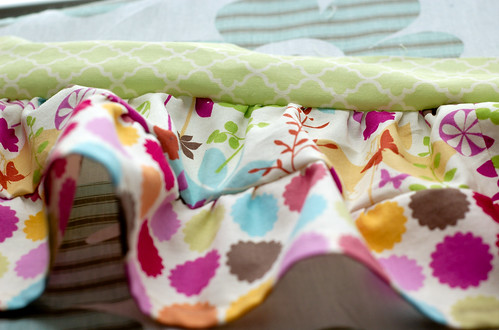
Here is the skirt before prepping for the elastic.
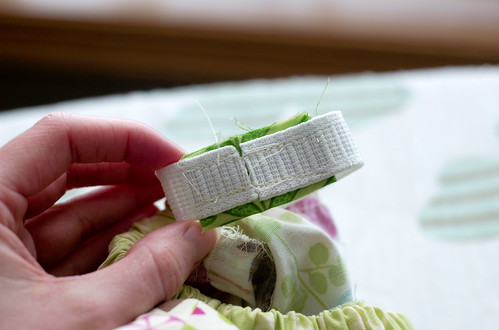
Again, as I mentioned above, I cut my elastic an inch shorter than I need it. I then attach each end to a piece of cotton fabric. This way, the elastic lays completely flat but with it attached to the cotton it will still remain in place as if it were a complete circle.
Lillian let me put the skirt on her right away (which is an improvement over the drawstring bag that I made) and decided that it was snack time.
This skirt, even though it looks complicating, is actually very easy to make. If you want to make it and need help figuring out the measurements for your little girl, let me know and I will try to help out.





8 Responses
I adjusted this pattern also so that the waistband layer is the same width when cut as the bottom layer (this makes all the layers once sewn the same height which looks nice). I also dialed up the tension on my sewing machine as high as it would go (9 for me) so that when I was basting the layers the fabric gathered automatically which saved me time as I did not have to gather the fabric manually and the result is beautifully even. Depending on which layer you are working on and how wide you have adjusted the pattern per layer you will need to tinker with how high to dial up the tension to get the gathering fit the next layer up without manual modification.
Yes you can adjust it post gathering – just cut y0ur tail cords long. It is super easy to do and hard to screw up. Do you use a guide foot? If not I command you to get one;-) They are approx $4 NZD and absolutely wonderful. I use them all the time when I am top stitching as it keeps the distances even and makes it look professional.
As for applique – I like the look of the sewing stitch used to affix the fabric and would love to add design elements to my work. Do you use a normal machine to apply the applique?
Someone emailed me asking about measurement calculations so I wanted to share what I did to calculate the measurements. Please check out the tutorial at Prudent Baby on how to sew the skirt and what they did for measurements for some extra help.
Here is what I did:
First get the waist measurement (17.5) and the length (8) that you want the finished skirt.
Width:
Top section: Take the waist measurement and multiply by 2.5 (you can use 2 or even 1.5 if you don’t want it to be so full). 17.5 x 2.5 = 42 (I rounded to make it easier)
Middle section: Take the width from top fabric and divide by 2 and add the width of the top fabric. 42/2=21+42=63 (I used two pieces and sewed them together, one was 42 and one was 21)
Bottom section: Multiple the width of the top fabric by 2. 42 x 2=84 (again, I used two pieces and sewed them together)
Length:
Total length: Take the length of the finished skirt, add 1 1/4 for the elastic casing (if you are using 3/4″ elastic), add an inch for the hem if you choose to sew 1/2″ then 1/2″ again. If you want a smaller hem then only add the amount of your hem. Add in your seam allowance 4 times (the bottom and middle are sewn together so that is 2 seam allowances, then the middle is sewn to the top, so that is 2 more).
8 + 1 1/4 + 1 + 3/8 + 3/8 + 3/8 + 3/8 + 3/8 = 11 3/4
Layer length: This is pretty much your preference. The easiest way would be to take the total length (11 3/4) and divide by 3. I wanted the bottom layer to be the largest so I chose 4 3/4 for the bottom, 3 3/4 for the middle, and 3 1/4 for the top. The top was lost because 1 1/4″ was used for the elastic casing and the rest is hidden under her shirt, but it’s a tiny skirt. The middle layer loses the least because it’s just the seam allowance twice where the bottom you fold an inch and the top you fold 1 1/4″.
You could do 50%, 30%, 20%….40%, 35%, 25%…really any combination that you choose. Just choose your numbers and multiply the total length by that percentage.
My final measurements:
elastic: 17 1/2″ but actually I cut mine an inch shorter (I have a tutorial on elastic waistbands here).
Top fabric: 3 1/4 x 42
Middle fabric: 3 3/4 x 42 and 3 3/4 x 21
Top fabric: two 4 3/4 x 42
My seam allowance was 3/8, my hem I folded at 1/2″ then 1/2″ again, the elastic casing I sewed at 1/4 and then an inch.
I hope this helps! Be sure to follow the tutorial at Prudent Baby!